
Layered PDF files can make cutting and tracing much clearer by showing only the sizes you need. A few minutes of preparation helps prevent a project from going wrong before the fabric is even unfolded.
Open the correct file
Use the file format for your paper size and a PDF viewer that supports optional layers. Browser previews may not show the same layer controls as a dedicated PDF reader.
Select the size layers
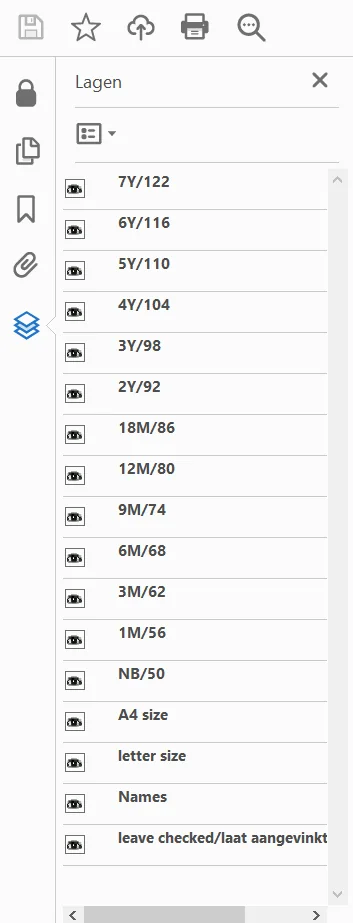
Open the layers panel and hide sizes you do not need. Keep any shared pattern marks or essential layers visible. If you are grading between sizes, show both sizes you will use.
Print a test page
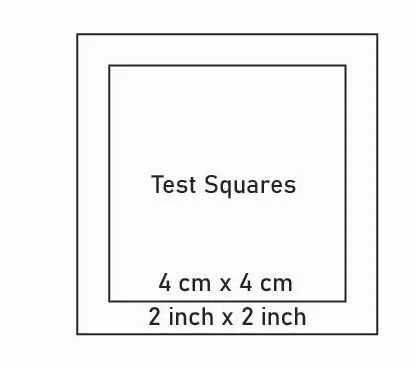
Choose “actual size” or 100% scaling and print the page with the calibration square. Measure it with a ruler and only continue if the dimensions match the pattern guide.
Assemble in order
Follow the pattern’s page layout and trim or overlap pages only as directed. Tape on a flat surface and recheck alignment marks before cutting the paper.
Archive the original
Store an untouched copy of the file and print instructions. That makes it easier to print a new size later without losing the full download.