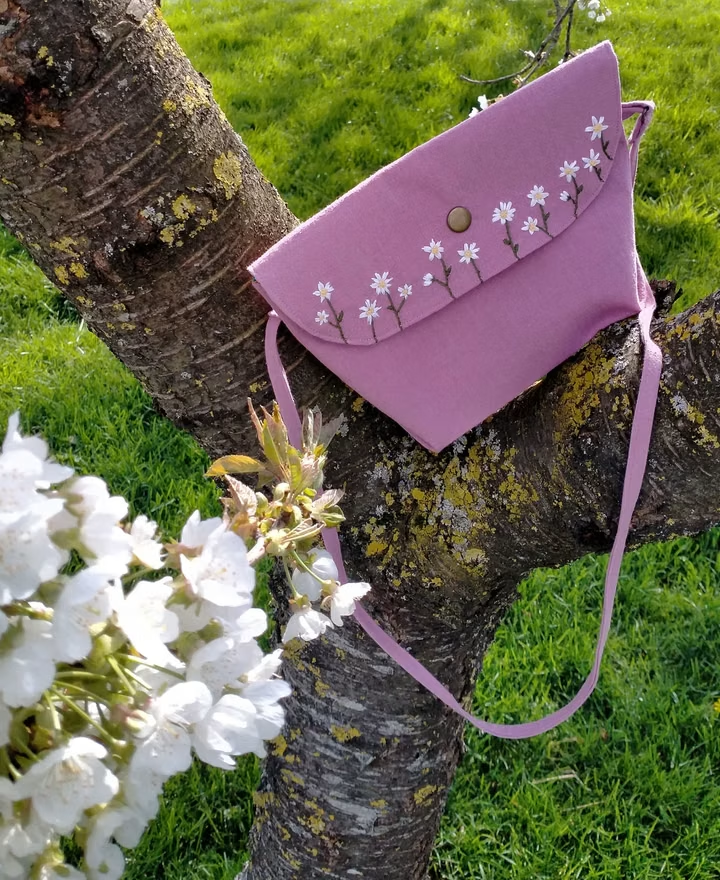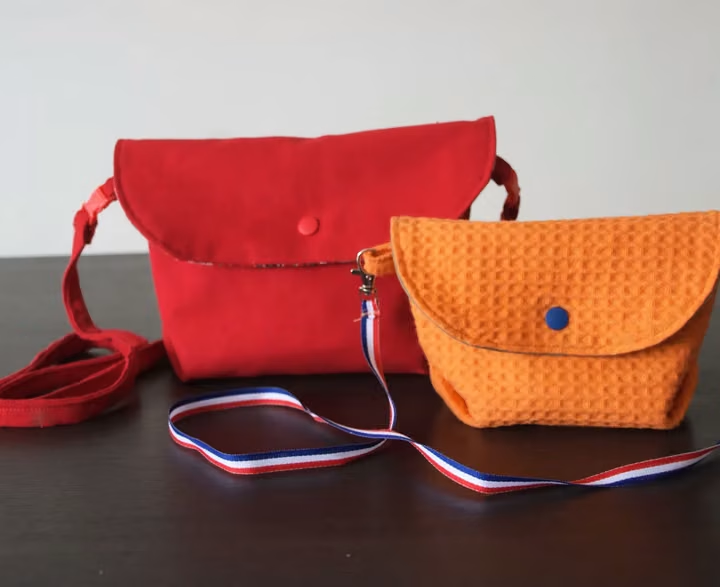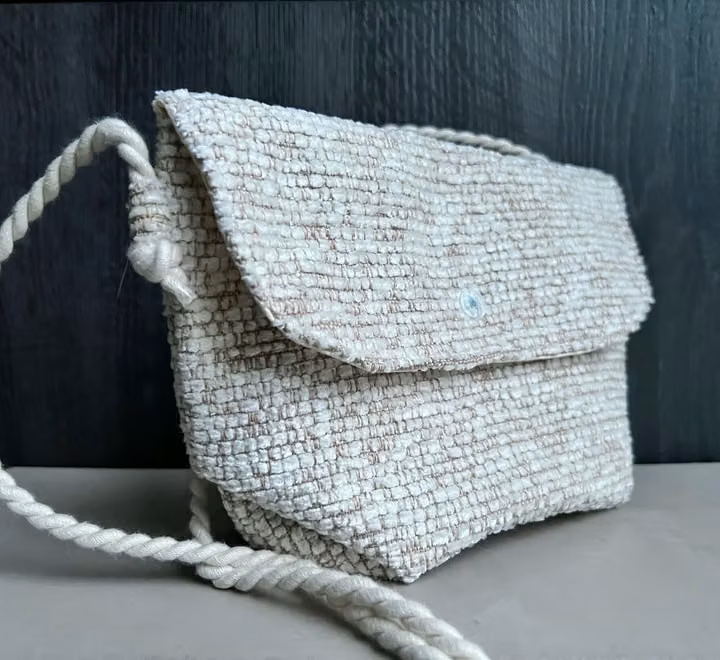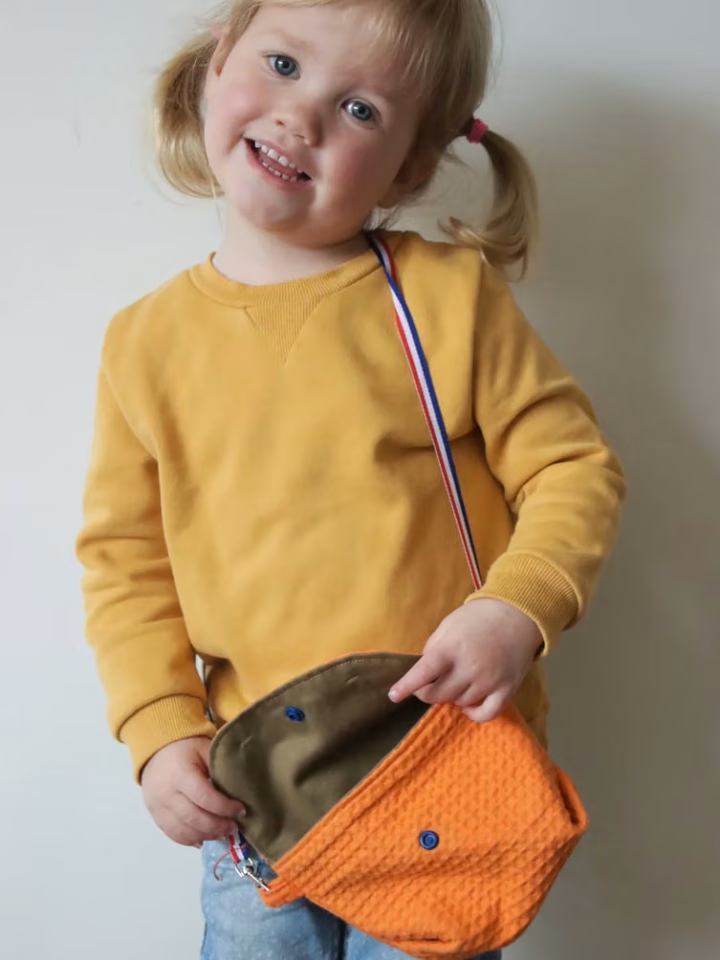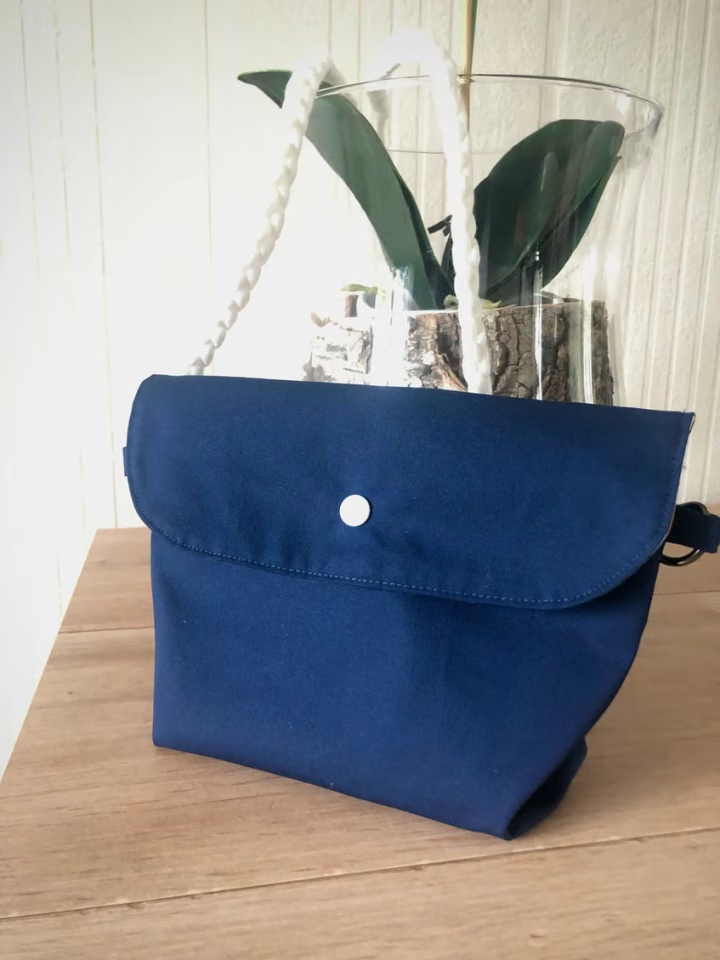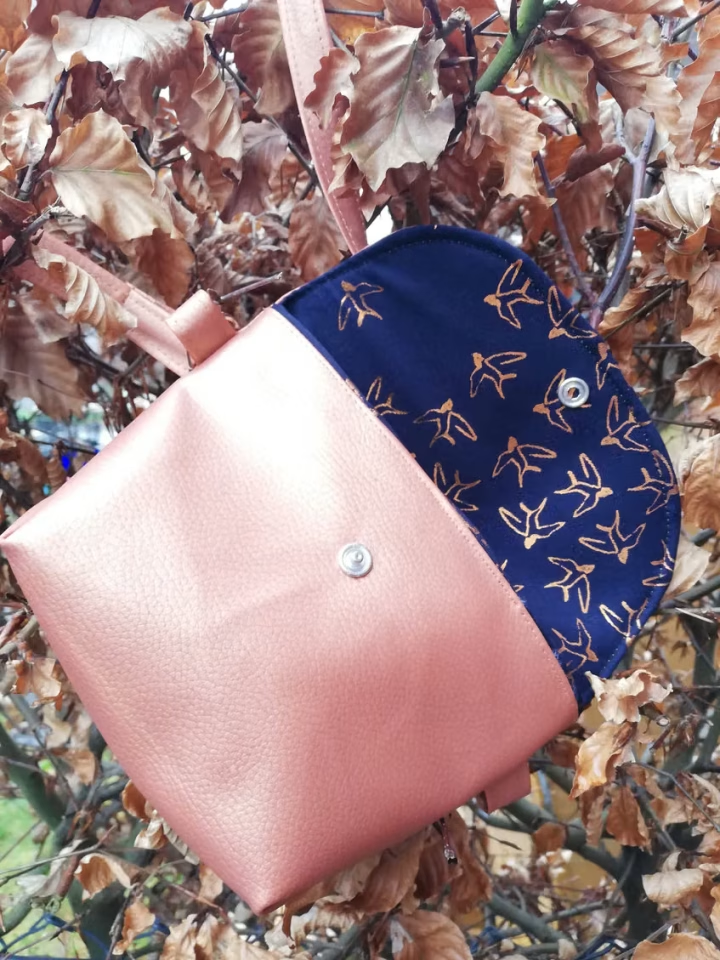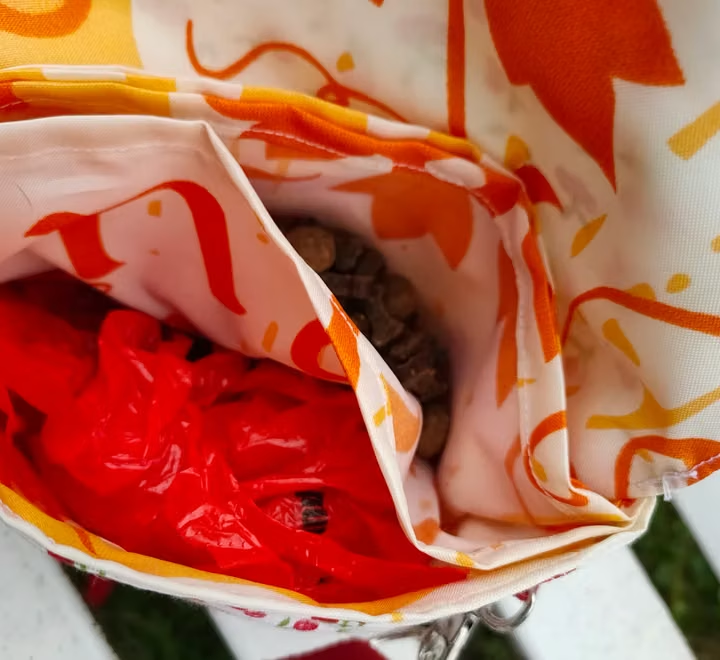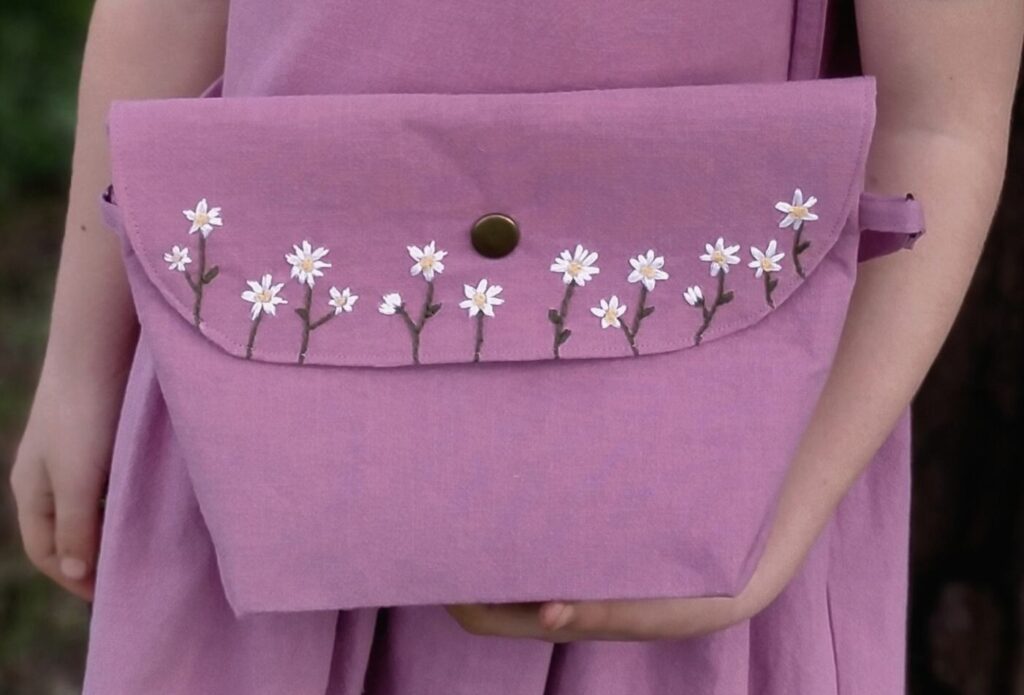
Original embroidery tutorial by Annemieke van der Heiden of @Label_madelief

Add a small hand embroidered detail
A few embroidered flowers can make your Delta Pouch feel personal. This article updates the original F4U tutorial by Annemieke van der Heiden of @Label_madelief. Her design uses green stems and leaves, white petals and yellow flower centres. Complete the embroidery before assembling the pouch so you can reach the back of the fabric.
Prepare the fabric and transfer the design
Gather your Delta Pouch pattern, its embroidery template, suitable fabric, an embroidery needle, green, white and yellow embroidery floss, an erasable fabric marker and the reinforcement required for your project. Follow the Delta instructions for the actual pieces and interfacing.
Annemieke’s original transfer method used a transparent dish with a light underneath. A light box or bright window can also help you trace if the fabric is sufficiently translucent. Test the marker and its removal method on a scrap first. Position the design within the finished flap area, clear of seams, folds and hardware. Do not assume every pouch size uses the same placement.
Support the fabric without stretching it
Use an embroidery hoop for fabric that needs support. It should hold the fabric smooth without pulling it out of shape. The original tutorial suggests a suitable tear-away support when working with stretch fabric. Check that your stabiliser suits the fabric and planned finish, and test how it removes. Keep excess fabric clear of your stitches.
Work the flower design
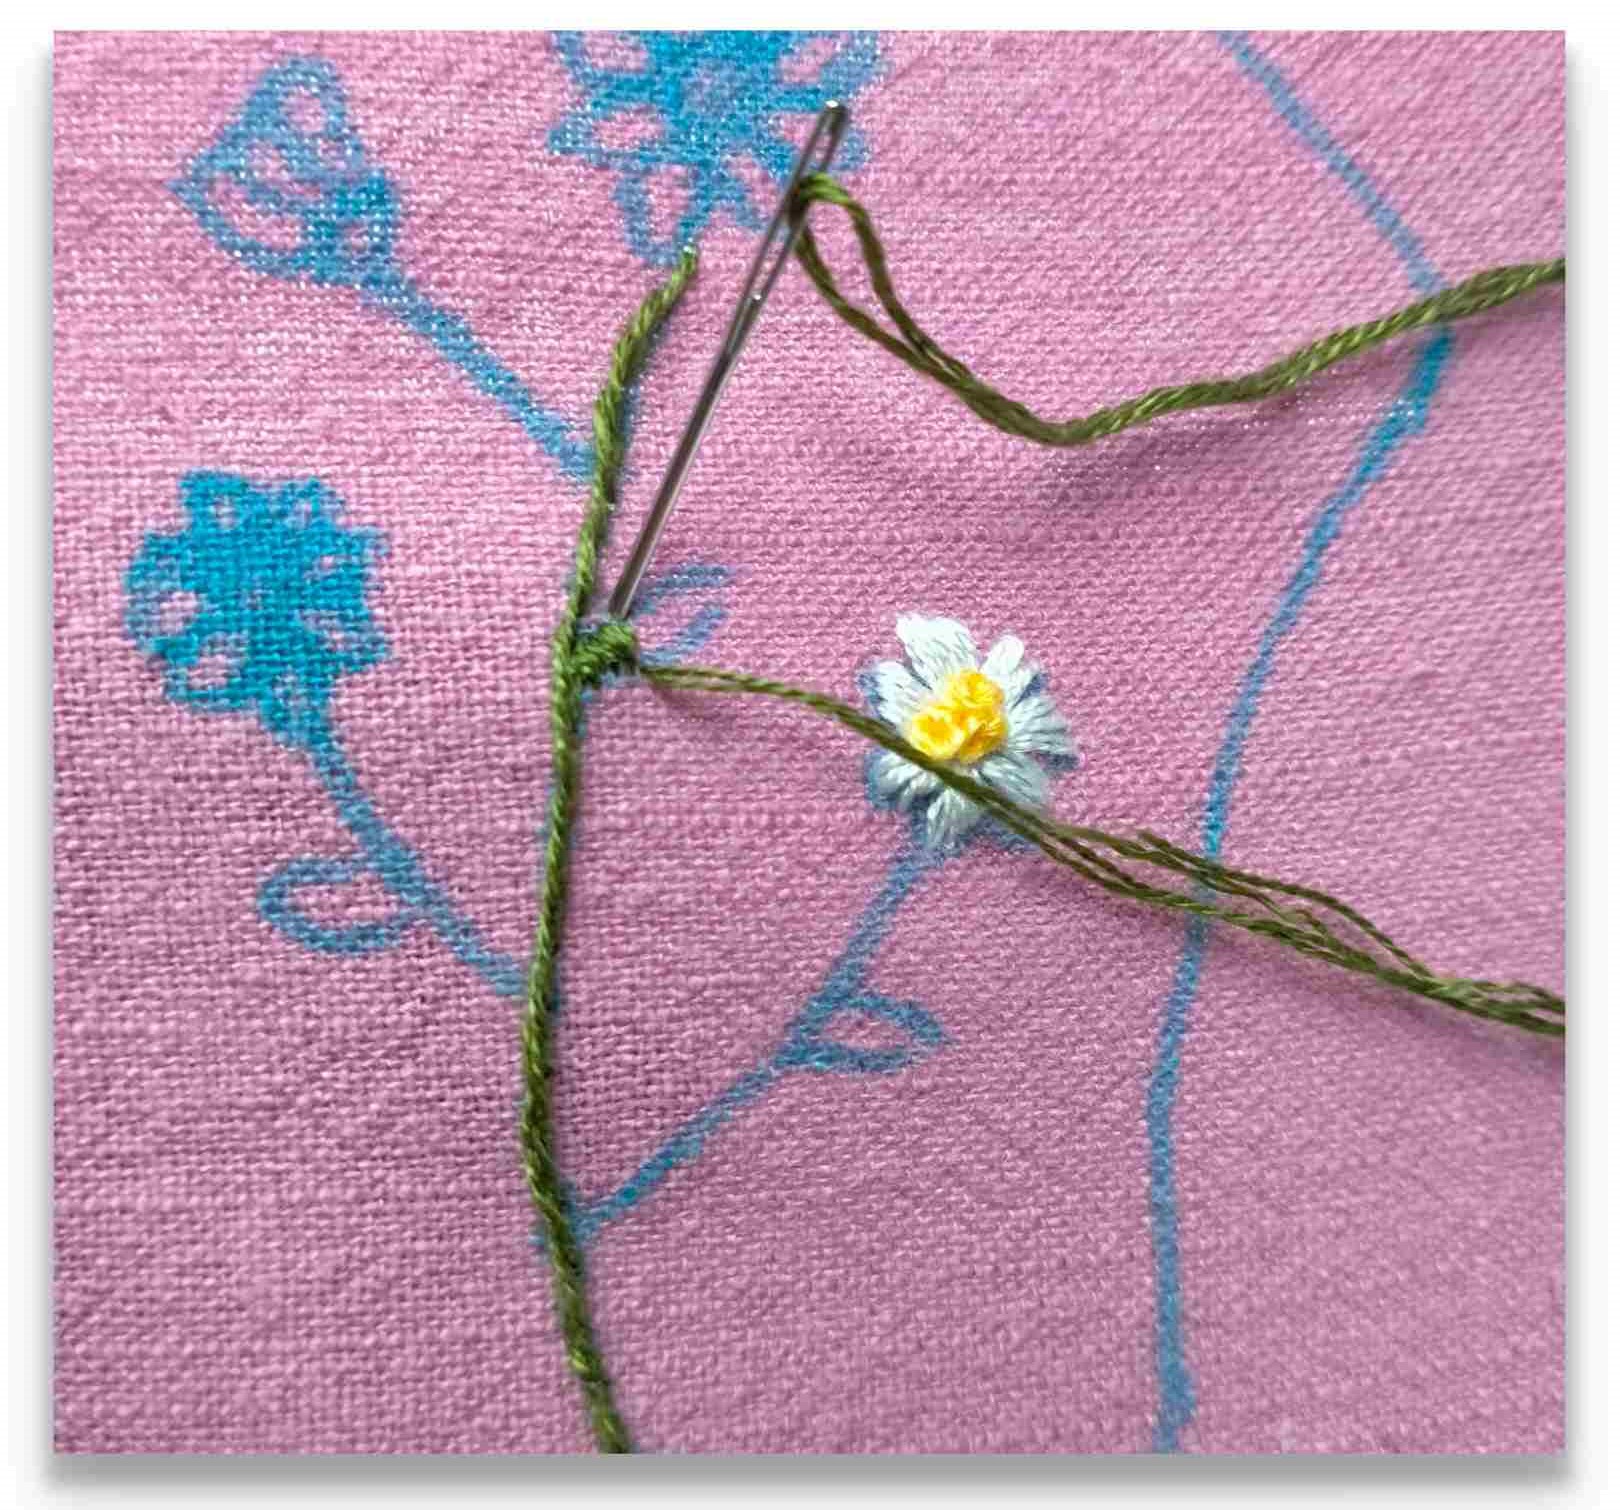
Use two strands of green floss for the stems and leaves in the original example. Work the stems in stem stitch, keeping the working thread consistently on one side of the stitch line for a smooth curve. Fill the leaves with closely placed satin stitches.
Use three strands of white floss for the petals and work satin stitches across each shape. Keep the stitches close without pulling so tightly that the fabric puckers. For the yellow centres, the original example uses three strands and French knots. Bring the needle up, wrap the thread around it two or three times, then take the needle down very close to the starting point while controlling the wrap. Practise on a scrap to find a tidy knot.
Secure the thread ends on the back without leaving long loose floats. The strand counts describe this specific example, not a requirement for every fabric or design.

Clean up and assemble the pouch
Remove the marker according to the tested product instructions and let the fabric dry fully. Check the embroidery and remove or trim stabiliser as appropriate. Press carefully if the materials allow it, protecting the raised stitches. Then assemble your Delta Pouch using its pattern instructions.
Keep the embroidery clear of the seam and closure so it remains visible after construction. For more ideas, visit our YouTube channel. Annemieke invites makers to share their work with @Label_madelief and #metmadeliefborduren; follow the current sharing and credit arrangements when posting your project.
Continue with folding and construction
Complete the embroidery at the stage your Delta instructions specify so the reverse of the stitching is handled as intended. When you are ready to continue, the F4U Delta folding video provides a separate visual reference for folding and pressing the pouch. It demonstrates that construction stage rather than embroidery stitches. Use your current Delta instructions for the full assembly sequence and measurements.