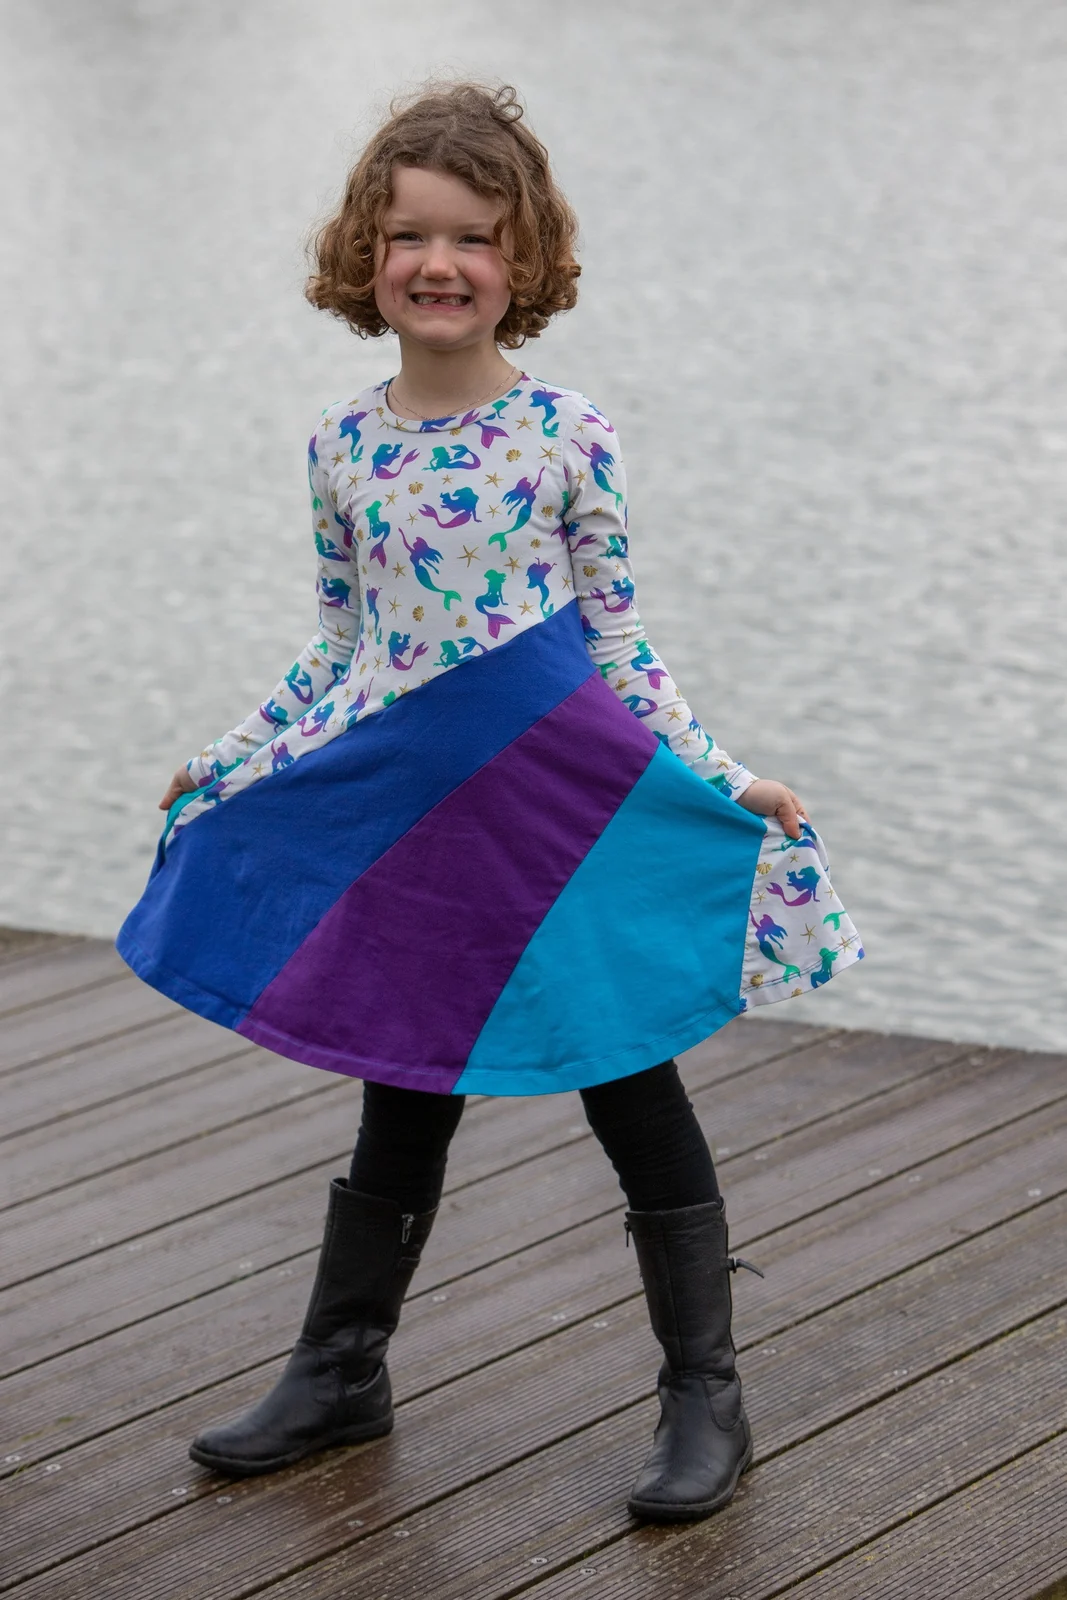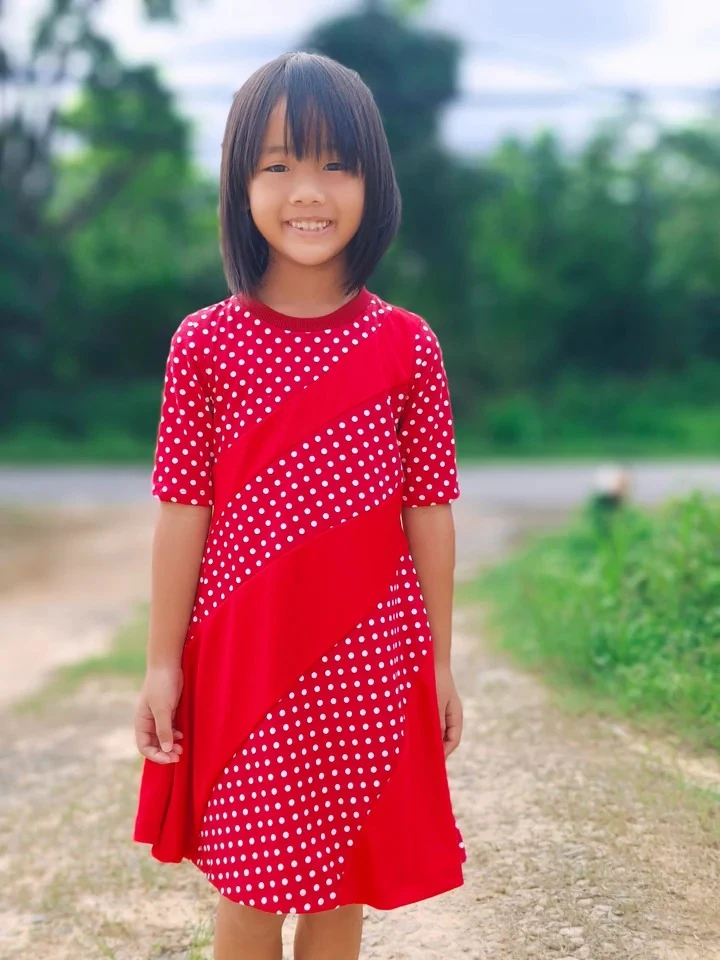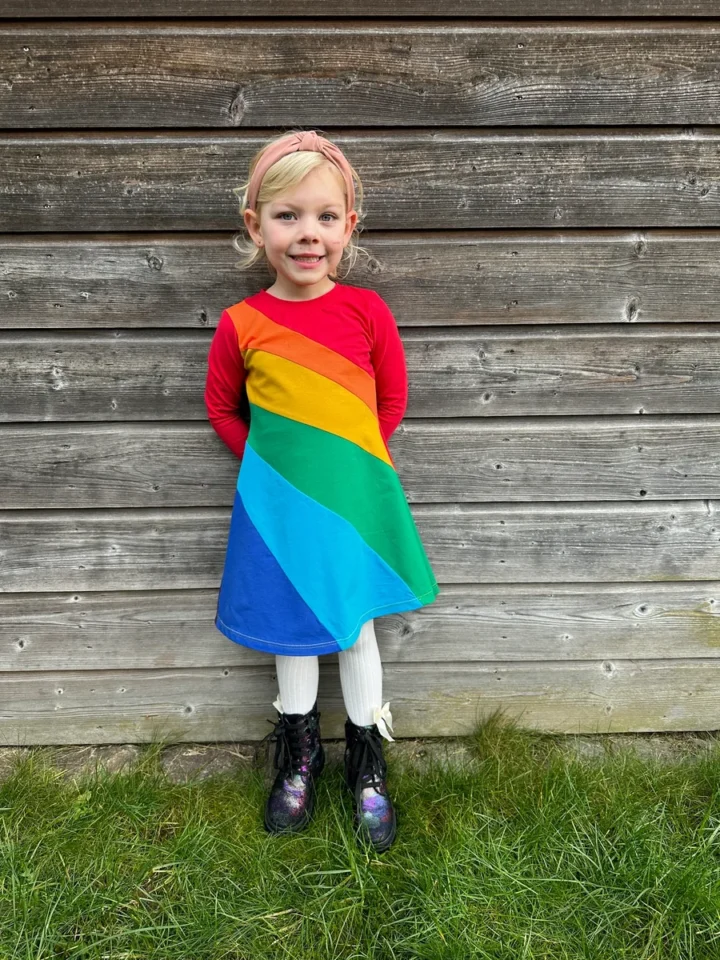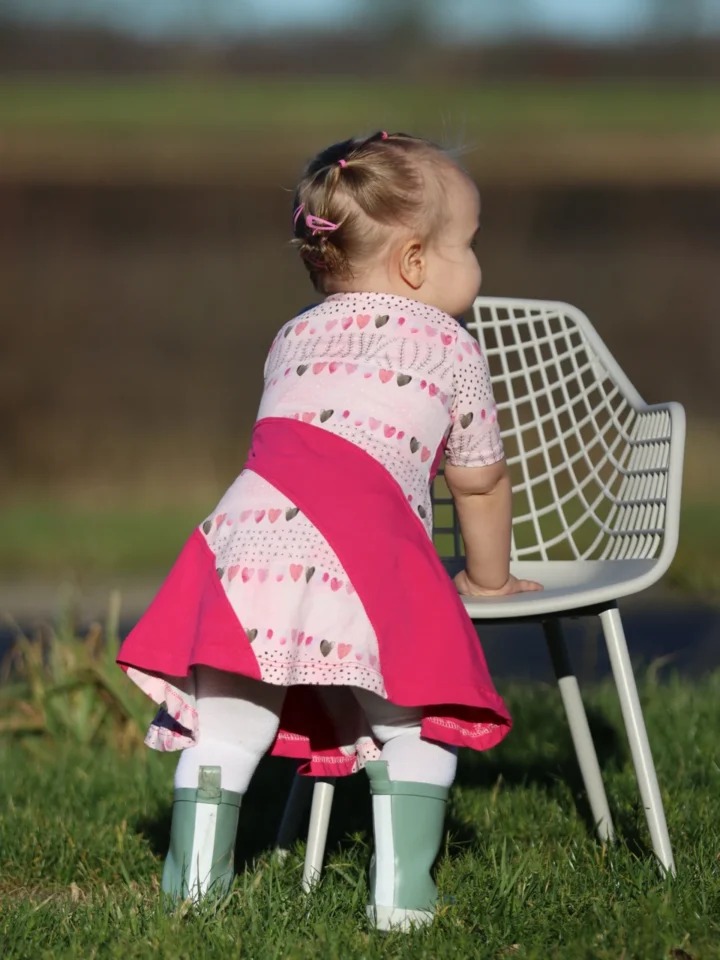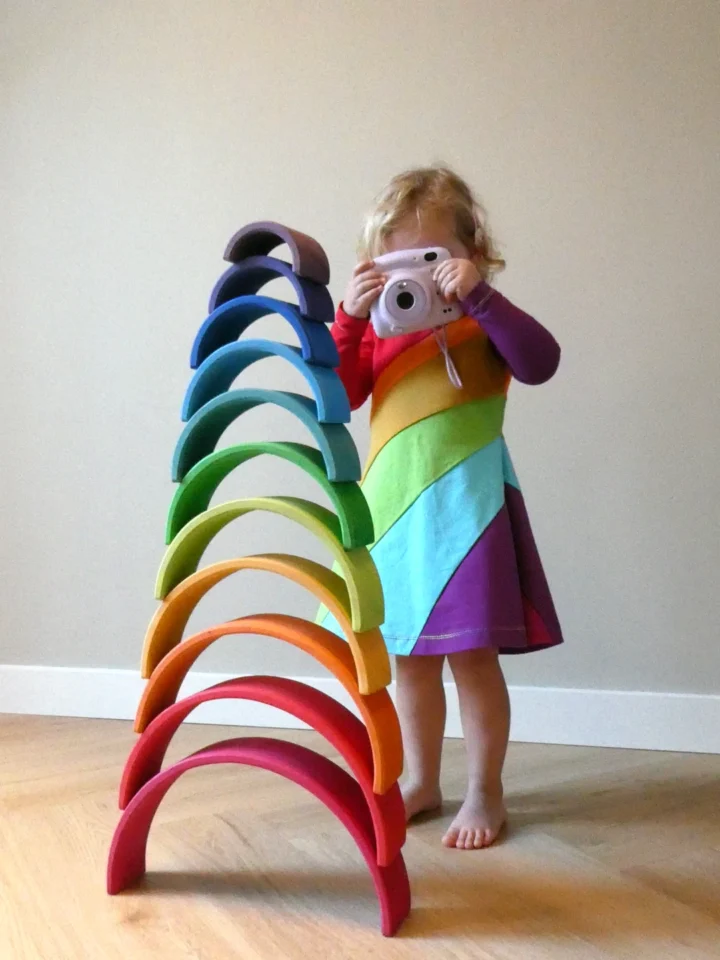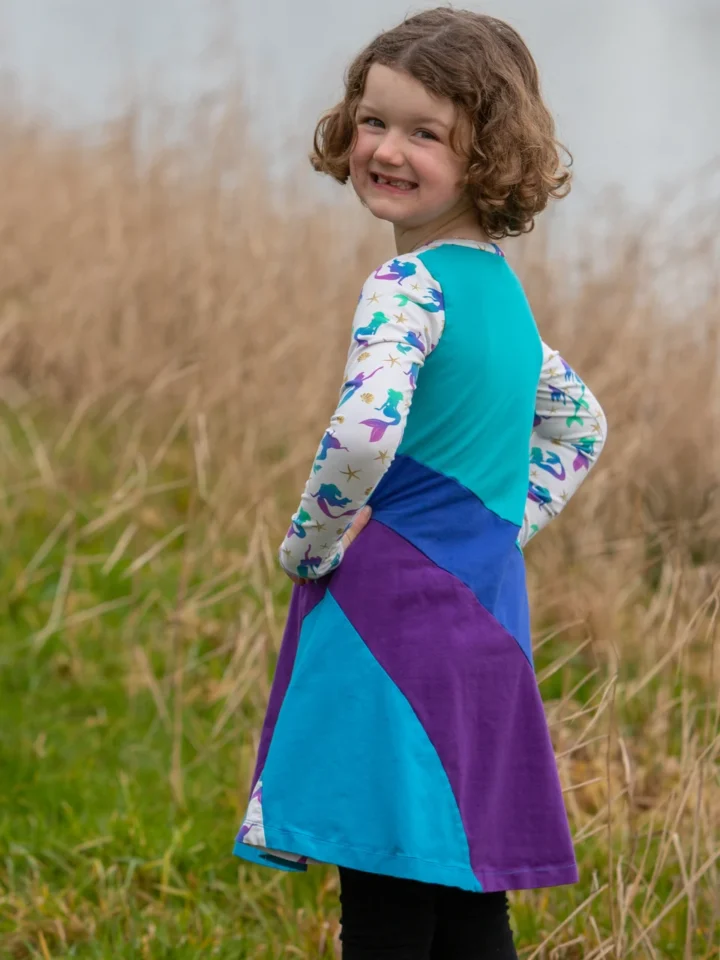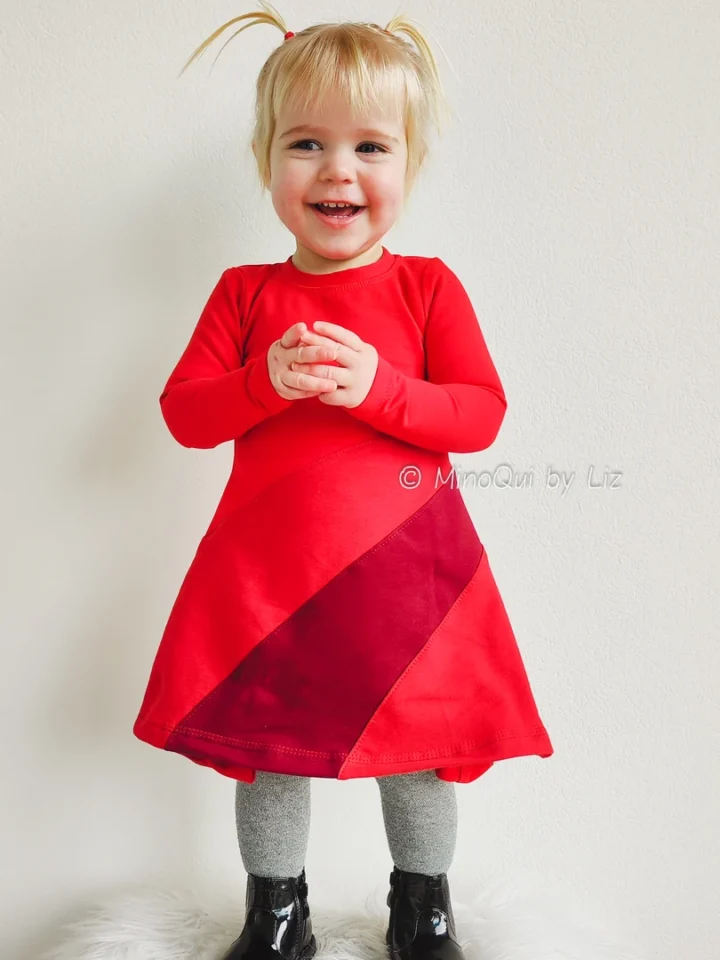
Original written circle hem tutorial by Brenda Hennis-Verbaan
A curved edge needs gentle handling
A circle skirt changes grain direction around its edge. Pulling while pressing or sewing can make the hem wave. A flounce has the same challenge, often with a tighter curve. The finish should suit the fabric, the design and the hem allowance in your pattern.
Prepare the edge and mark the allowance
Check that the construction seams are finished as required. If your chosen woven fabric needs to relax before the hem is levelled, allow that before marking. Do not automatically trim the hem just because it is curved. Measure the allowance given in the pattern.
At the start of the video, an overlocked edge is gently eased so it can turn inward more readily. The maker adjusts differential feed; this is preparation for this fabric and curve, not a universal machine setting. Try the effect on a comparable scrap first. Aim to control the excess at the turning edge without shrinking or stretching the garment itself.
Brenda’s original tutorial shows marking with a fabric pen or pencil, or with a line of long basting stitches. Test a marker on a scrap first. The allowance demonstrated in the video belongs to that example; other F4U patterns and options can use a different allowance. Keep the fold consistent with your own instructions.
Press and support the curve
Turn the allowance to the wrong side and press gently as your fabric allows. Support the garment so its weight does not stretch the edge. Work in small sections and use pins or clips to hold the fold. Remove pins before the needle reaches them.
In the F4U video, the hem is pressed before stitching. Around 9:27 the footage shows a coverstitch machine, and its onscreen note explains that a regular sewing machine can also be used. The machine is one part of the method; an even fold and controlled feeding still matter.
Stitch with a suitable finish
Test your stitch on the same fabric and number of layers. For a knit hem, a coverstitch, suitable twin-needle setup or an appropriate stretch stitch may be options. For woven fabric, choose a finish that suits its drape and the curve. A narrow turned hem or another pattern-approved method may handle a tight curve better than a wide fold.
Guide the fabric without pulling it. Keep the fold width consistent and check the underside as well as the visible stitching. Trim excess inside only if the chosen method requires it, keeping clear of the stitches and garment.
Check the finished curve
If the hem ripples, check whether the fabric stretched, the fold contains too much fullness or the machine feed needs adjustment. If the edge twists, check fold width and pressing before changing settings. Let the garment hang naturally and compare the finished shape.
Watch the F4U circle skirt video. For material choices, see Fabric Types, and use our binding guide when an edge needs binding instead of a turned hem.