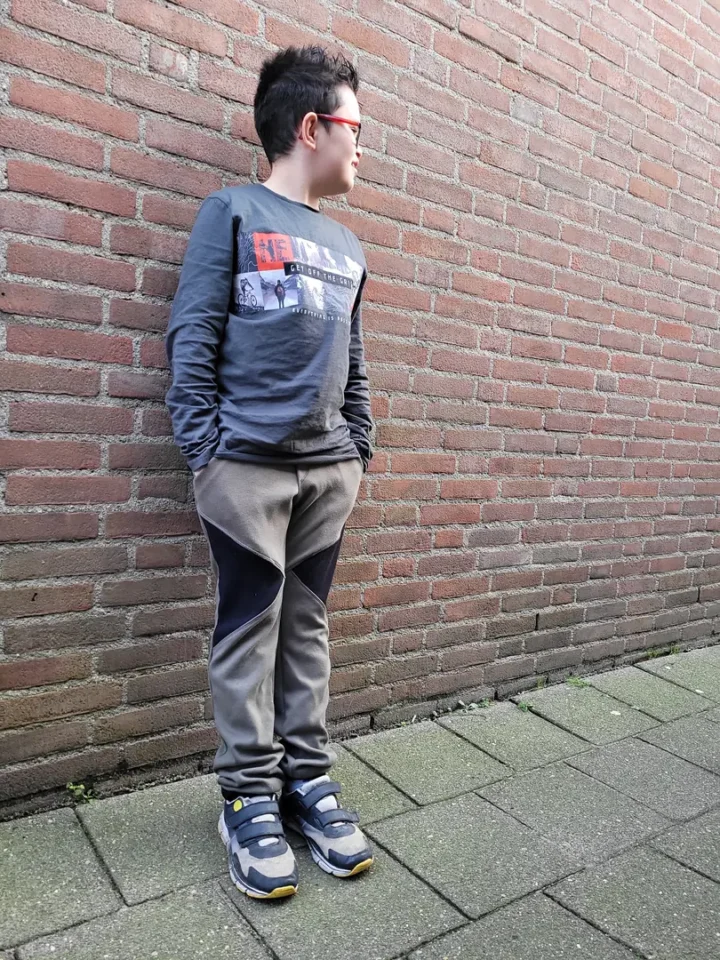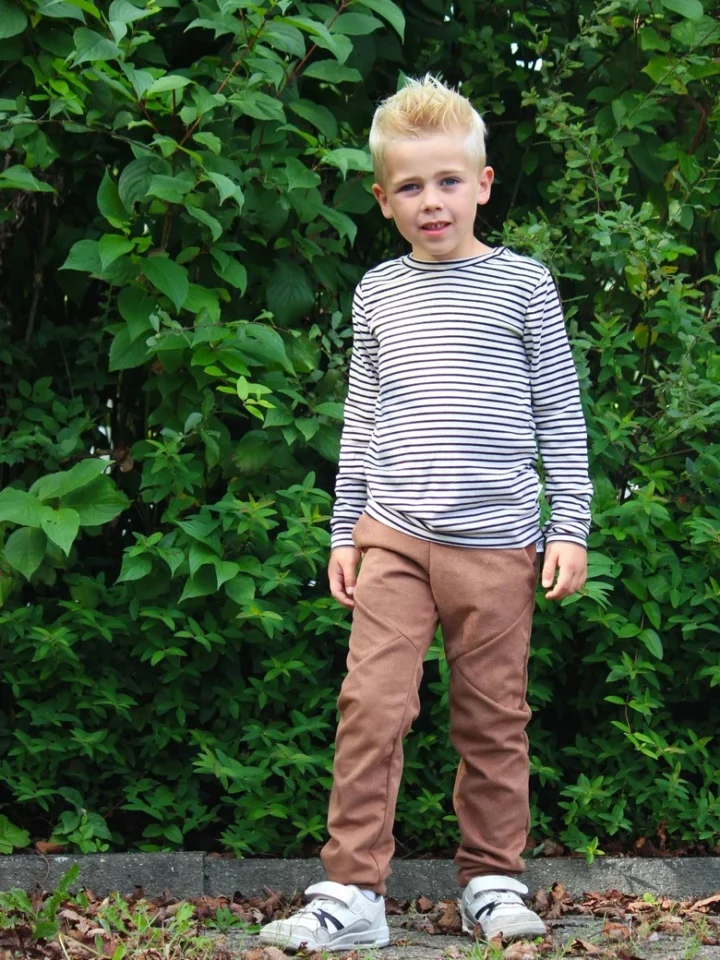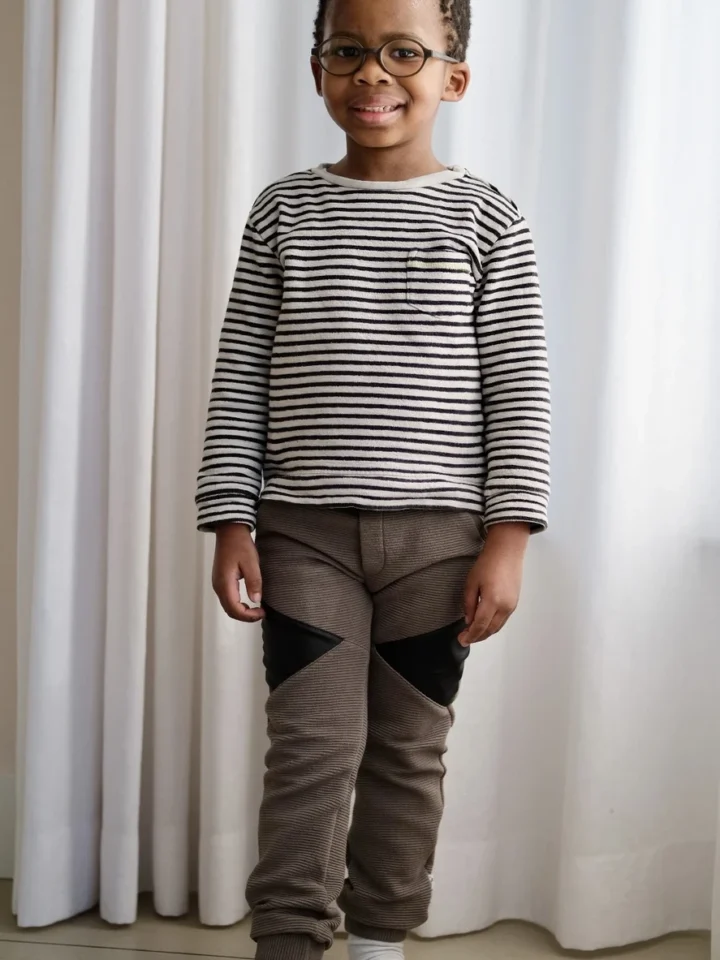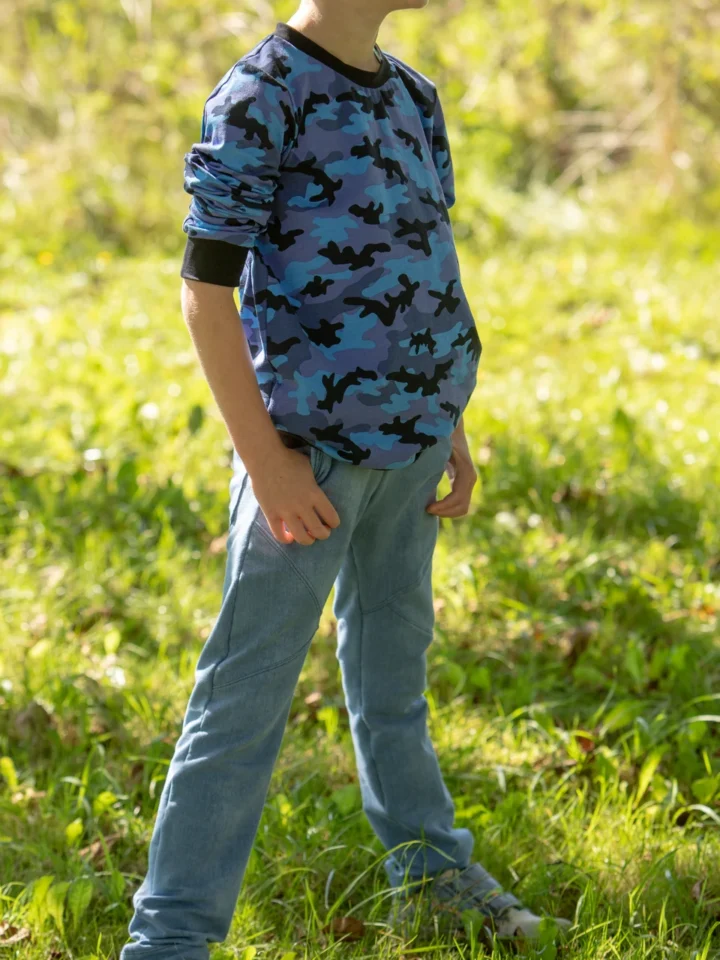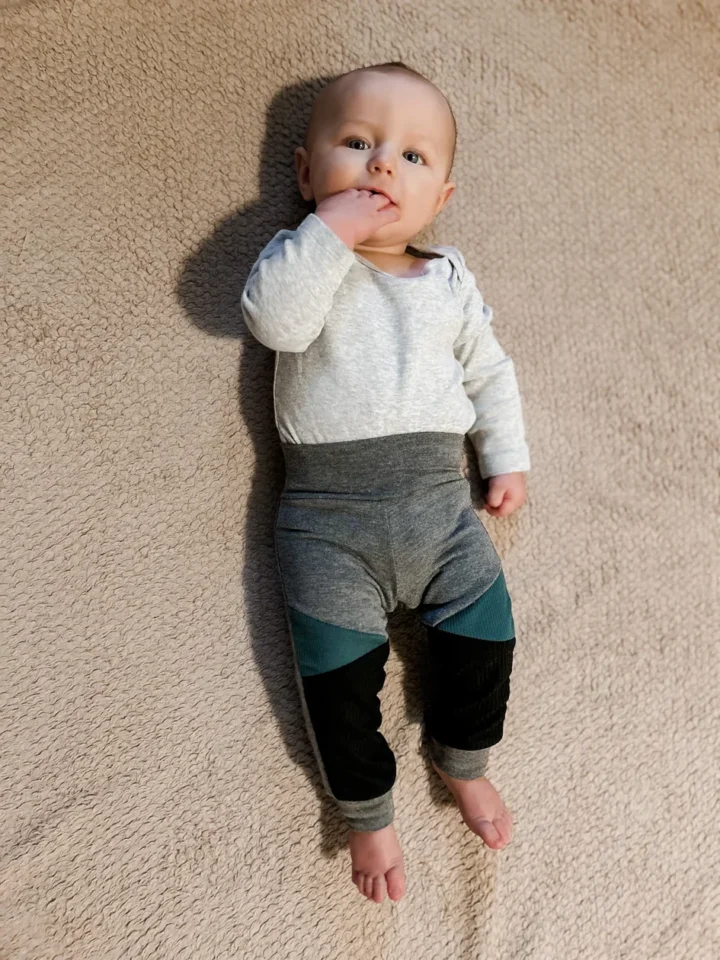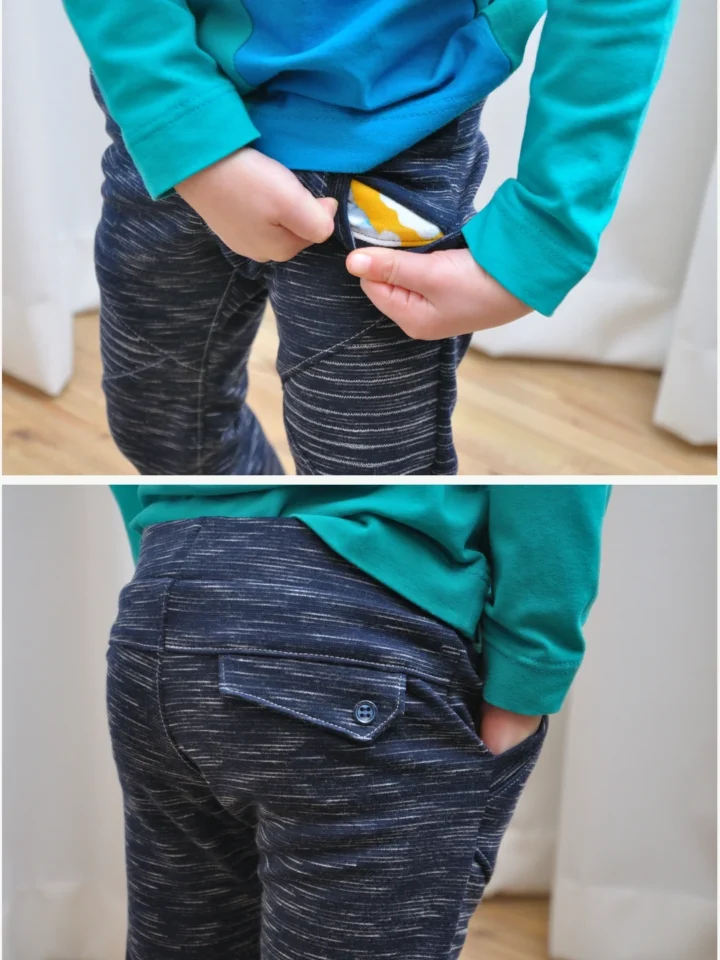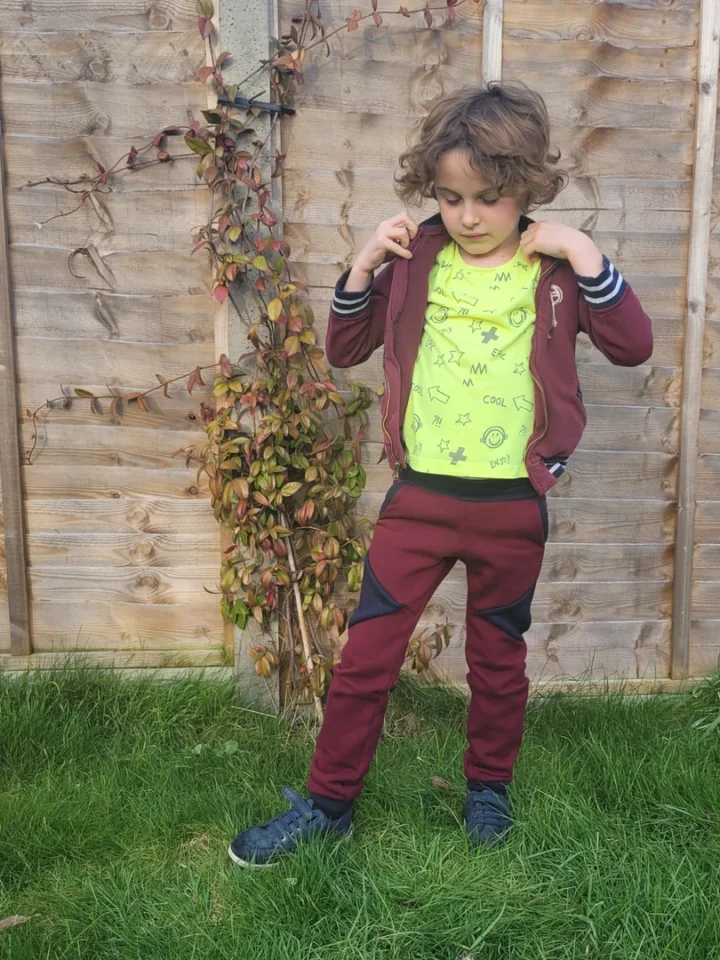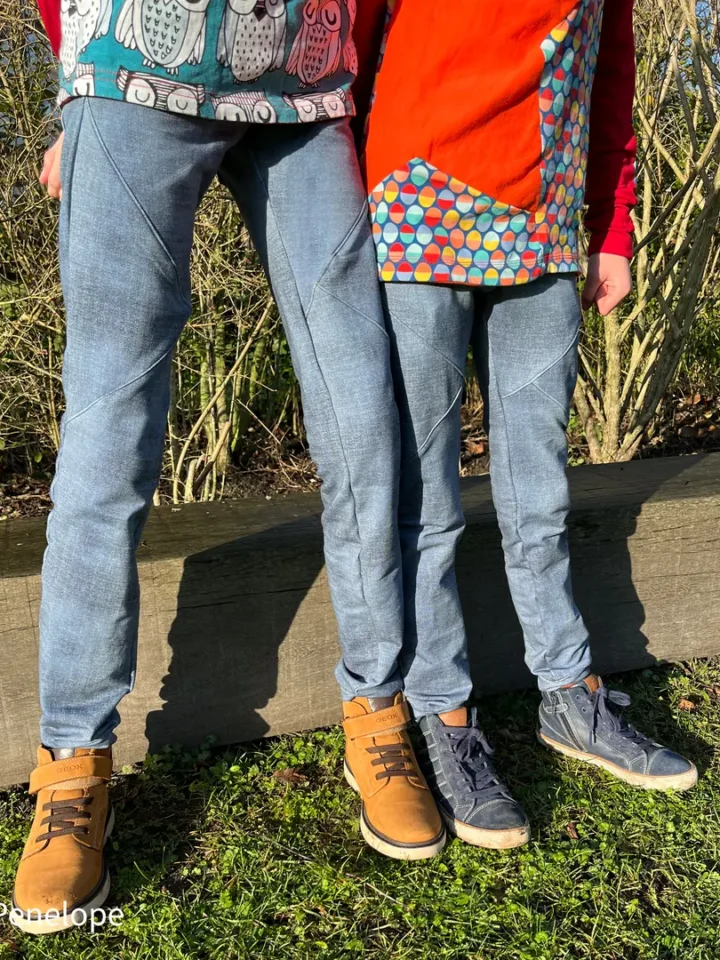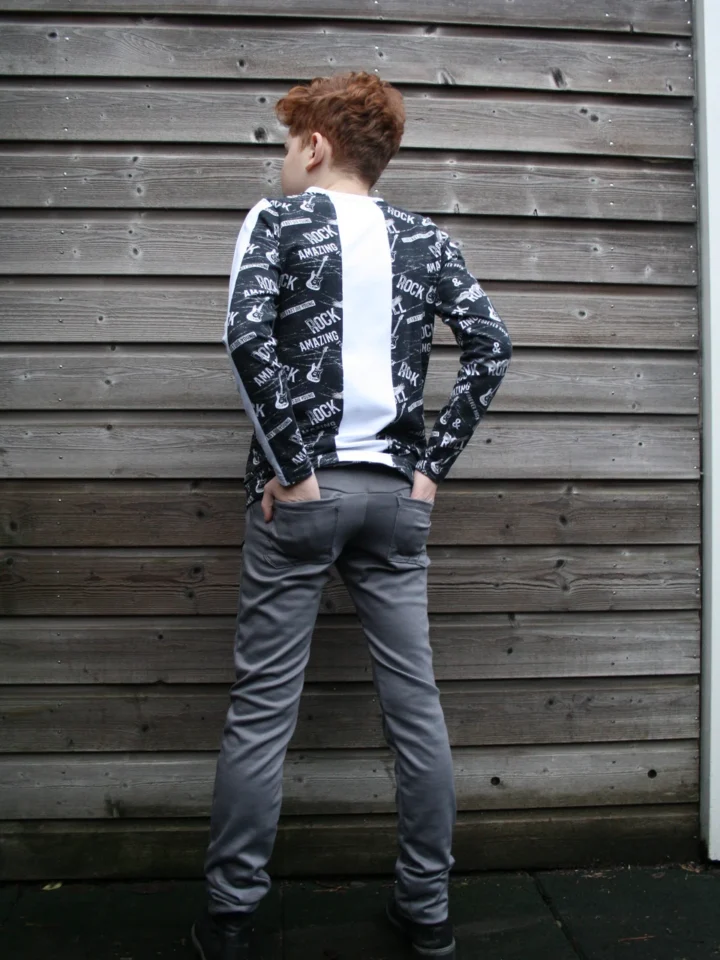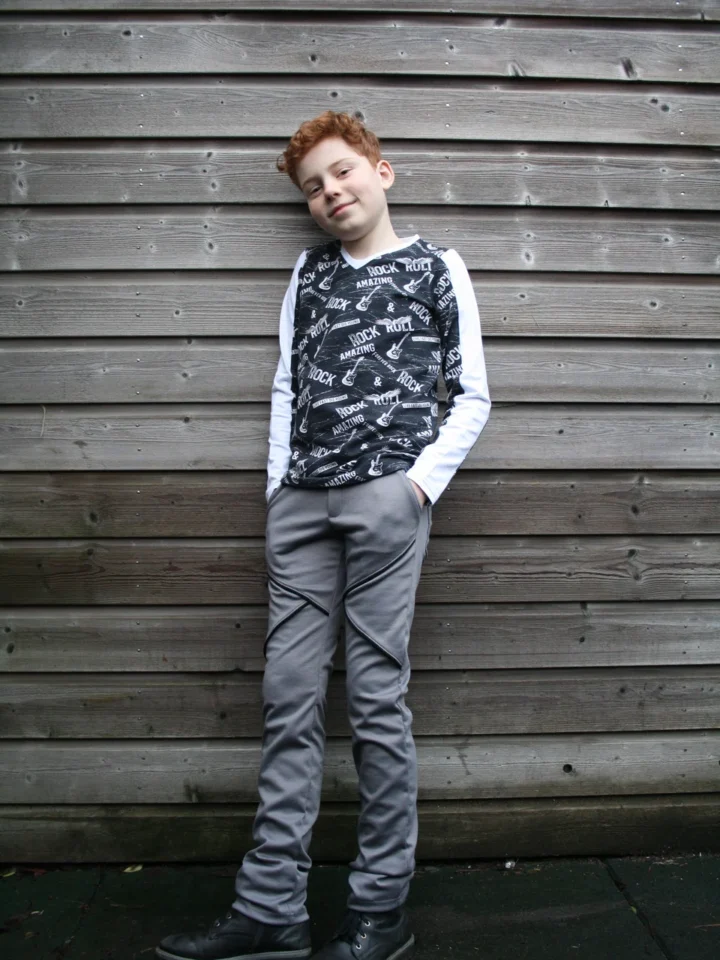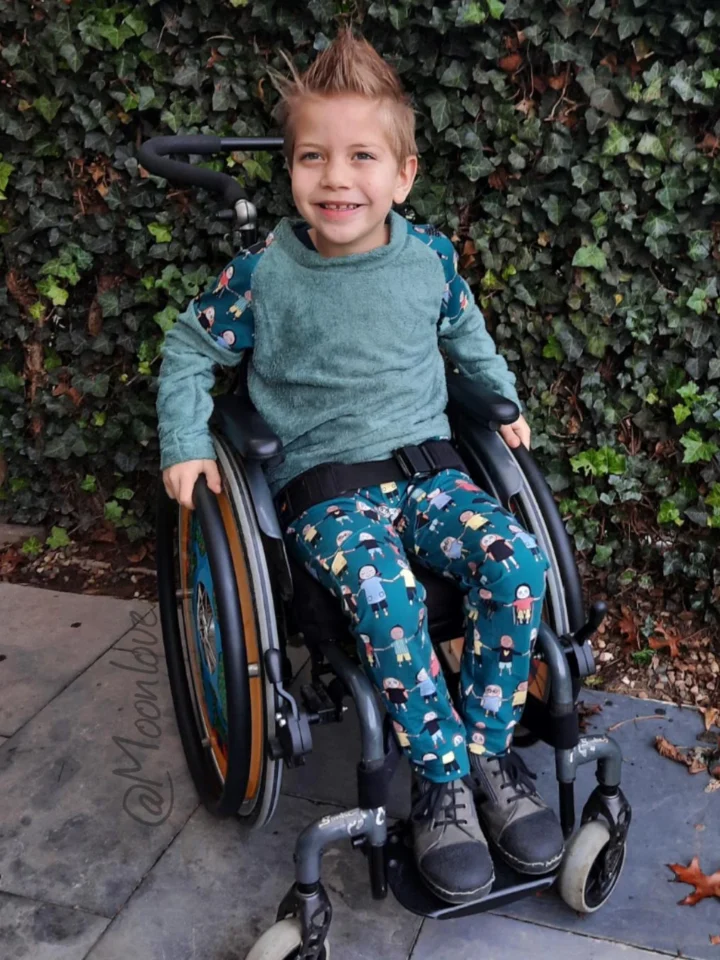
Guest method by Lianne Herregraven.
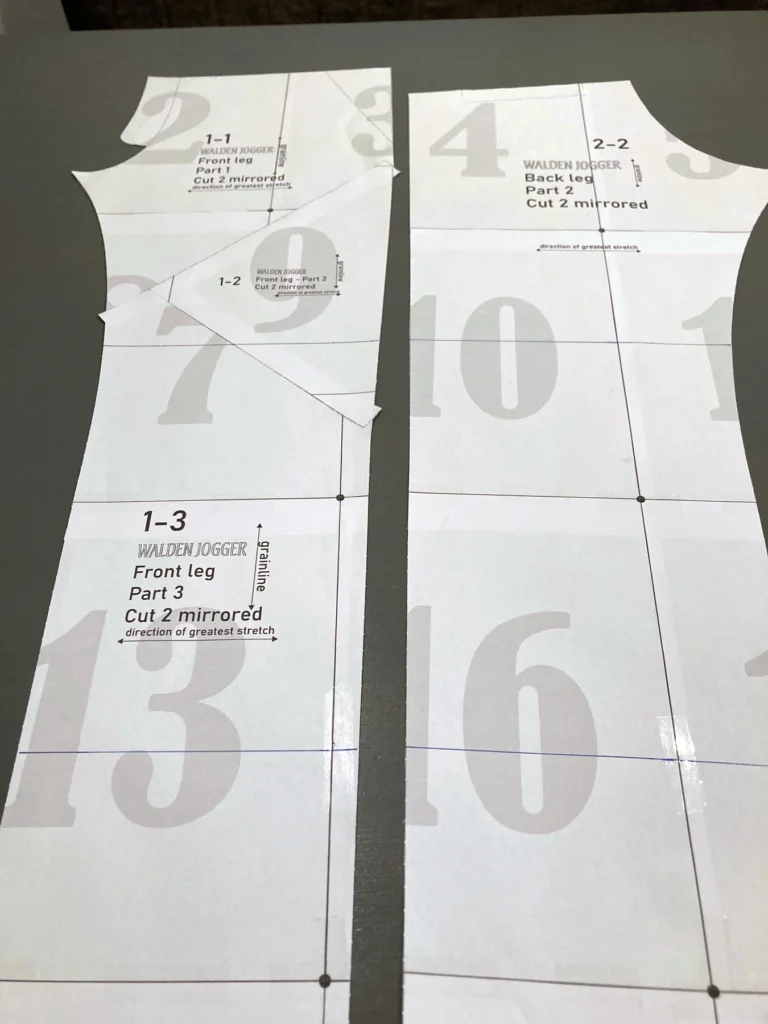
Adding every extra centimetre at the hem did not give Lianne the result she wanted for her children’s long legs. For this Walden project, she lengthened the leg above and below the knee, then restored the colourblock joins. Her original process photographs show how she worked on her traced paper pieces.
1. Choose the base size and plan the extra length
Start from the hip size specified by your pattern, then compare the wearer’s inseam with that size’s length. Check the intended hem or cuff finish as well. Lianne’s example needed approximately 14 cm of extra leg length, which she divided into two 7 cm additions. That distribution suited her wearer; use your own measurements and knee position to decide where a change belongs.
2. Temporarily join the front colourblock pieces
Trace the pieces before altering them. To treat the divided front as one leg, align the joining sewing lines. In Lianne’s Walden example, both adjoining pieces include a 1 cm seam allowance, so the cutting edges overlap by 2 cm when those sewing lines meet. Do not butt the cutting edges together or overlap by only 1 cm. Check the allowance in the pattern version you are using.
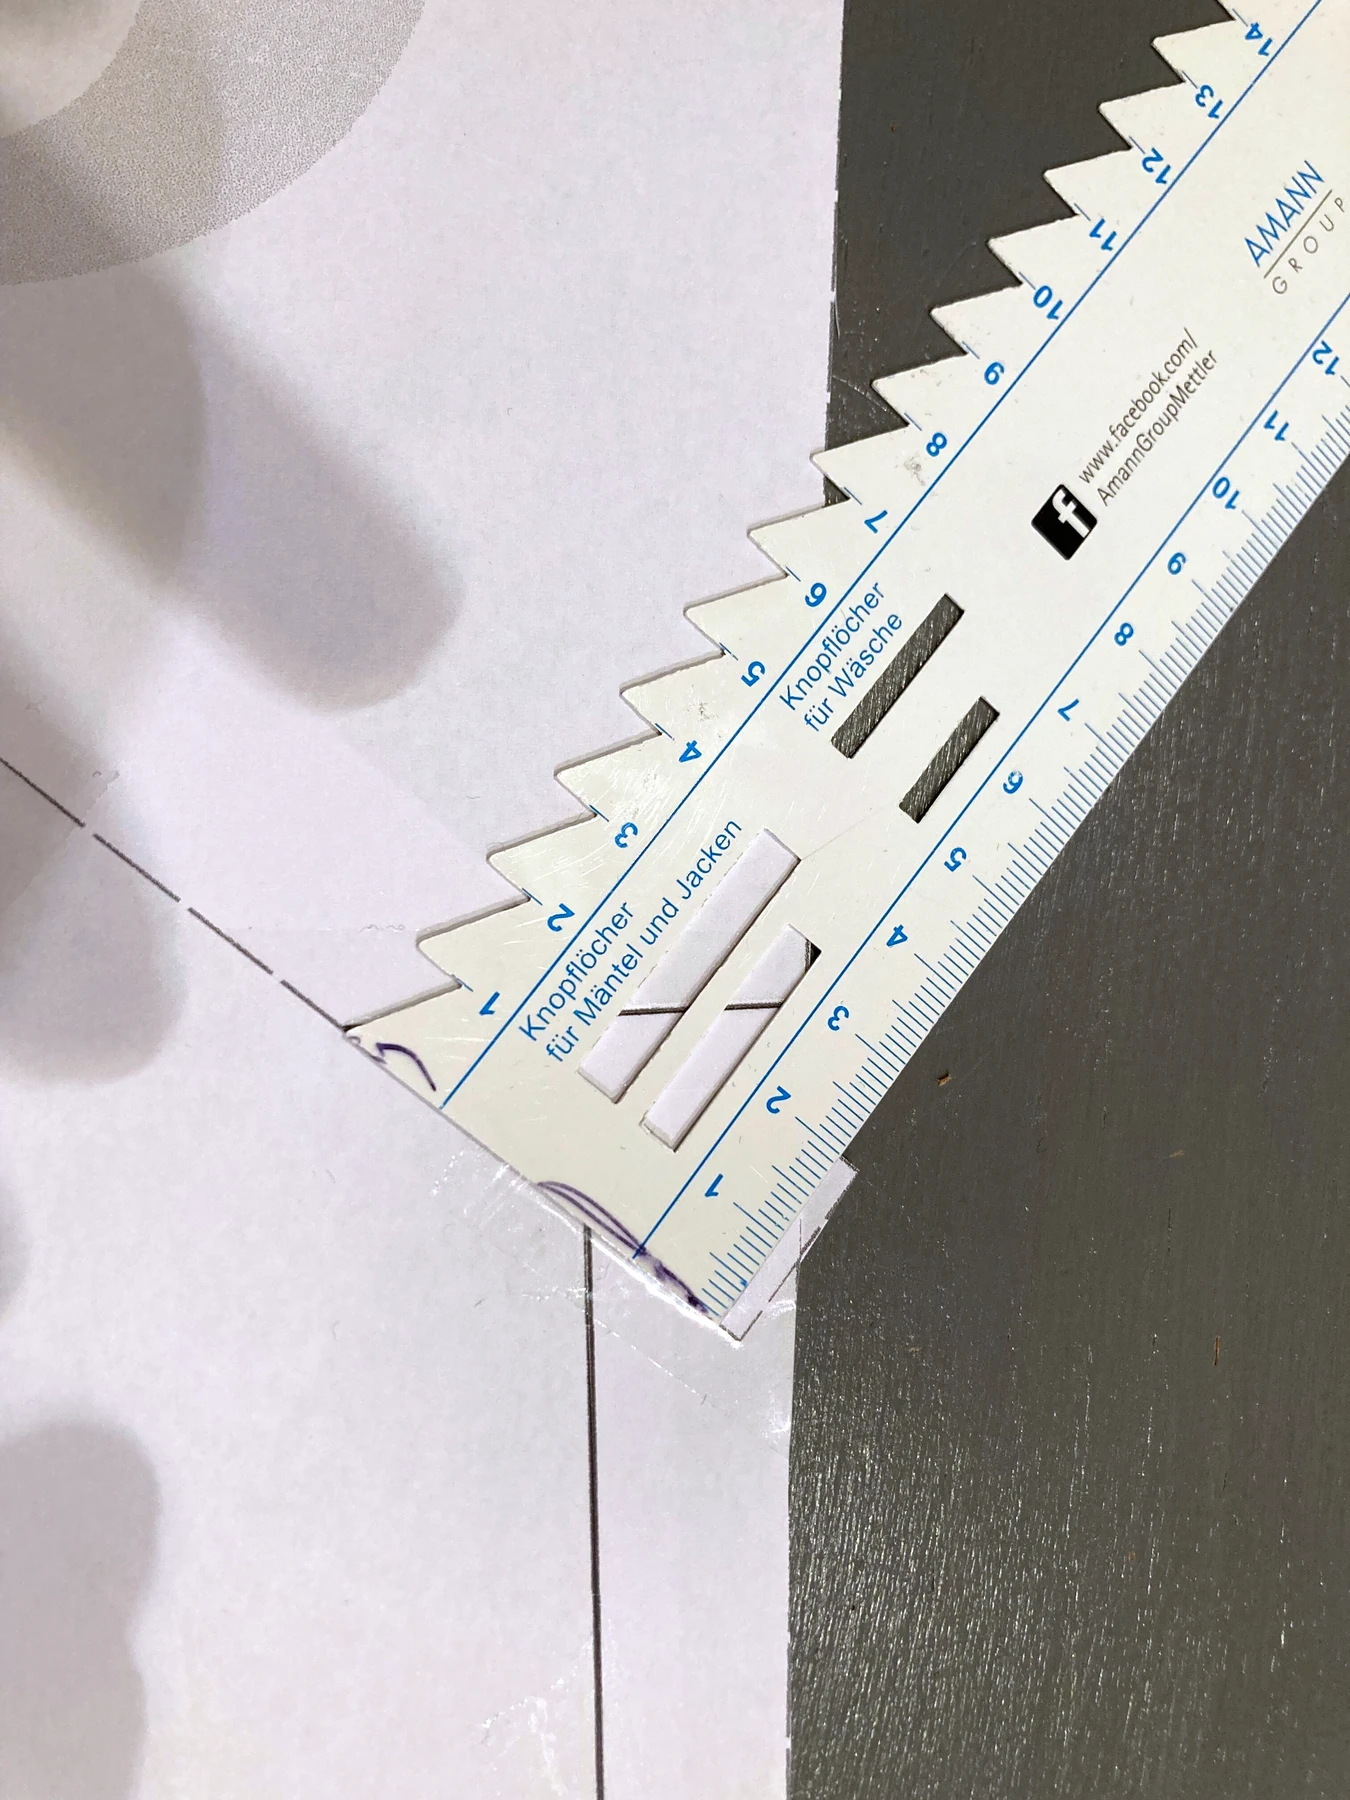
3. Mark matching adjustment levels
Place the front and back together to mark the changes at corresponding heights. Draw a line above the knee and another below it, at right angles to the grainline. Consider where the upper cut crosses the colourblocks: its position affects which section becomes longer.
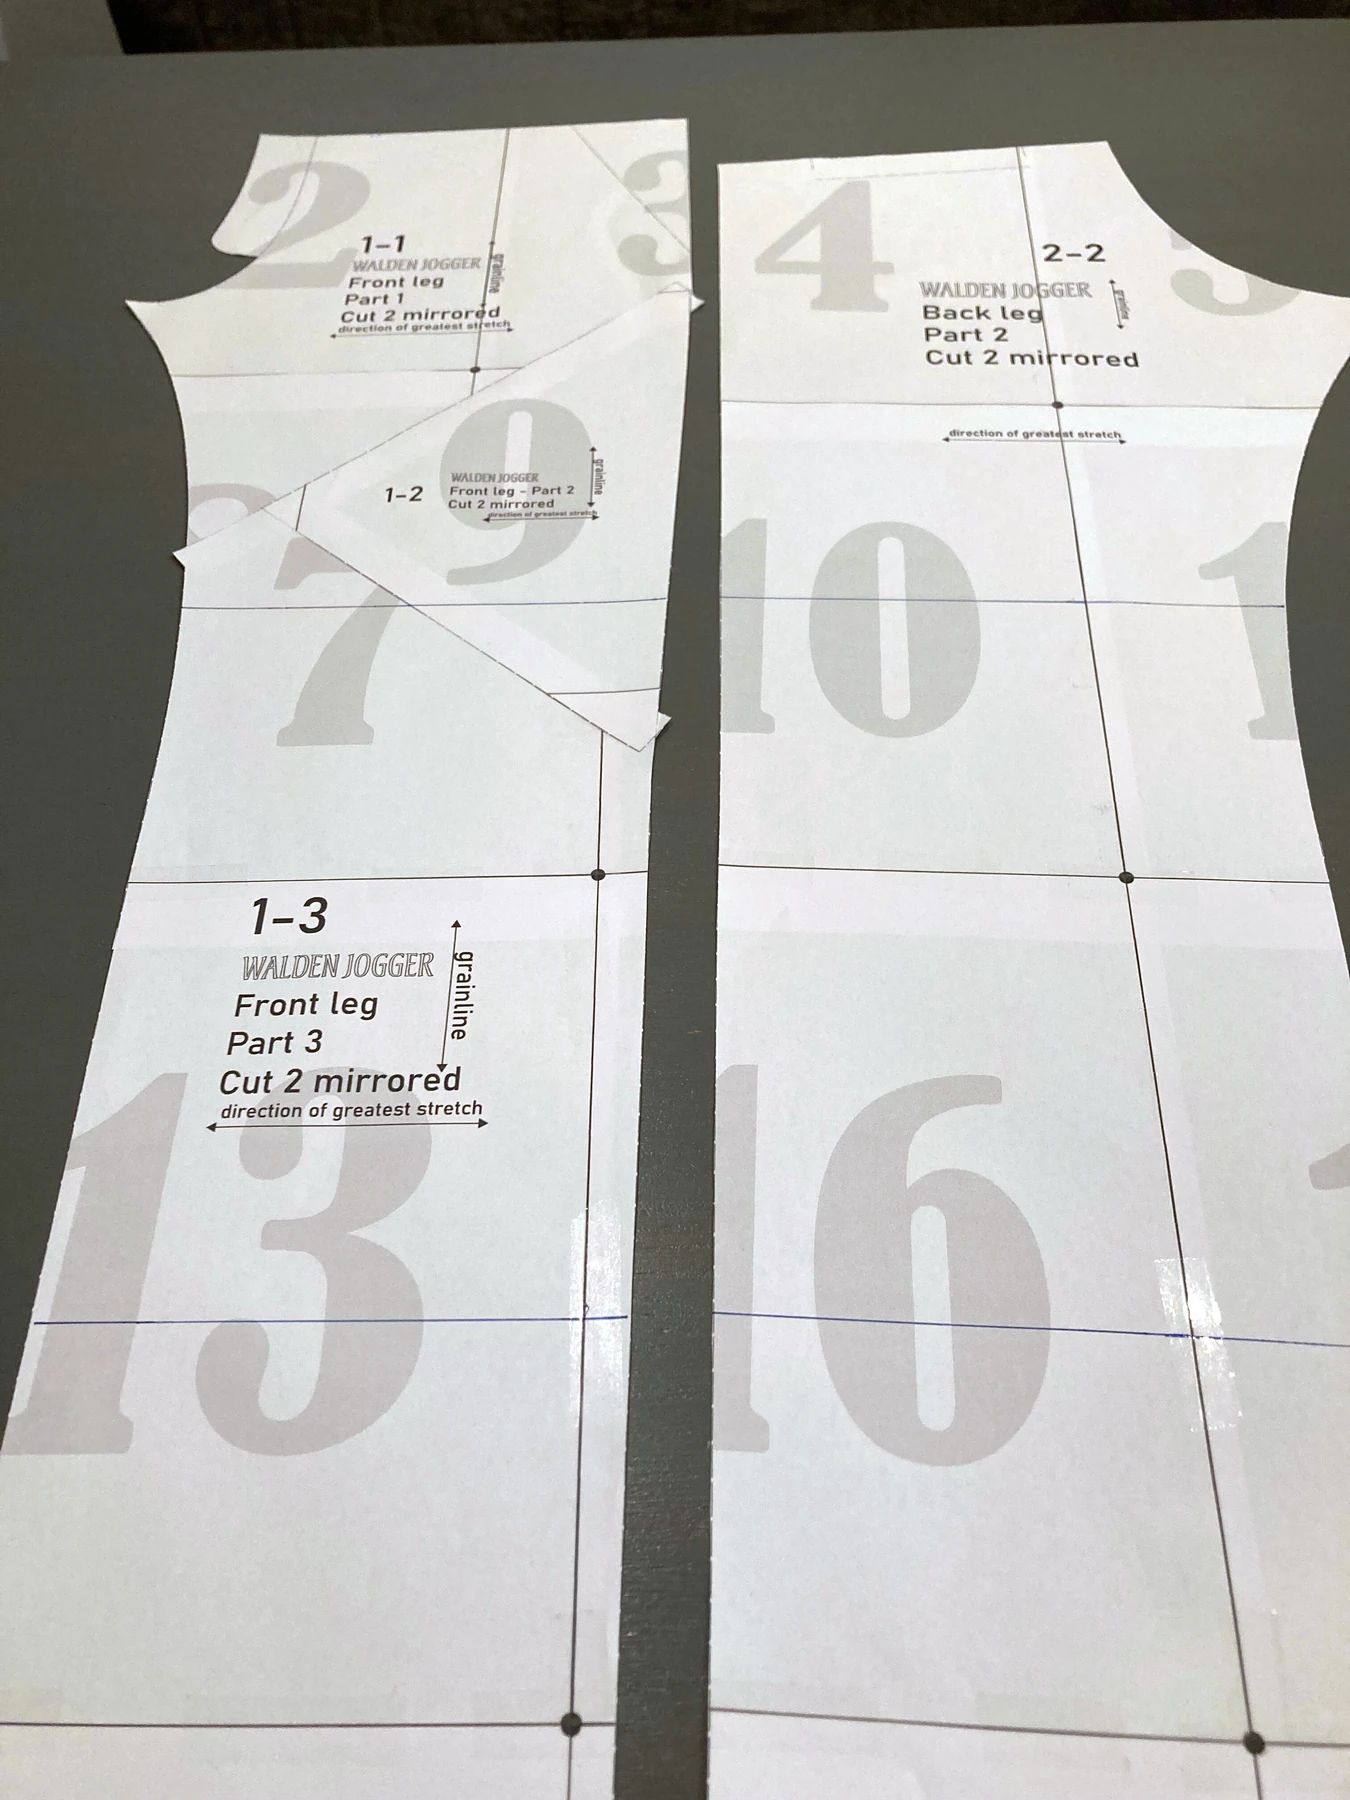
4. Cut and spread on squared paper
Cut along the marked lines and place paper beneath the gaps. Keep the grainline aligned across the sections rather than shifting one piece sideways. Lianne used squared paper to measure the additions accurately. Her two 7 cm gaps are an example, not an amount to copy for every child.
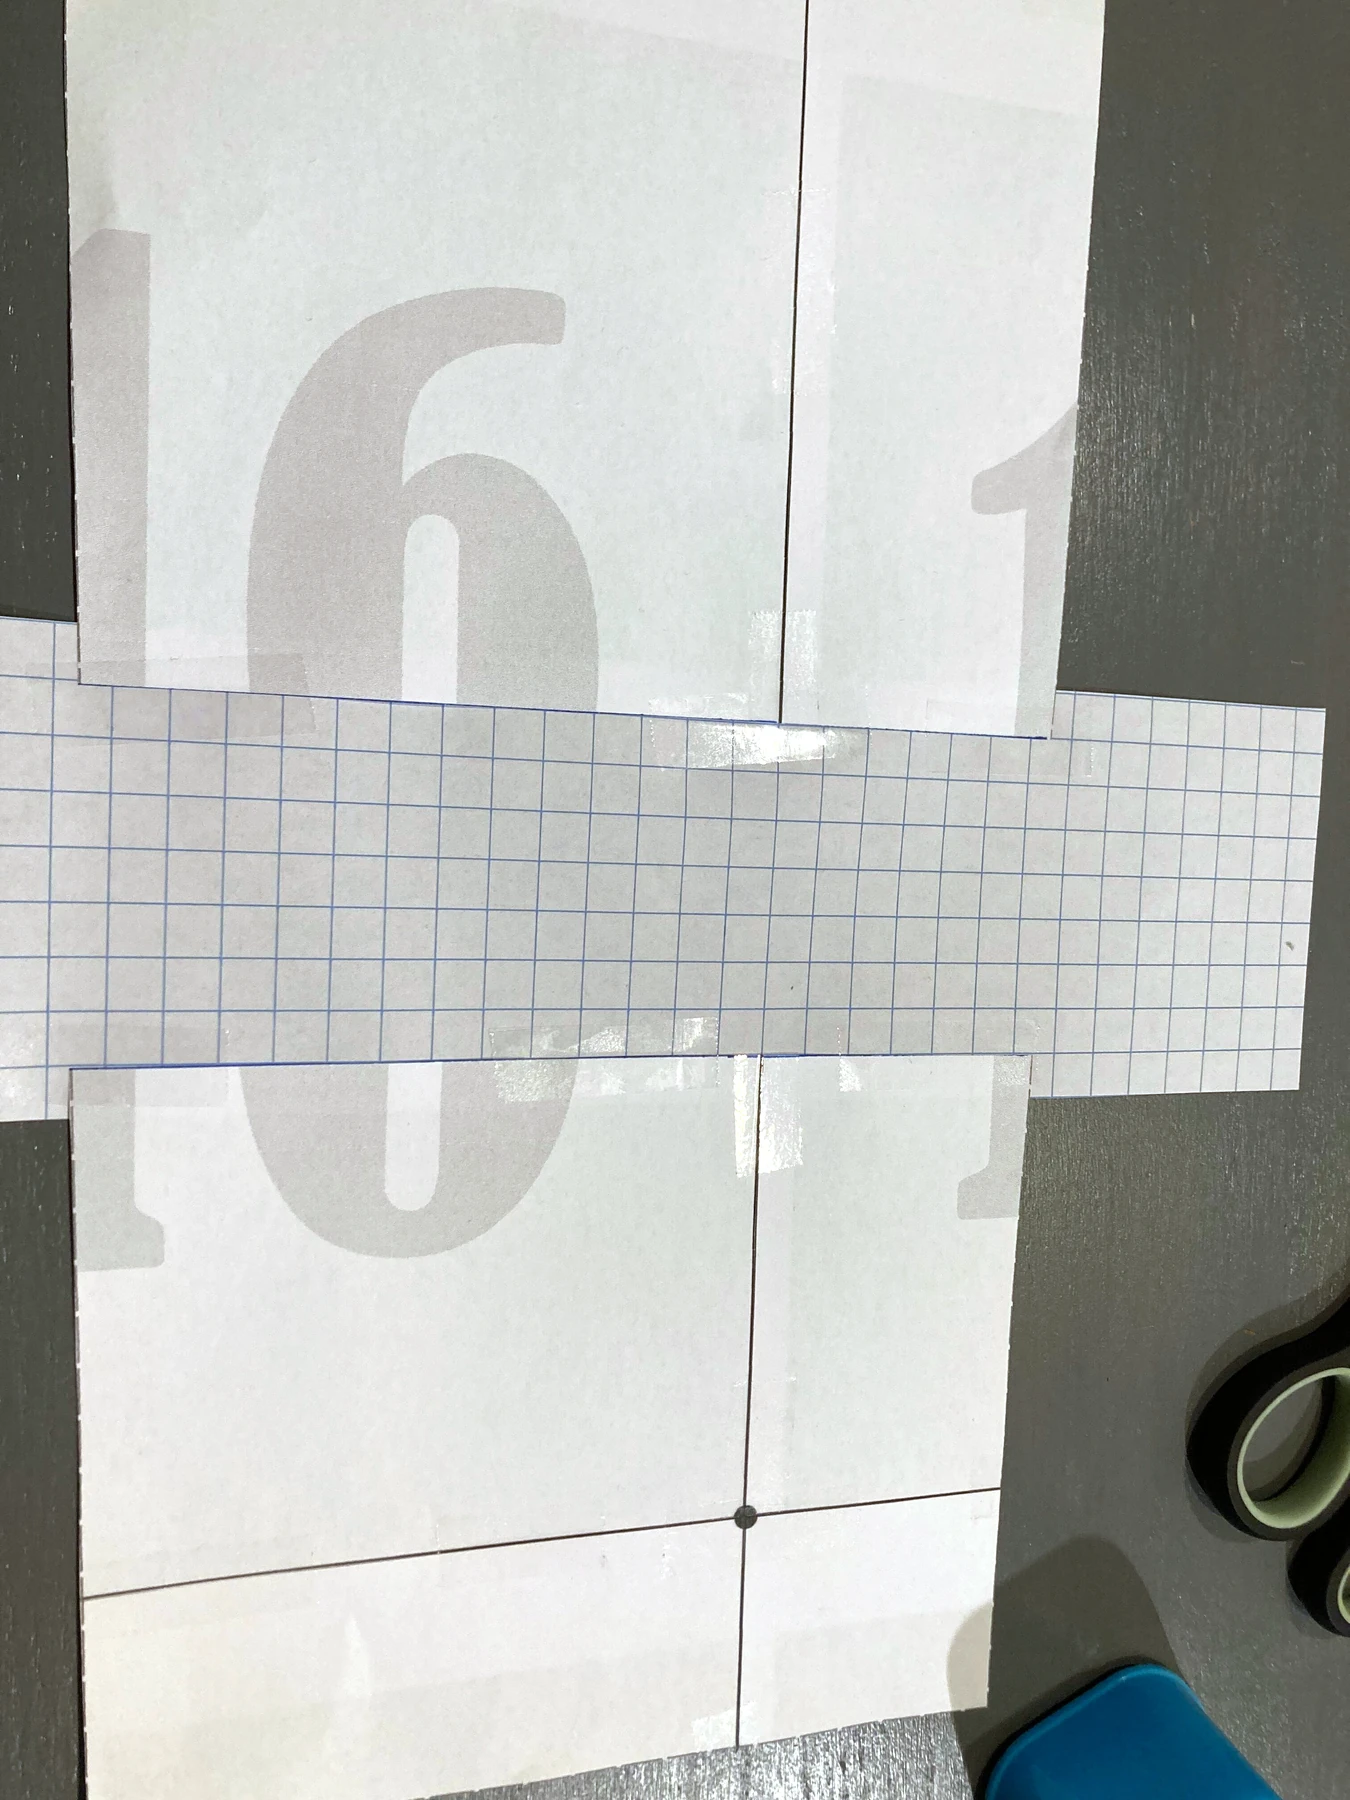
5. Redraw the outside edges
Secure the paper and draw smooth transitions along the side seam and inseam. Check the new front and back lengths against the seams that will be joined. Retain the intended leg shape and knee position instead of extending the outline with an abrupt corner.
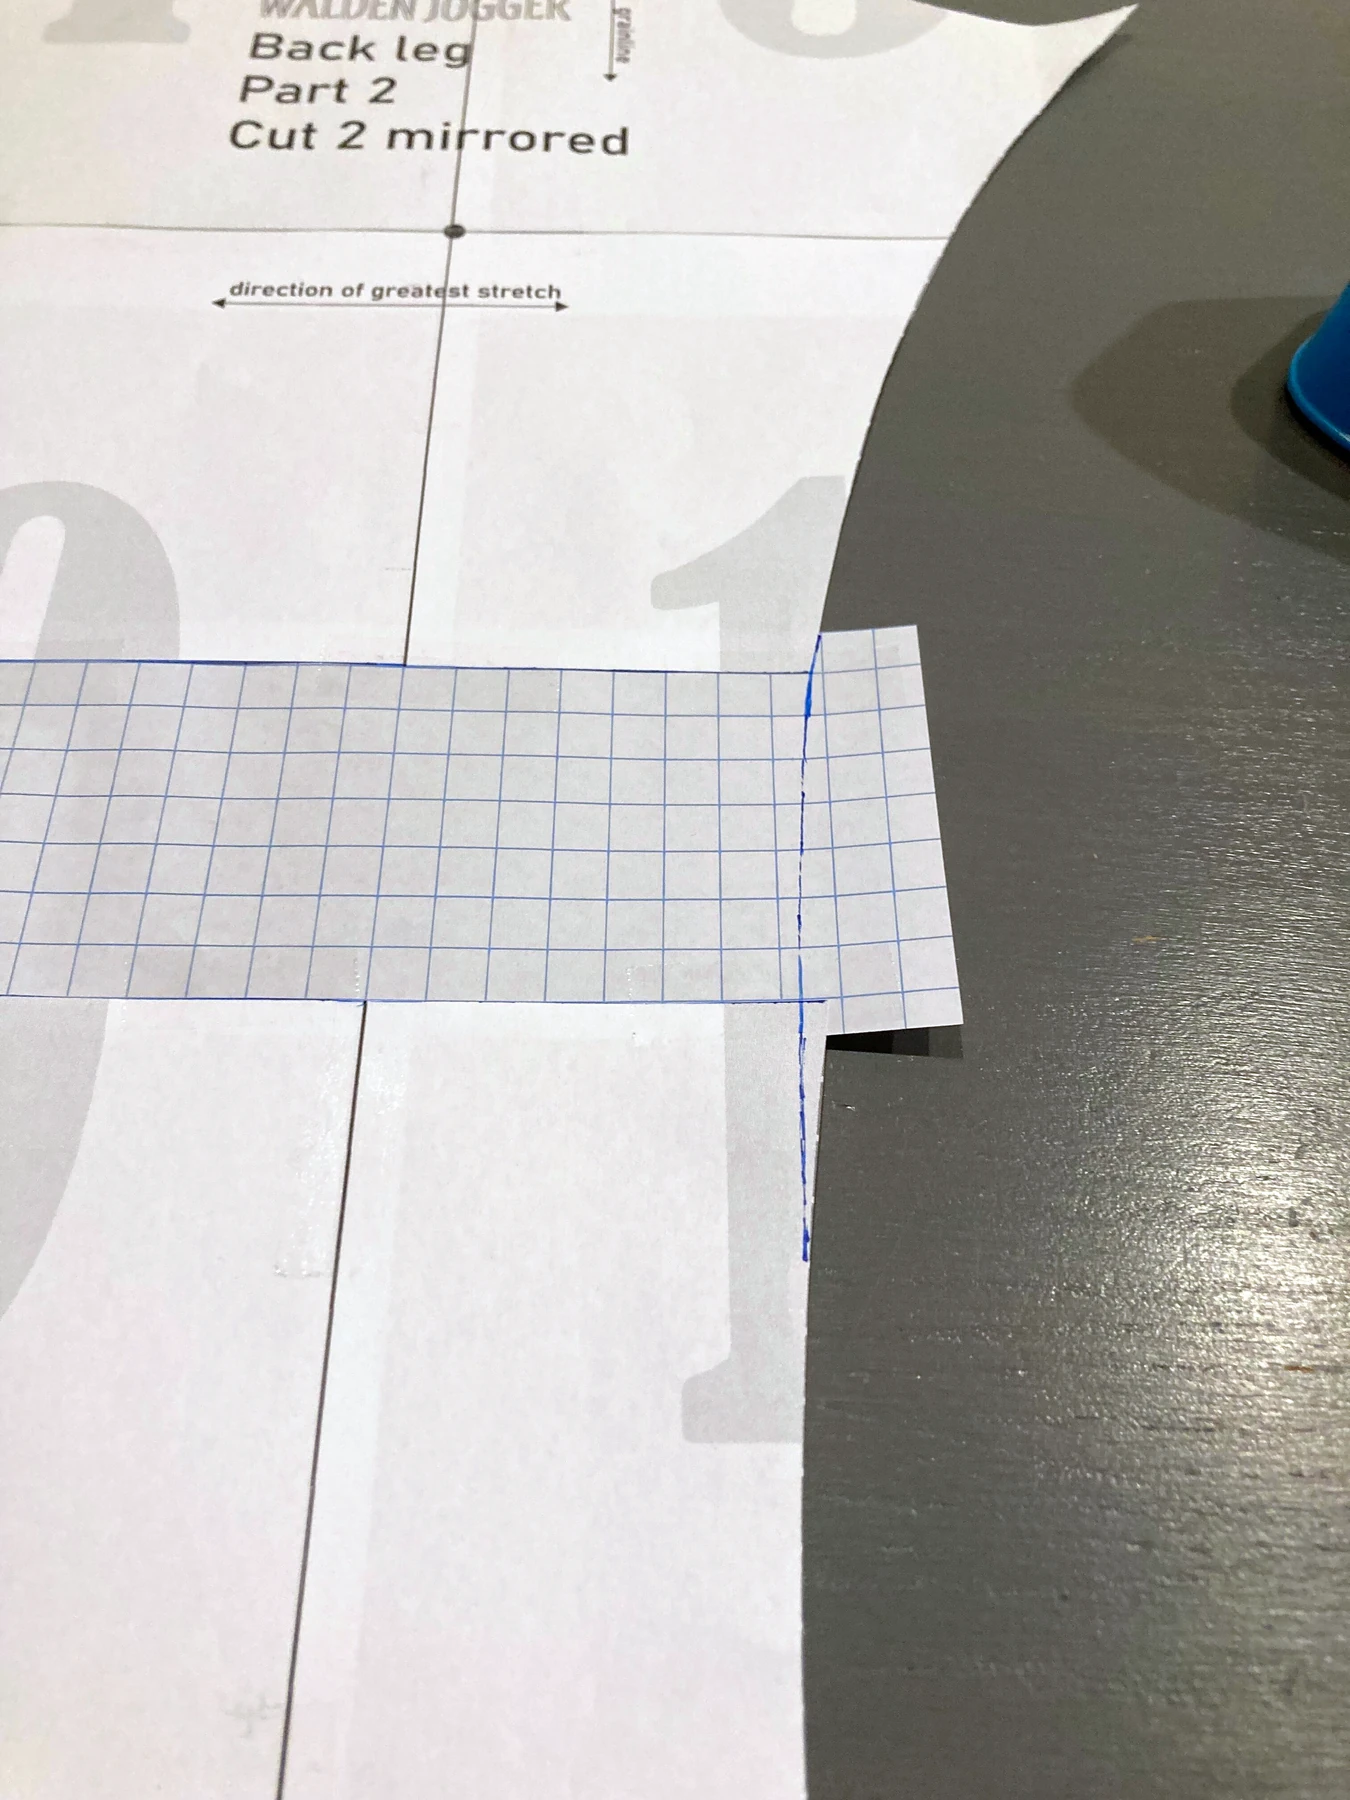
6. Restore the colourblock seamlines
On the lengthened front, redraw the colourblock joins. Lianne uses the middle of the original overlapped allowances as the sewing-line reference. Check the shape and position of each section before separating the paper again.
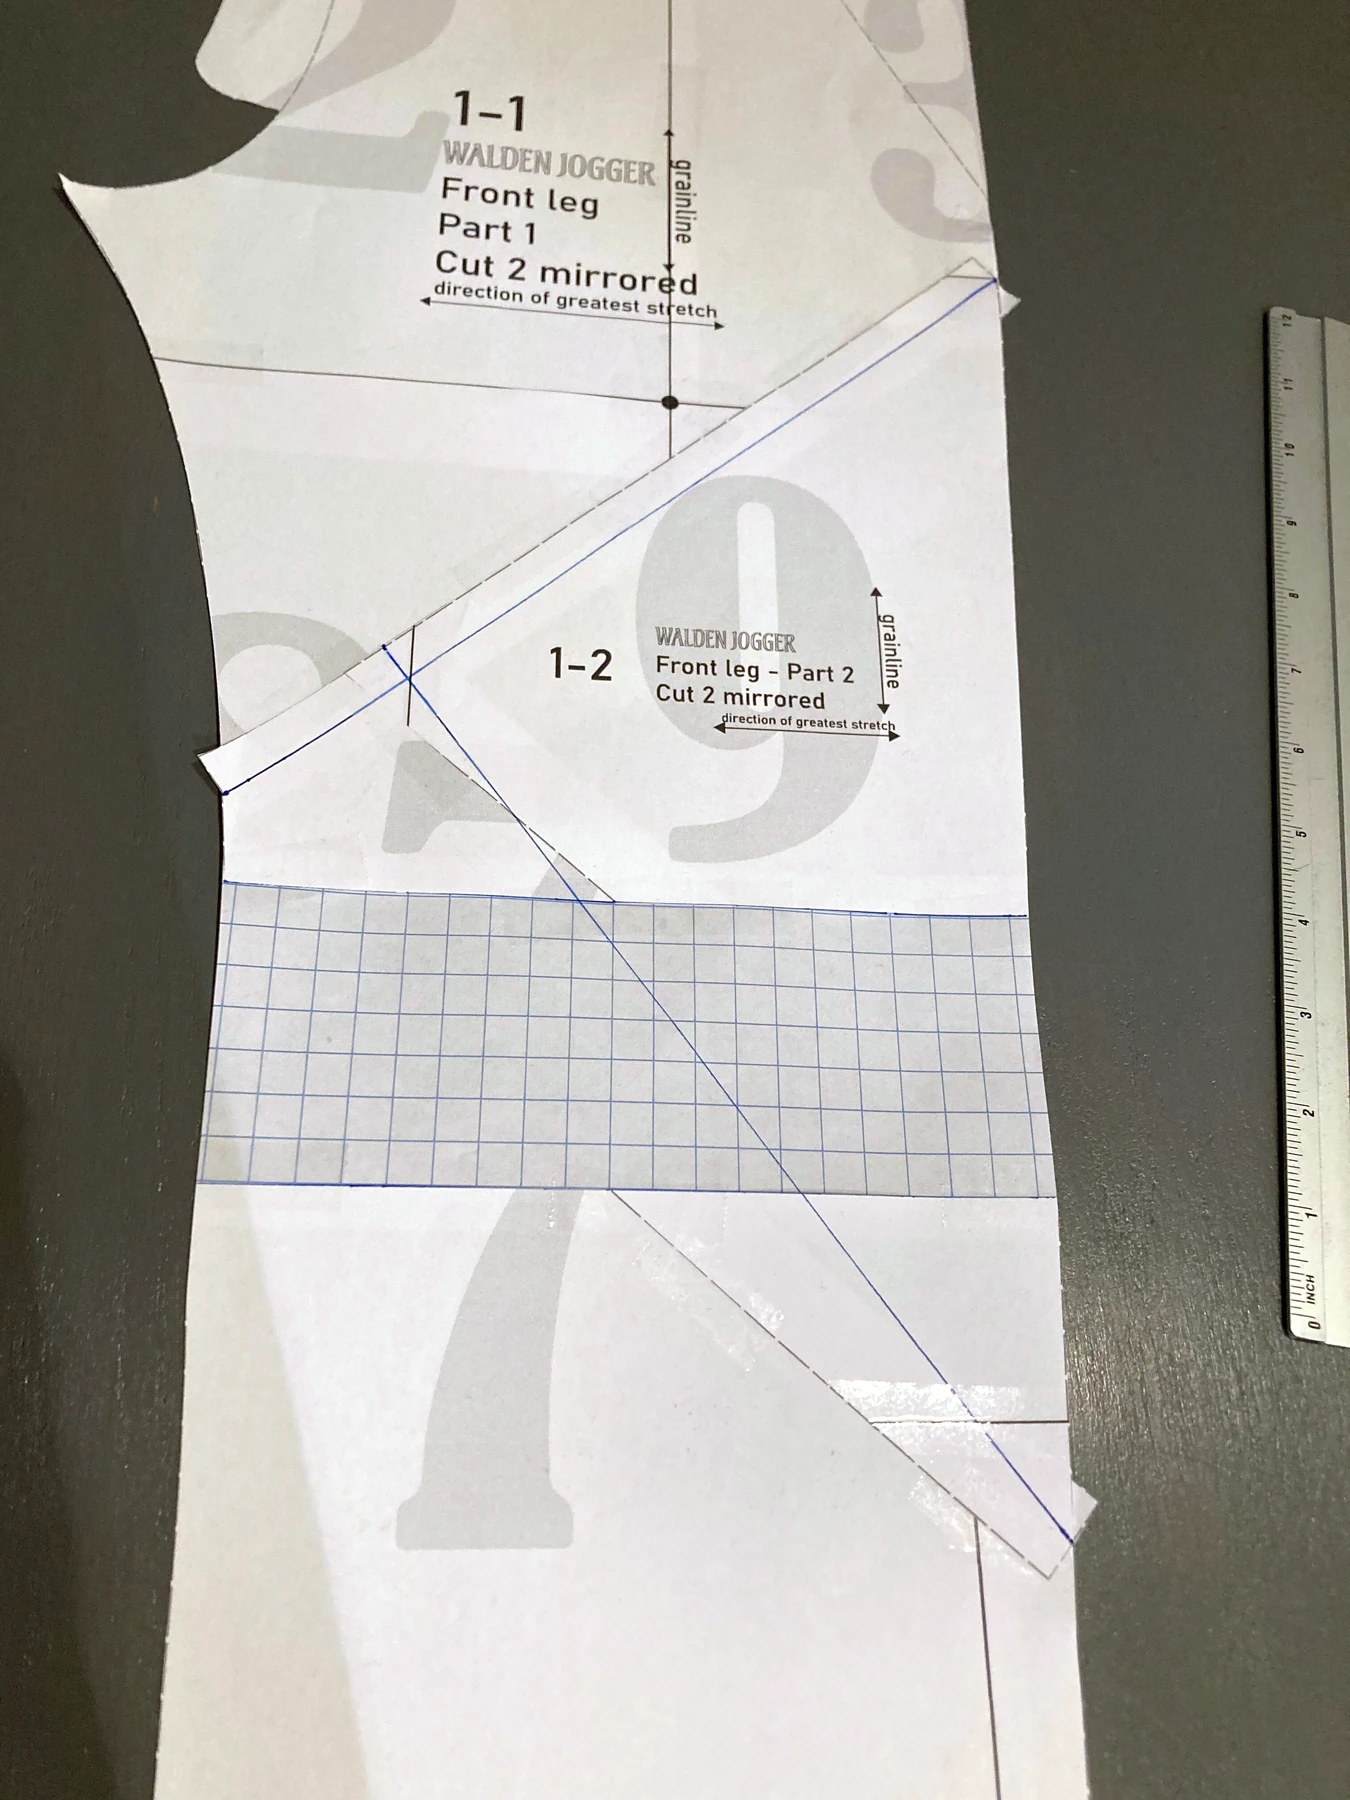
7. Add allowance to the new joining edges
Cut the front apart along the new colourblock seamlines. Those new edges need seam allowance before fabric is cut. In this example that is 1 cm at each new joining edge. Add it to the tracing, or clearly mark the pieces so it is added during cutting. The outer edges that already retain their allowance do not need another allowance added automatically.
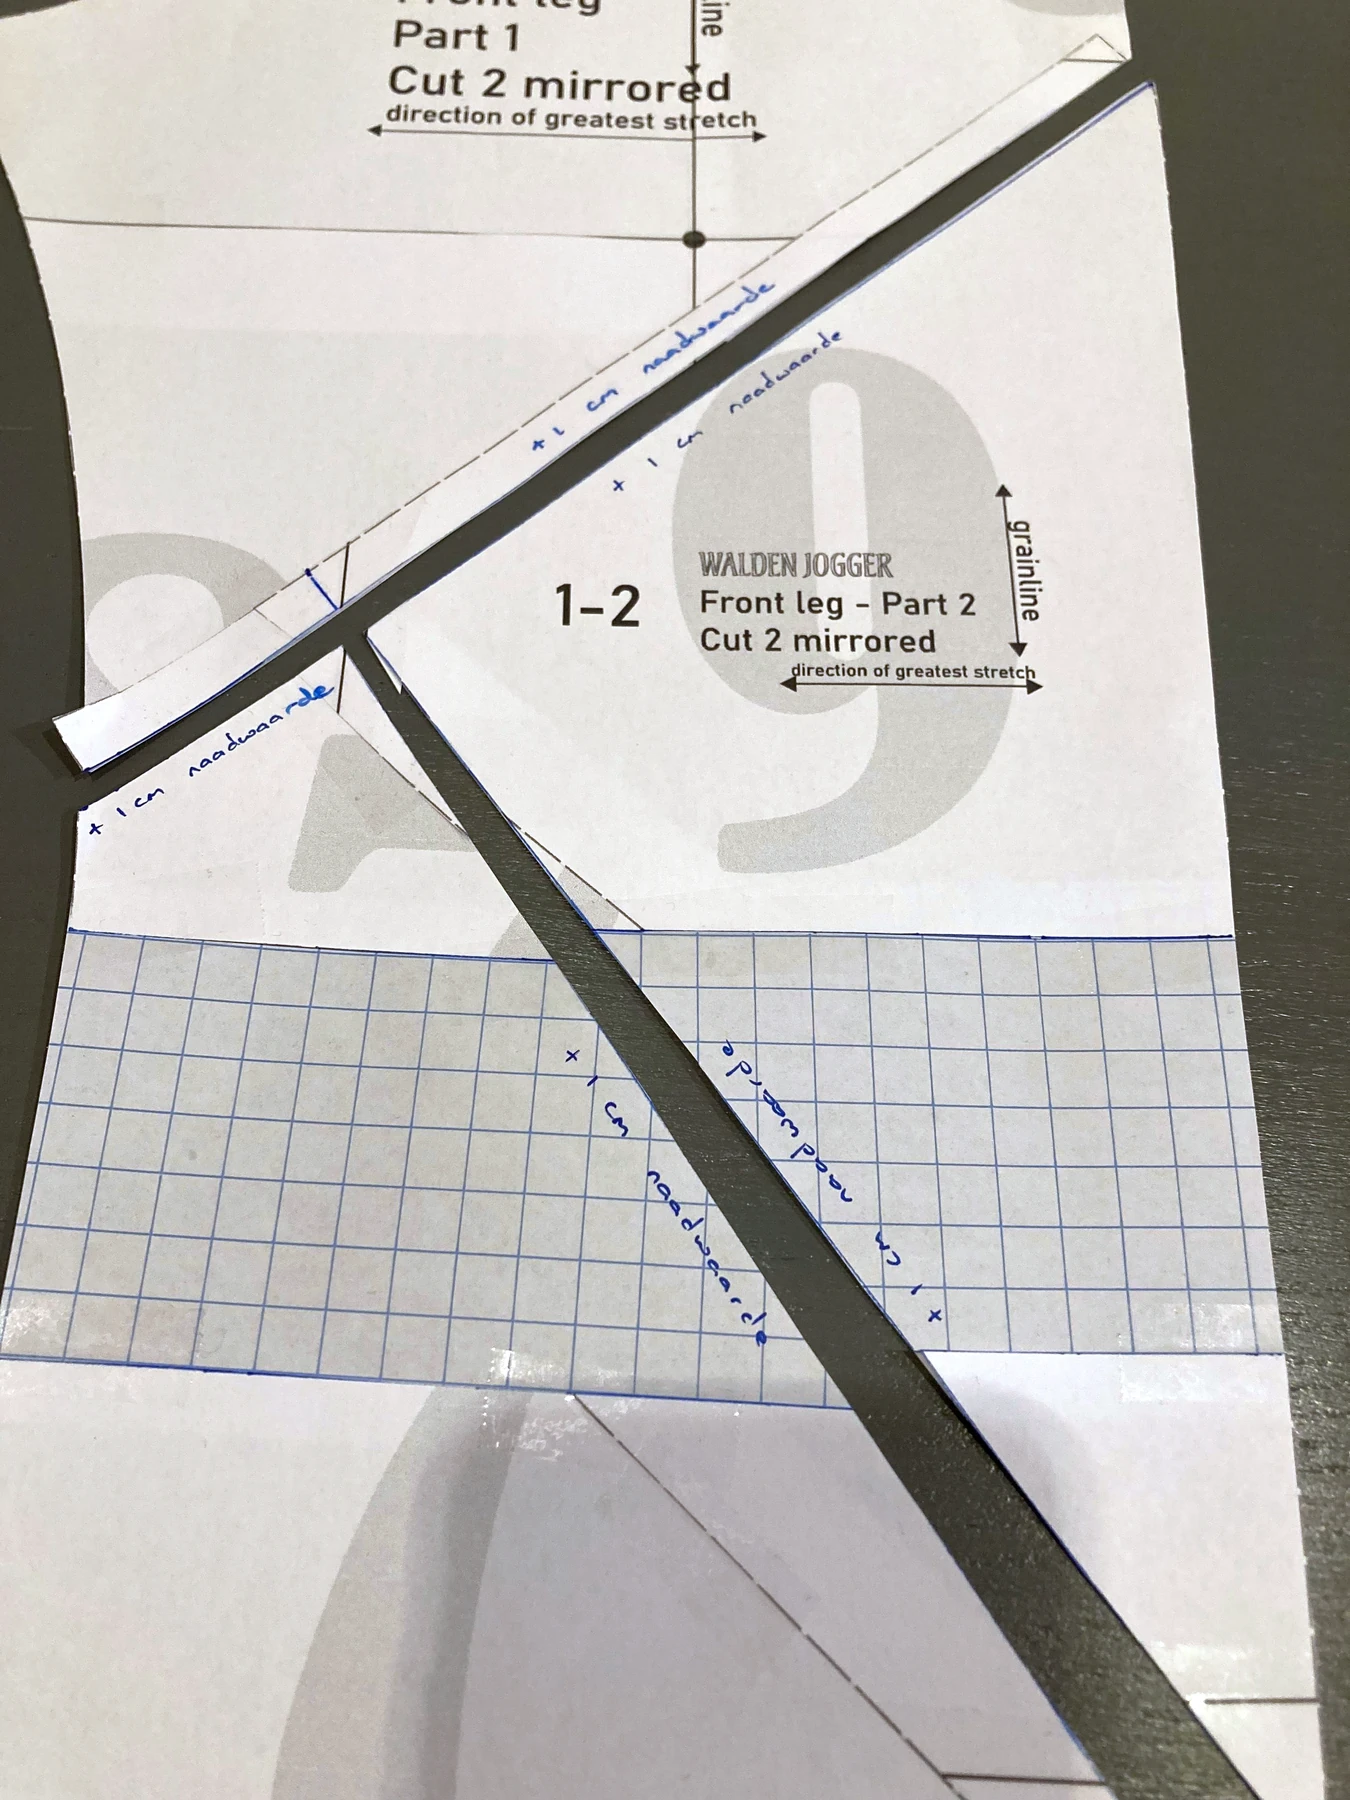
Check pockets and fit before sewing the final pair
Lianne did not lengthen the upper front pocket section in this example. If your alteration changes a pocket edge, adjust the matching pocket bag, facing or band as needed. Keep the original pieces for comparison and label the altered size, added length and allowances.
Her wearer needed extra leg length, so she left the rise unchanged. A rise alteration is a separate decision. Make a fitting sample when the change is substantial, and check sitting, bending, knee position and finished length before using your chosen fabric.
Use the complete Walden instructions for garment assembly. Prepare with our body measurement guide and stretch and recovery guide. These process photographs illustrate an alteration on a traced pattern; use your own correctly printed pattern for cutting.