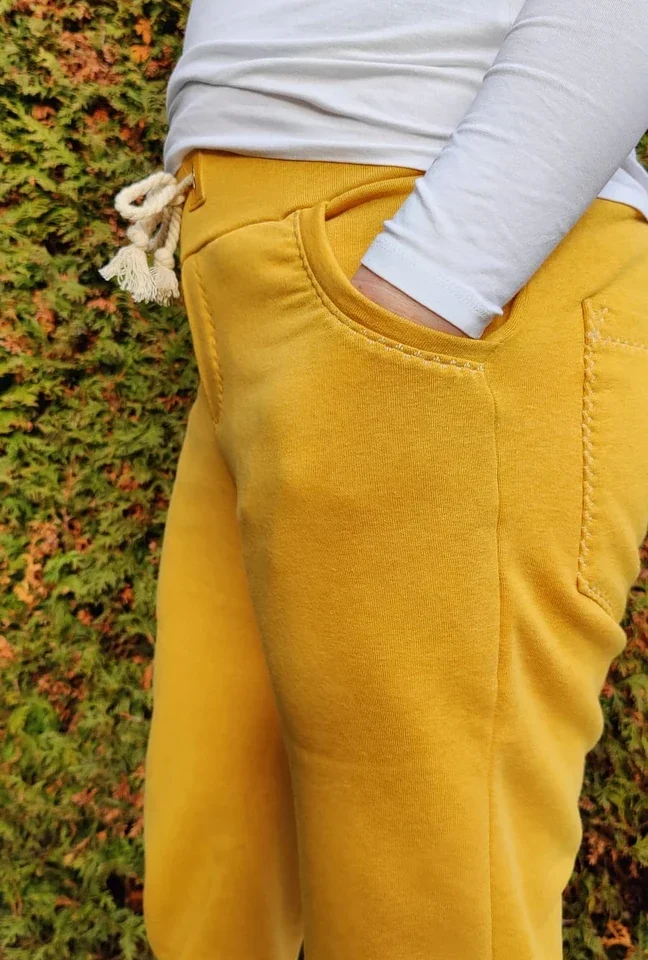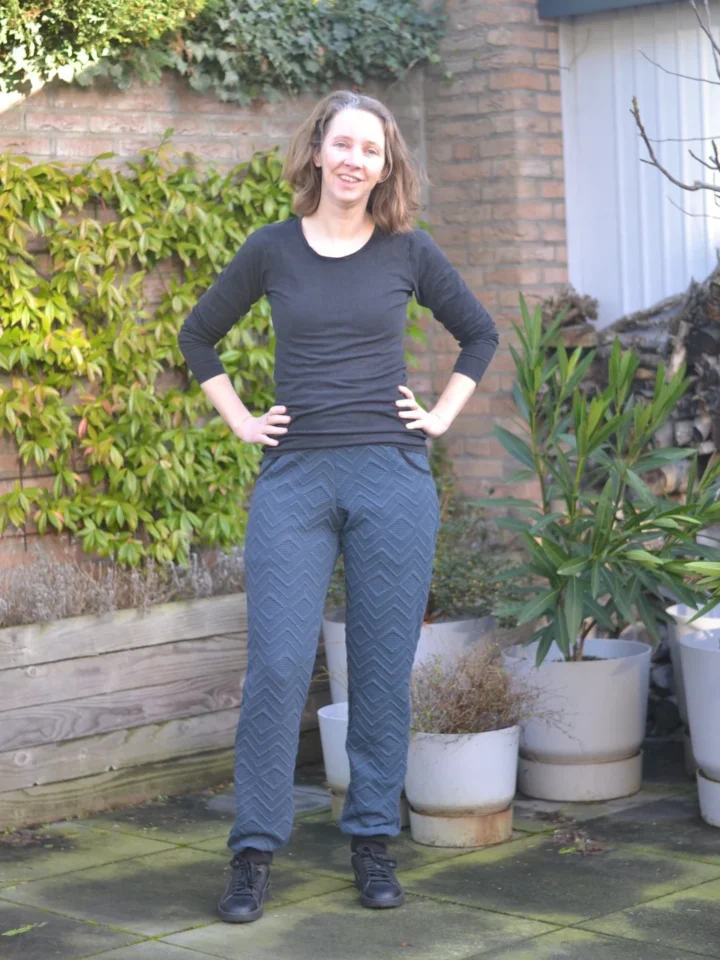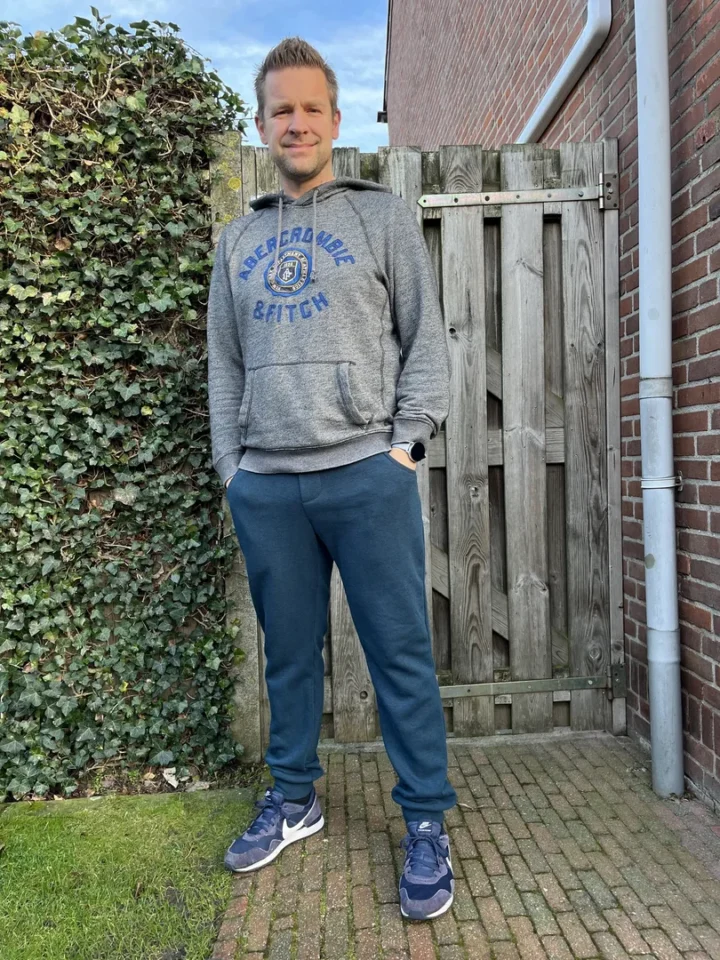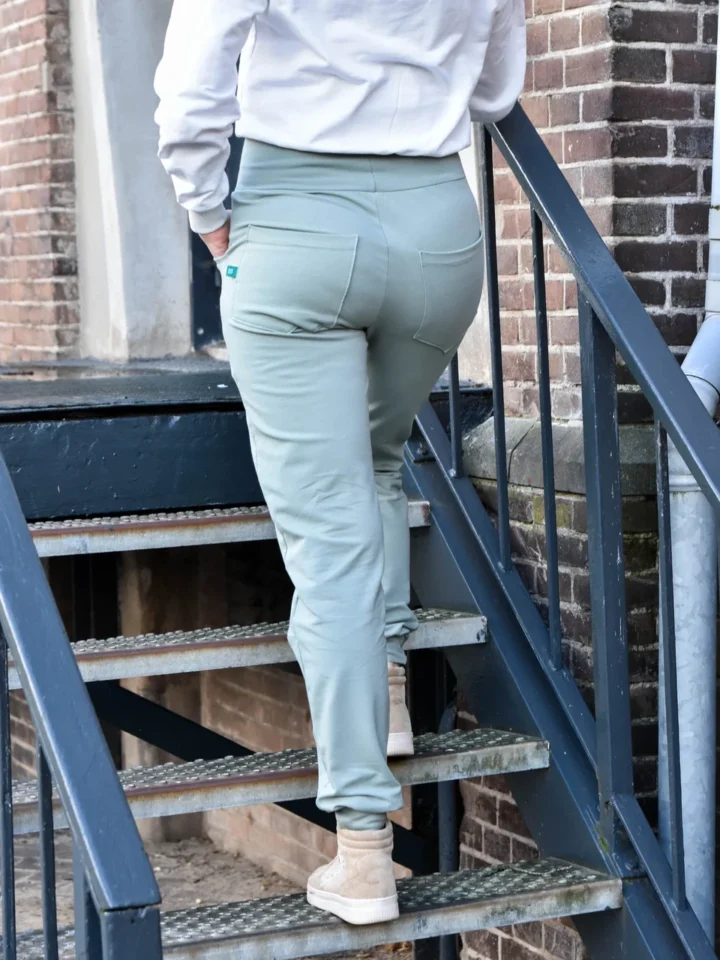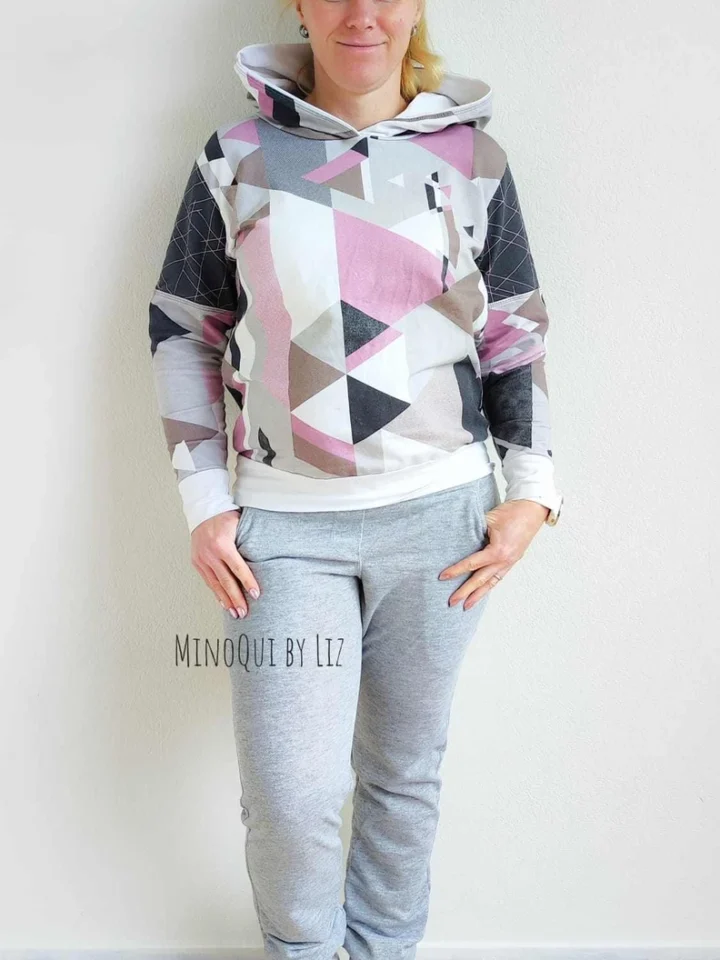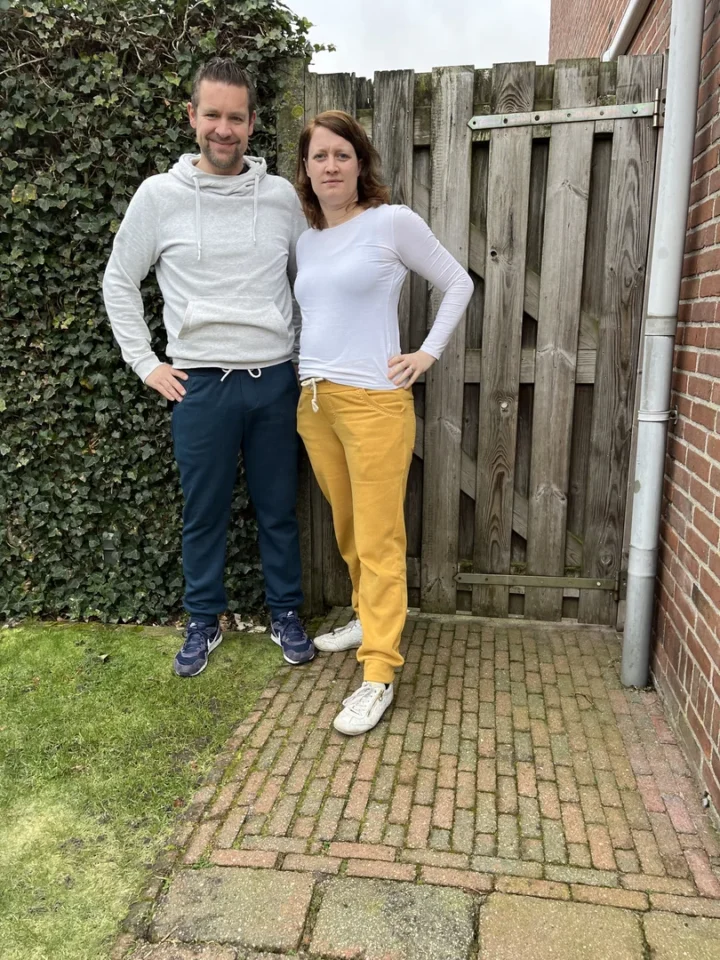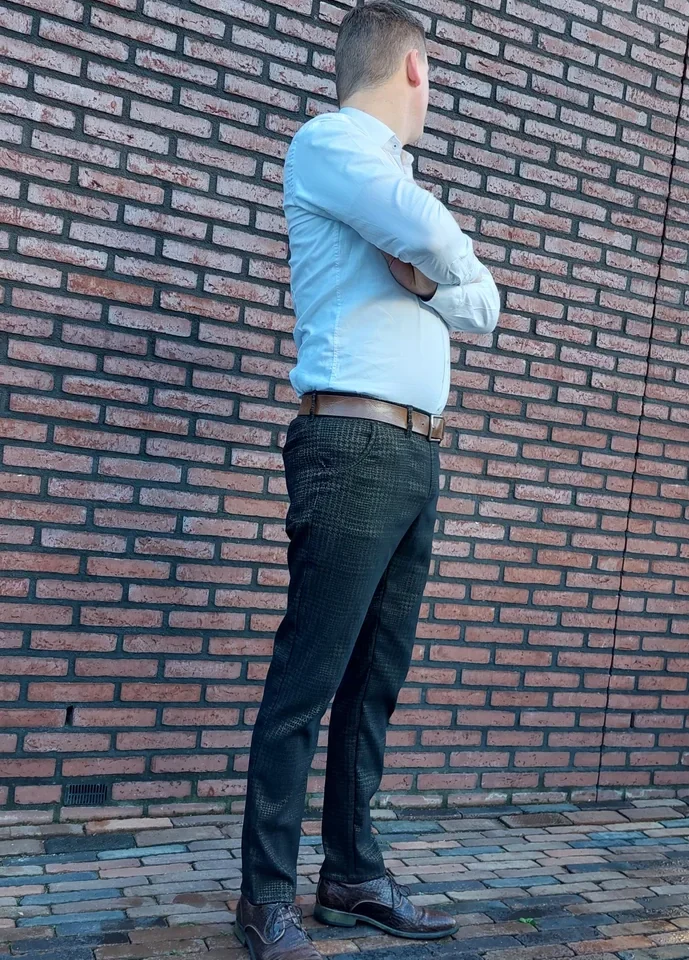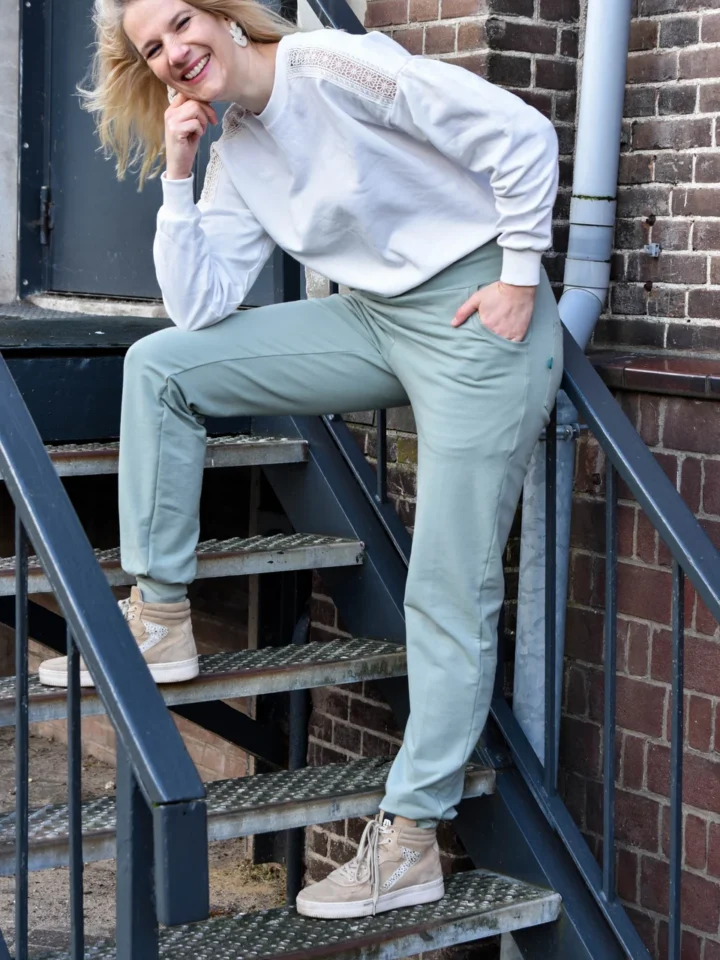
Adult trouser length involves two separate questions: how long the legs need to be, and how much length is needed between the waistband and crotch. If your height falls outside the size chart, measure both. The Ugo Adult instructions treat inseam length and trunk-related rise changes separately.
1. Choose the base by hip measurement
Ugo Adult starts with hip measurement. Compare your waist and blend to the appropriate waist size as directed, choosing the waistband for that waist. Record the chart’s inseam and trunk values for the selected hip size before altering length.
Measure inseam from crotch to floor as shown in the instructions. The trunk measurement is a full loop from the shoulder, down the back, through the crotch and up the front. It is a different measurement from inseam or crotch depth. Follow the pattern’s measurement definition consistently.
2. Calculate the leg-length difference
Subtract the chart’s drafted inseam from your measured inseam. For example, an 88 cm measured inseam against an 82 cm chart value gives a 6 cm difference to add to the leg length. These are calculation examples, not chart values to copy for a particular size.
The adult fitting notes in Jaxx Adult and Ivan Adult mention roughly 50% of a total-height difference as an initial pants estimate. For trousers, those same notes direct you to the actual inseam difference. Use that measured difference when it is available; do not add the 50% estimate on top of it.
3. Adjust the legs at the shown horizontal lines
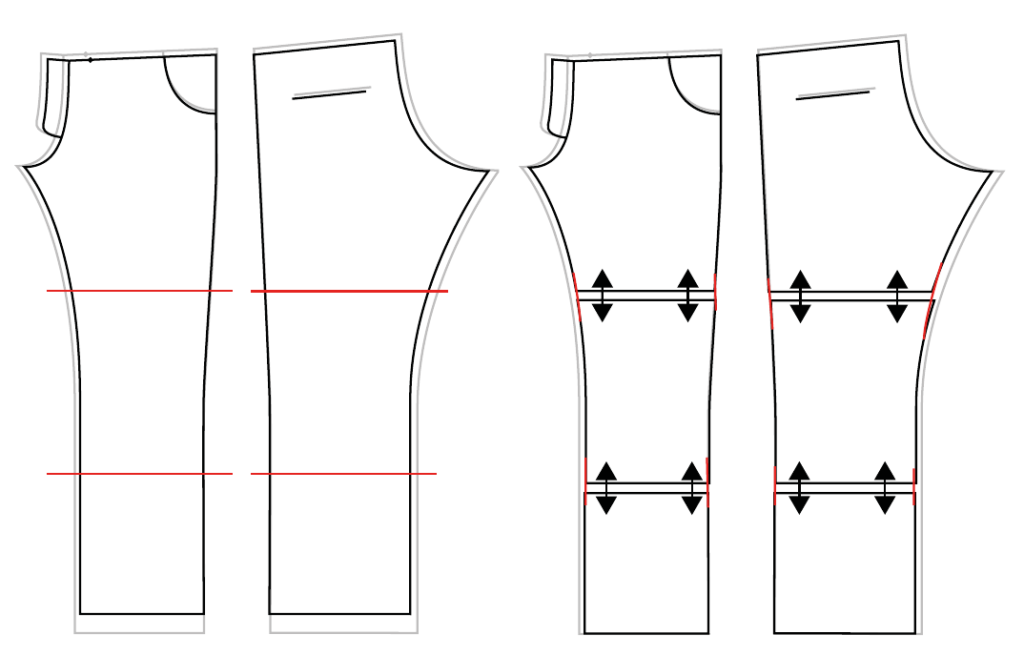
The Ugo Adult method divides the leg into three sections using two horizontal cuts. Spread the sections to add the total required length, or overlap them to remove it, keeping the grainline aligned. Apply the same total leg-length change to the back leg. Check the position of the knee and leg shaping instead of putting all the extra length below the hem.
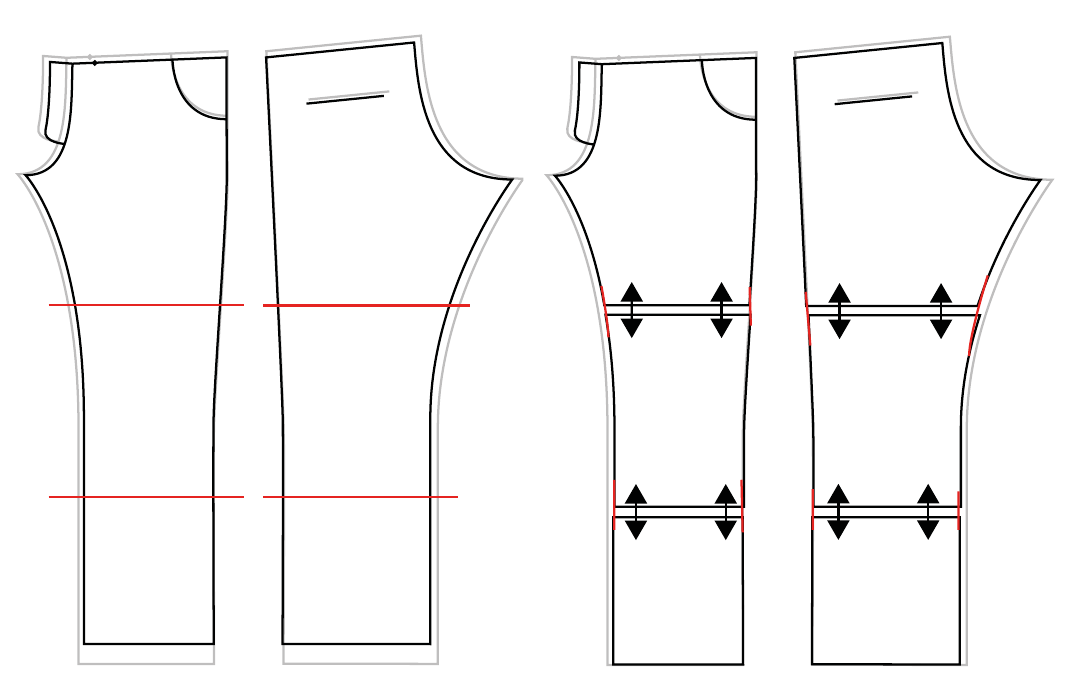
Smooth the side seam and inseam after moving the sections. Check front and back seam lengths together and keep the intended hem or cuff finish. If your measurements are outside the chart, work from the calculated length difference rather than selecting a wider size for extra height.
4. Assess rise independently
The Ugo Adult instructions use the trunk comparison with the selected hip size to assess whether the upper trouser section needs a length change. The diagram places a separate horizontal cut through the upper part of the front and back pieces. Test the required change in a fitting sample: the full trunk difference is not automatically an amount to insert into each trouser piece.
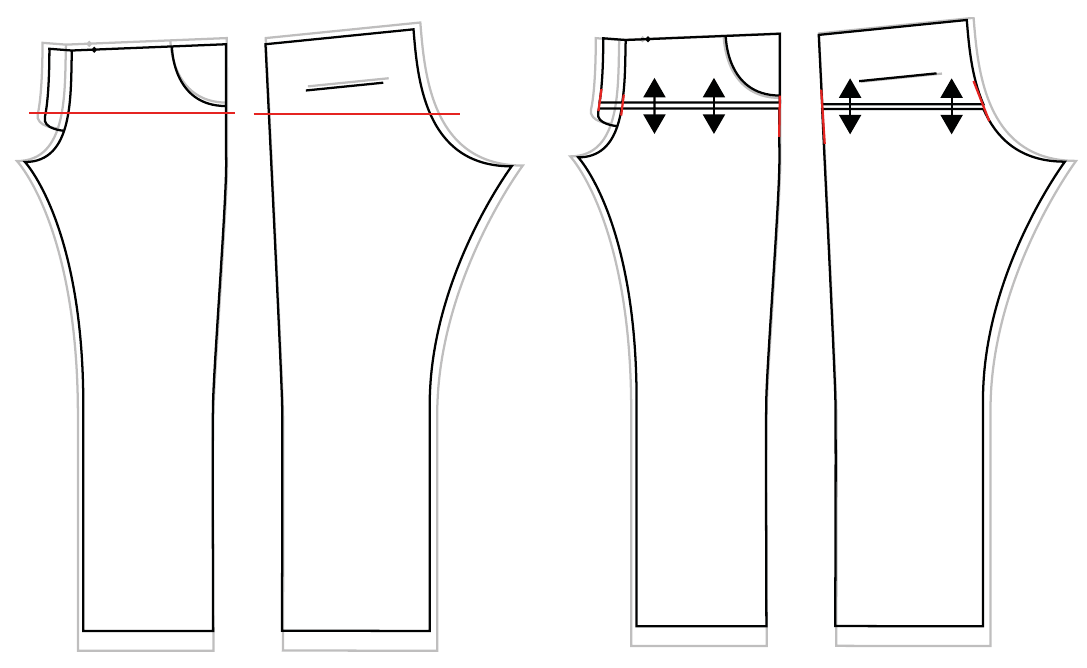
A high yoga waistband changes the waistband style; it does not automatically correct a crotch seam that is too short. Check sitting comfort, waistband position and crotch comfort after the adjustment.
5. Keep width, length and waistband choices distinct
The source includes a quick alternative based on the inseam size, followed by a width adjustment. It also explains why this is not the preferred route: the resulting crotch shape and rise can be wrong for the wearer’s hip size. Starting from hip width and adjusting leg length and rise separately gives you clearer control over each change.
Pattern and scope
Ugo Adult is a beginner-friendly adult jogger pattern in US34–60, with waistband and pocket options. This guide follows its trouser-fitting method. For leggings, use the relevant pattern’s own rise and stretch guidance. For a skirt, compare the intended waist-to-hem length; an inseam calculation is not a skirt-length formula.
Finish with a fitting sample in fabric with comparable stretch and recovery. Recheck the altered seams, pocket positions and chosen waistband before cutting the final garment.