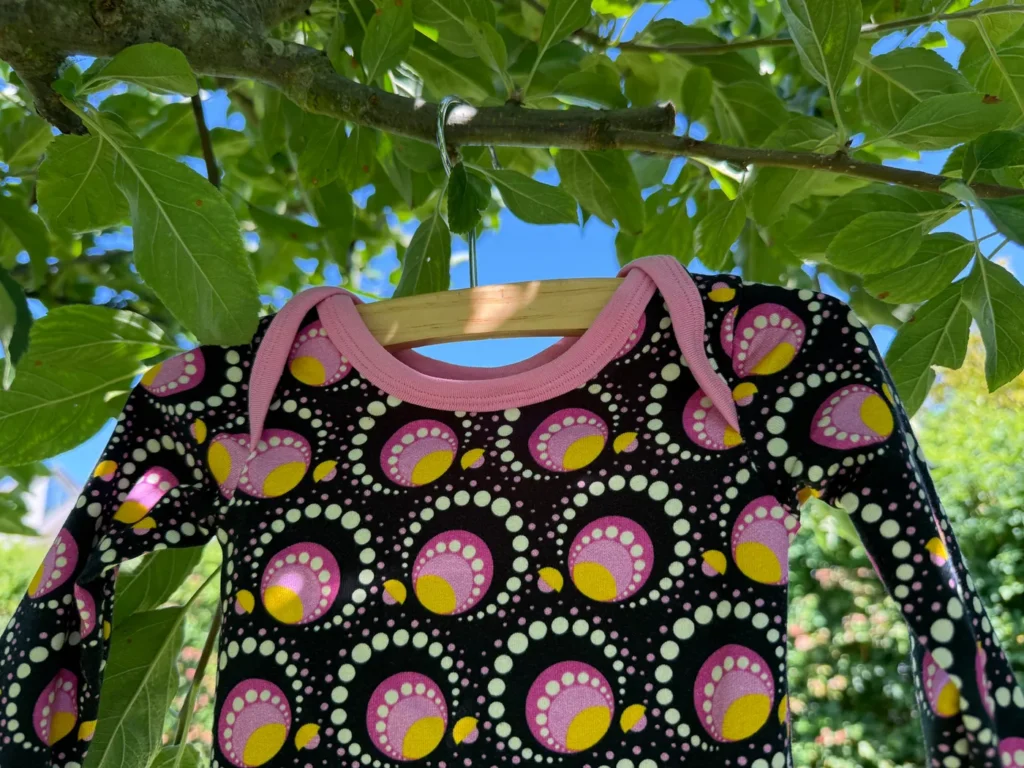
A clean neckline can make a handmade shirt look polished. The key is to work with the fabric’s stretch and follow the binding dimensions supplied by your pattern.
Know your binding style
A single binding folds around the neckline edge; a neckband is usually a folded strip joined to the opening. The proportions and method differ, so check the pattern instructions before cutting.
Use the pattern matching marks
Mark the centre front, centre back and corresponding points on the band or binding as instructed. This helps distribute stretch evenly instead of pulling one section too tightly.
Sew gently
Place the layers correctly and stretch only the band or binding as the technique requires. Avoid stretching the main neckline out of shape. Sew a sample first if the fabric is very soft or slippery.
Press to settle the seam
Steam and gentle pressing may improve the final shape. Keep the temperature appropriate for the fibre blend and avoid pressing a permanent ridge into delicate knits.
Diagnose problems
A wavy neckline may mean the fabric stretched while sewing or the binding is too long. A puckered neckline may indicate a too-short band or uneven stretching.
Frequently Asked Questions
Should the neckband be shorter than the neckline? Often yes, but the exact ratio depends on fabric recovery and the pattern method.
Can I use ribbing instead of main fabric? Sometimes, but the band length may need adjustment for the different stretch and recovery.
Match the opening before choosing a method
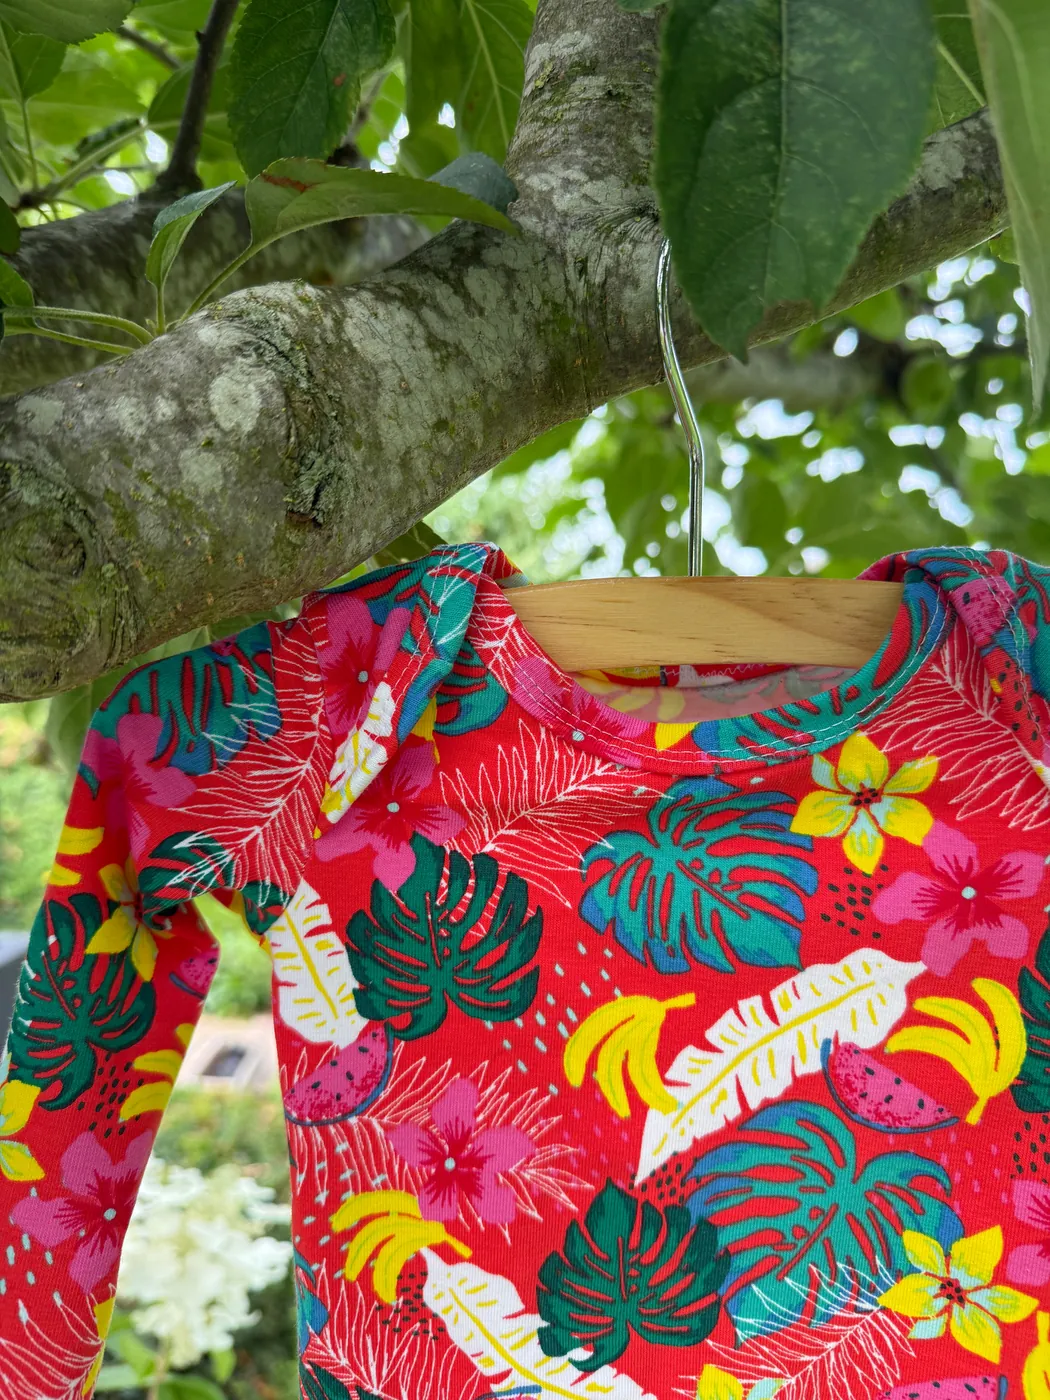
A closed round neckline, an open envelope neckline and a V neckline need different preparation. Use the pattern markings rather than assuming every opening can simply be quartered. For a round opening, the matching marks help distribute the required stretch; they do not establish a fixed percentage that suits every knit.
Binding and bands finish the edge differently
Binding wraps around the raw edge; a band is usually a folded strip sewn to it. Changing between the two can affect the visible neckline shape and the seam allowance needed. The Huxley instructions include both options, with separate directions. Follow the option you selected rather than swapping the strips without adjustment.
Keep stretch where the pattern requires it
Keep the garment edge relaxed and guide the strip according to the matching marks. At an envelope neckline, finish and overlap the separate sections in the order described in the pattern. A V point needs its own preparation and controlled handling; pulling hard at the point can distort it.
Explore more sewing tips
Checking fabric stretch and recovery
Choosing fabric for your sewing pattern
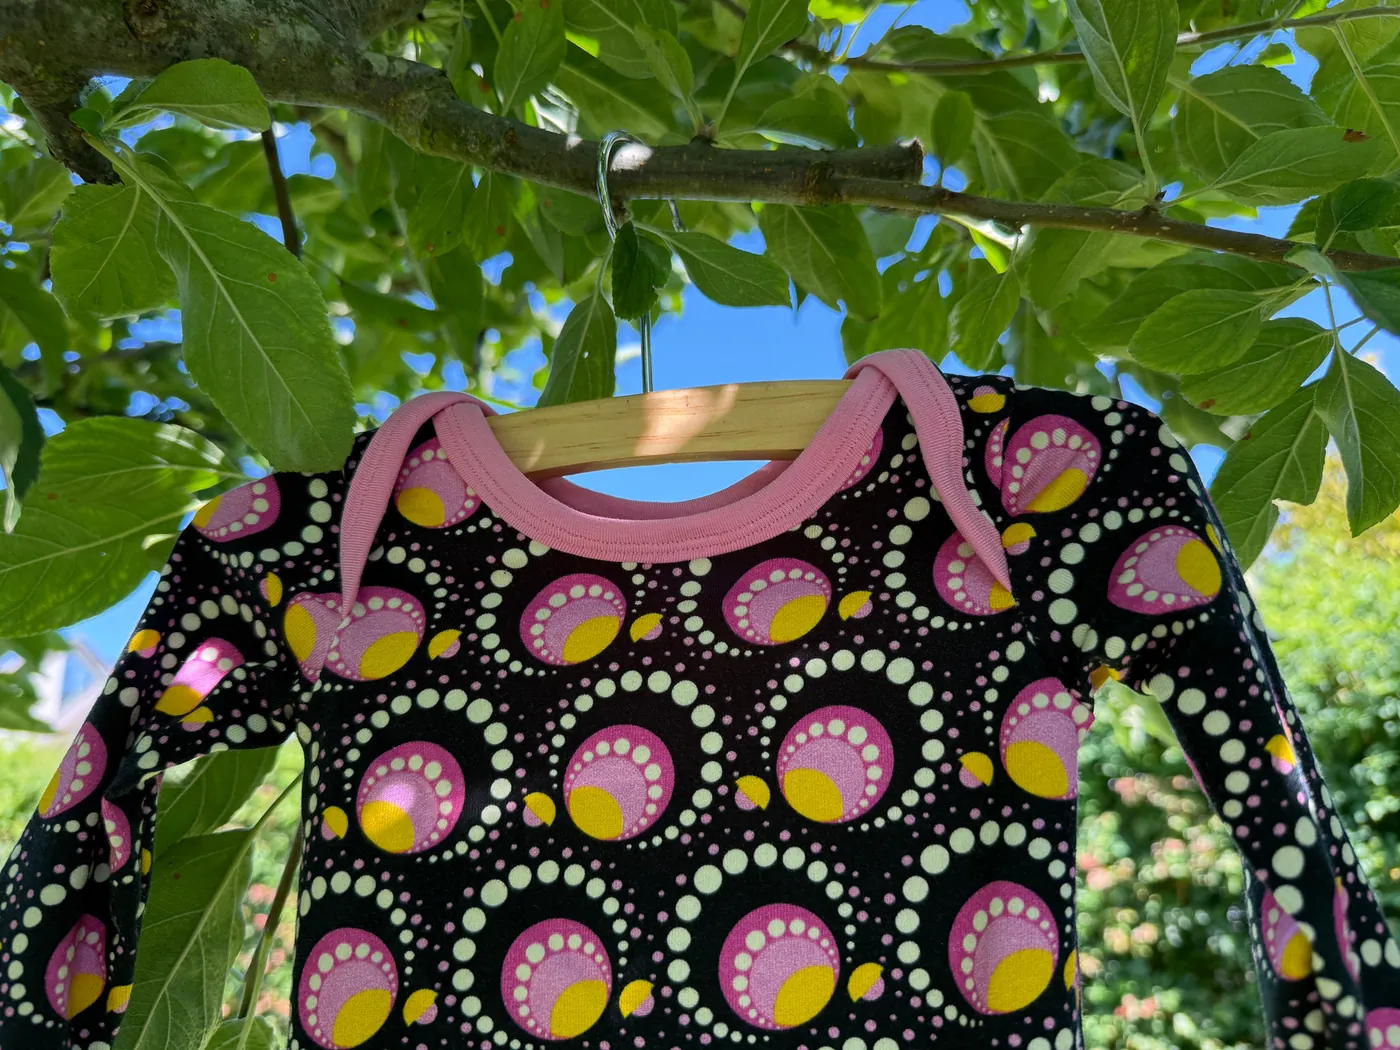
For a demonstrated sewing sequence, follow our single and double knit binding guide.