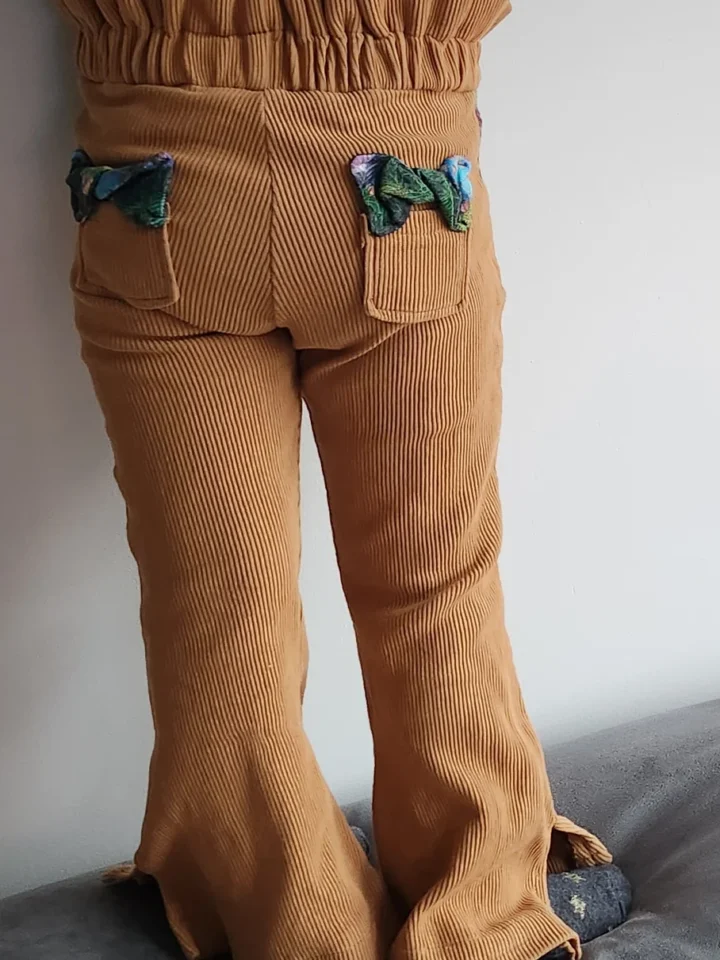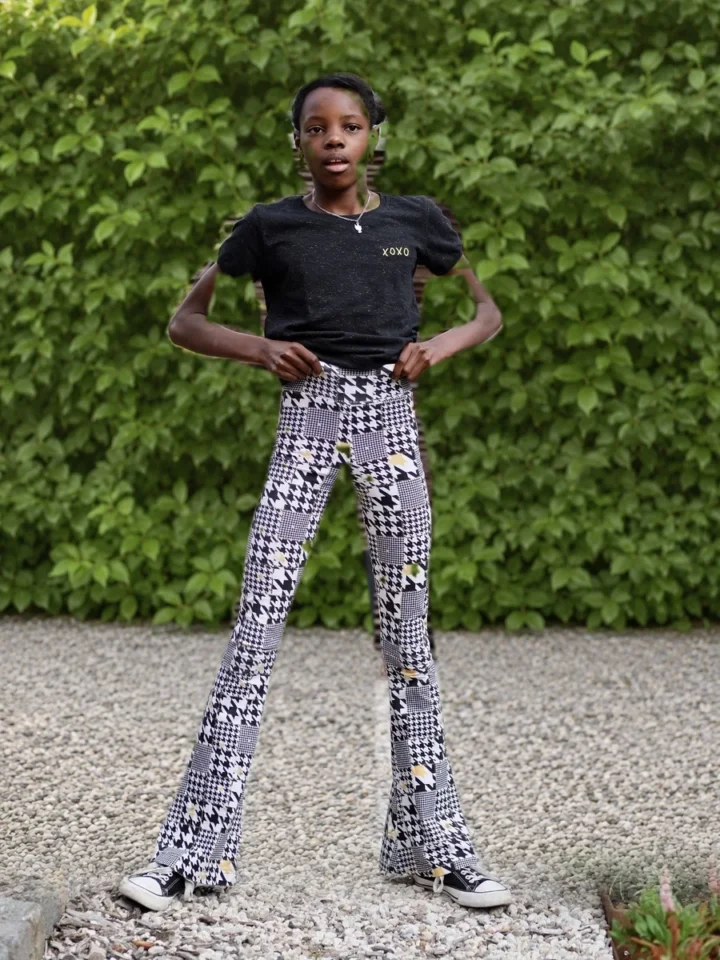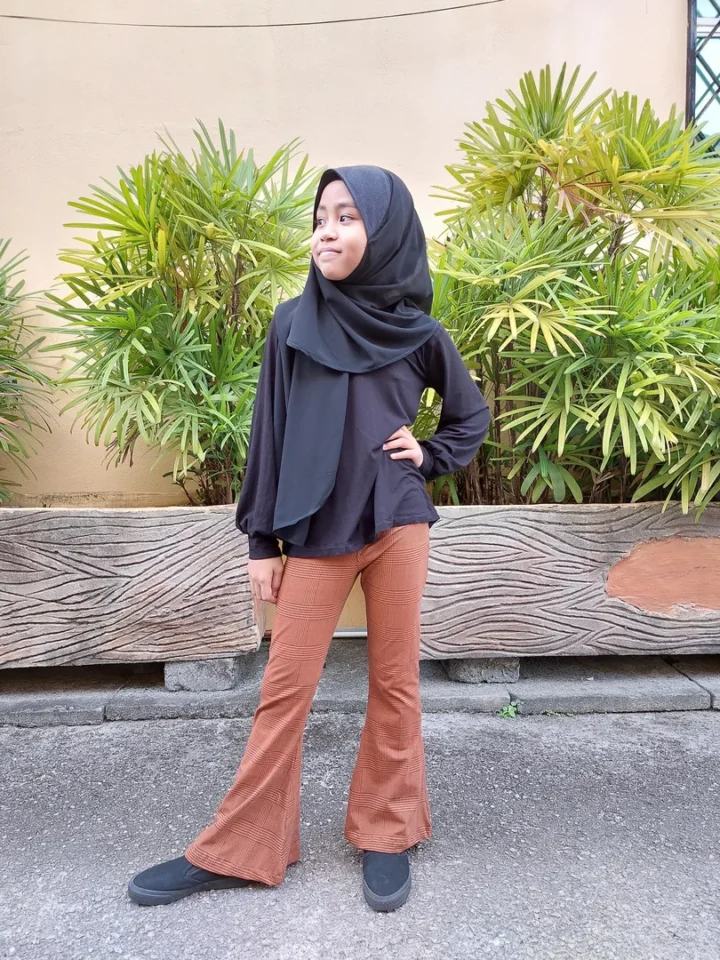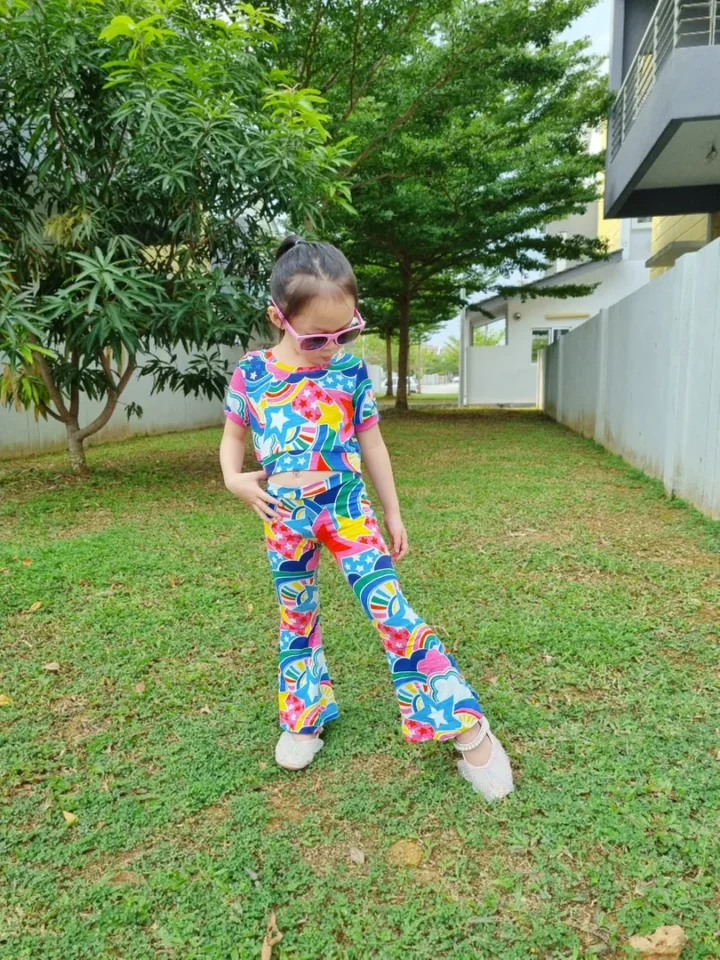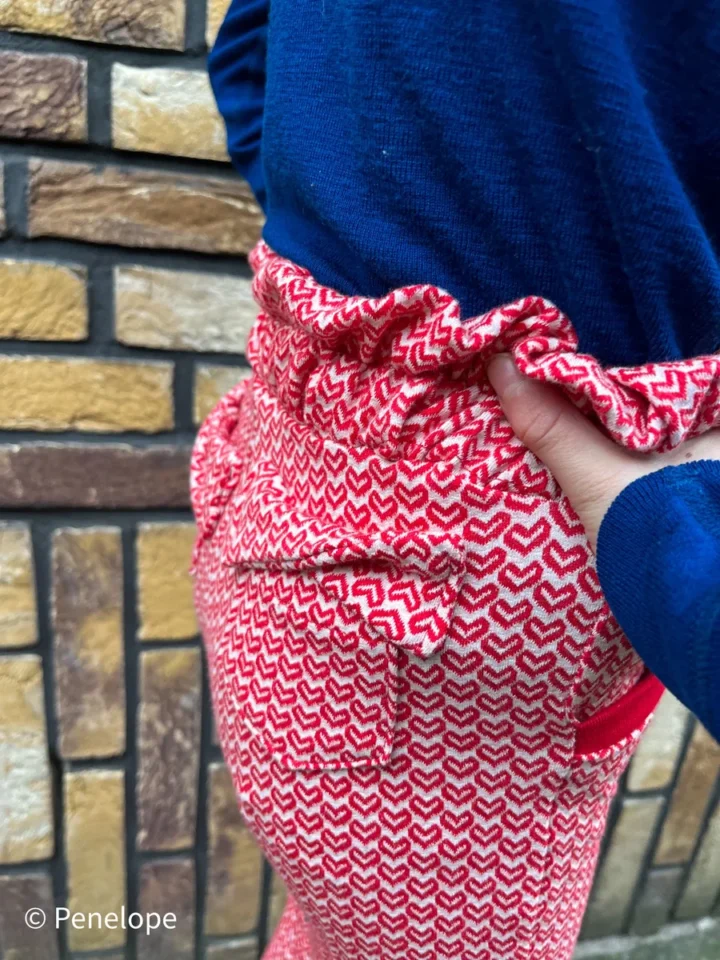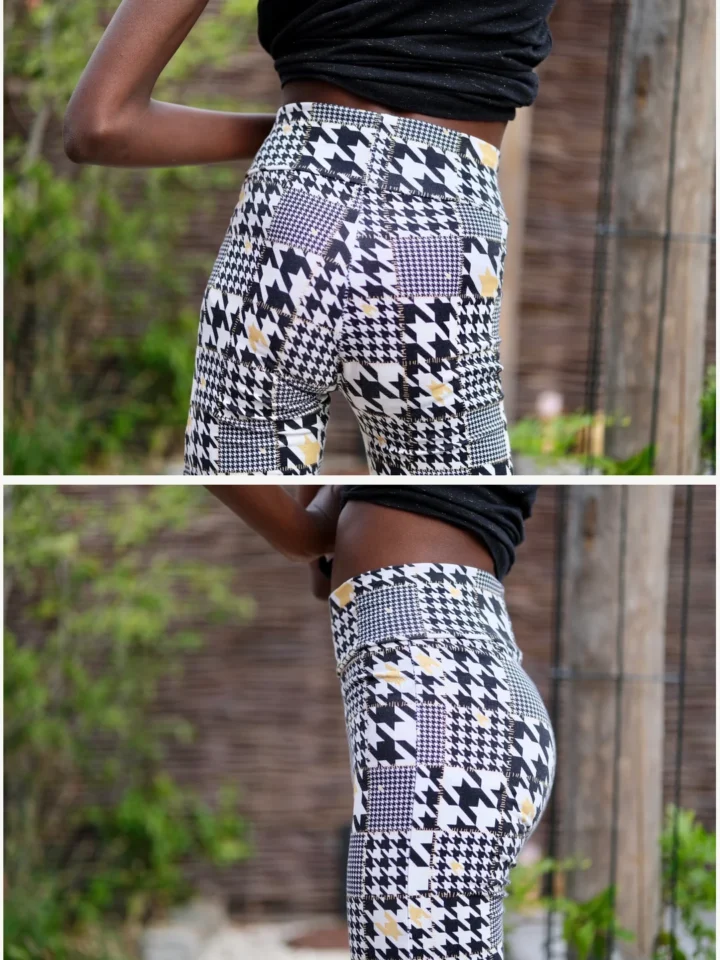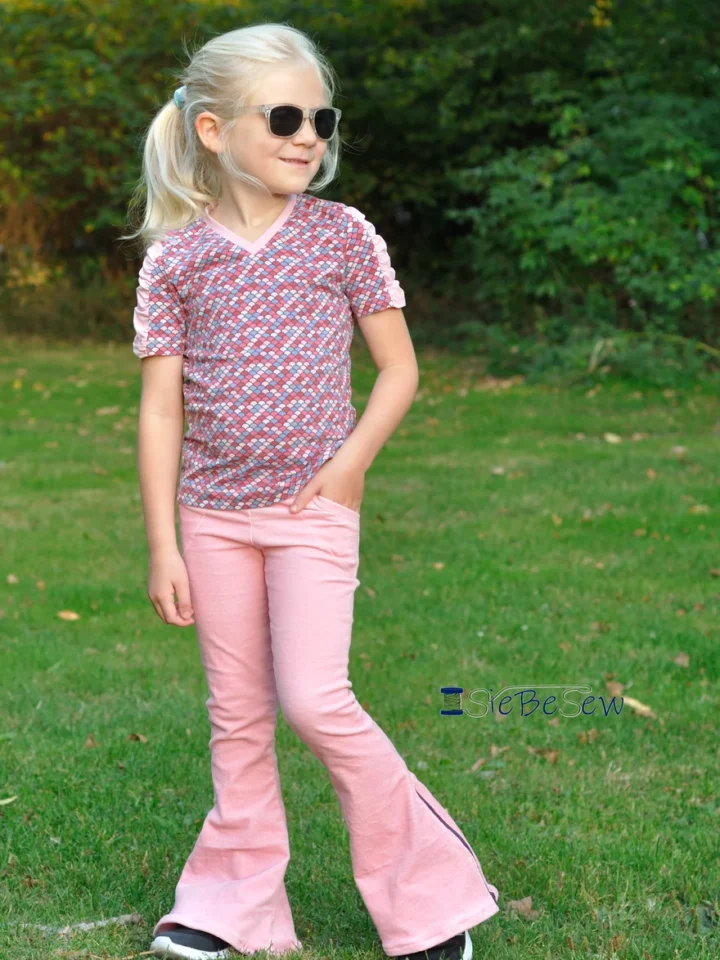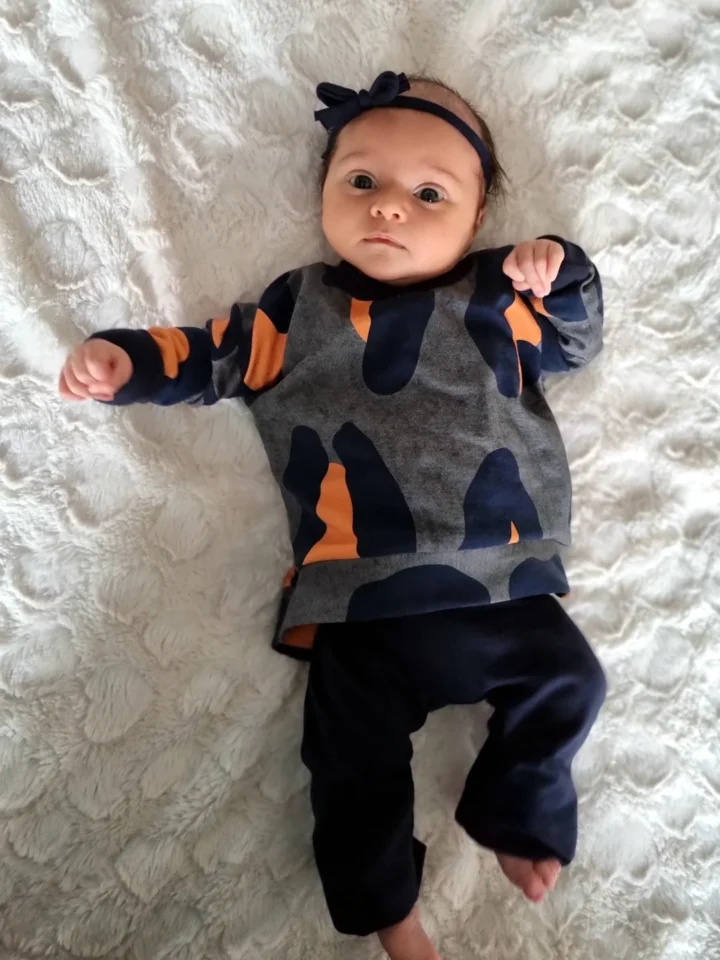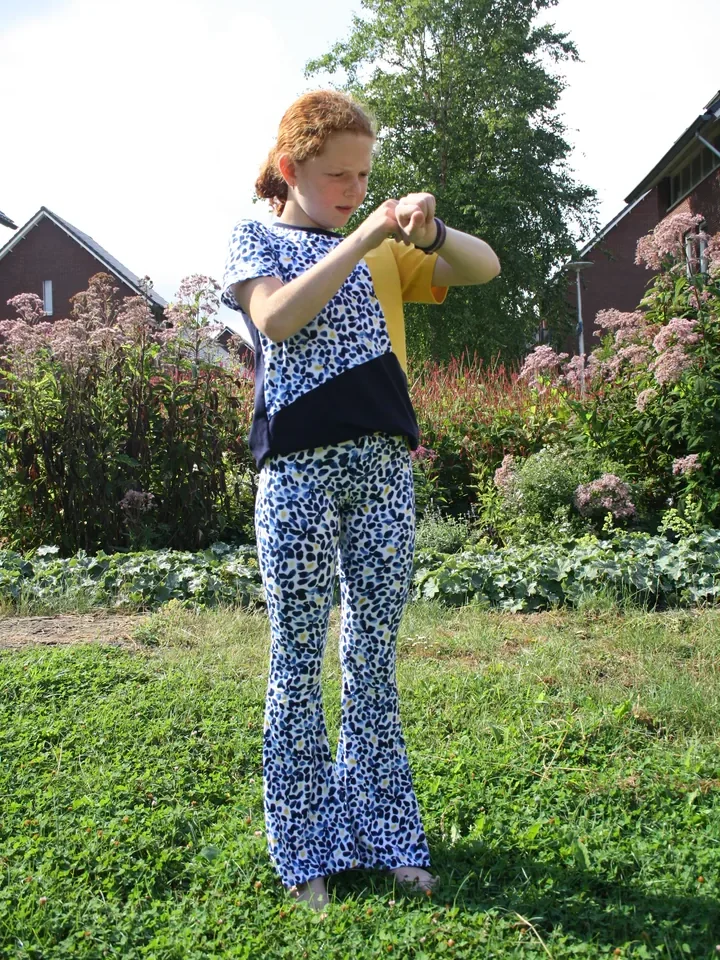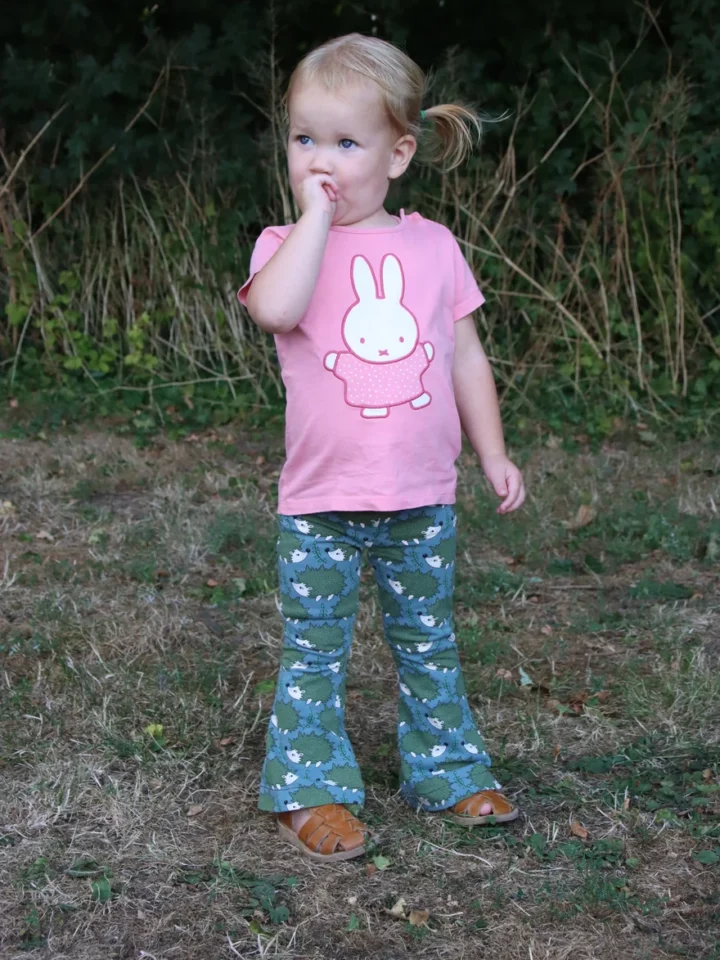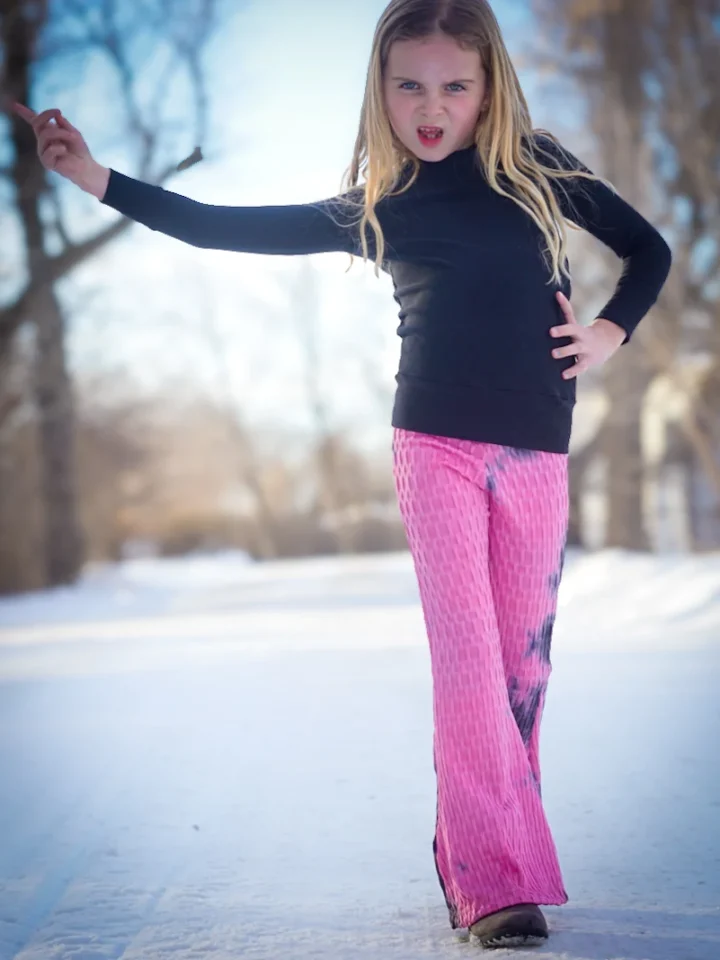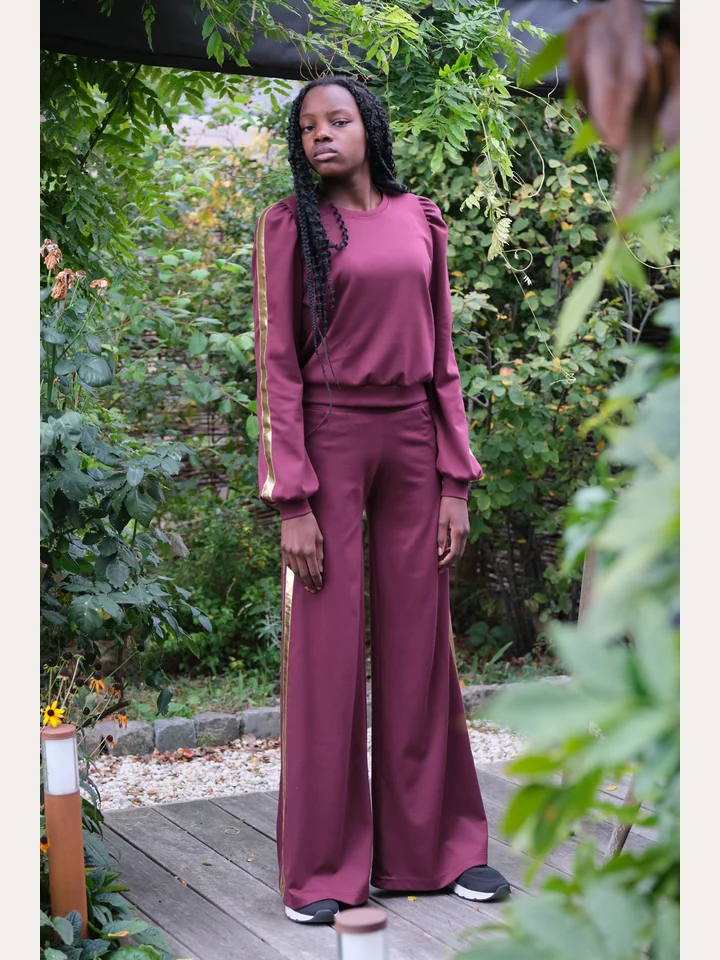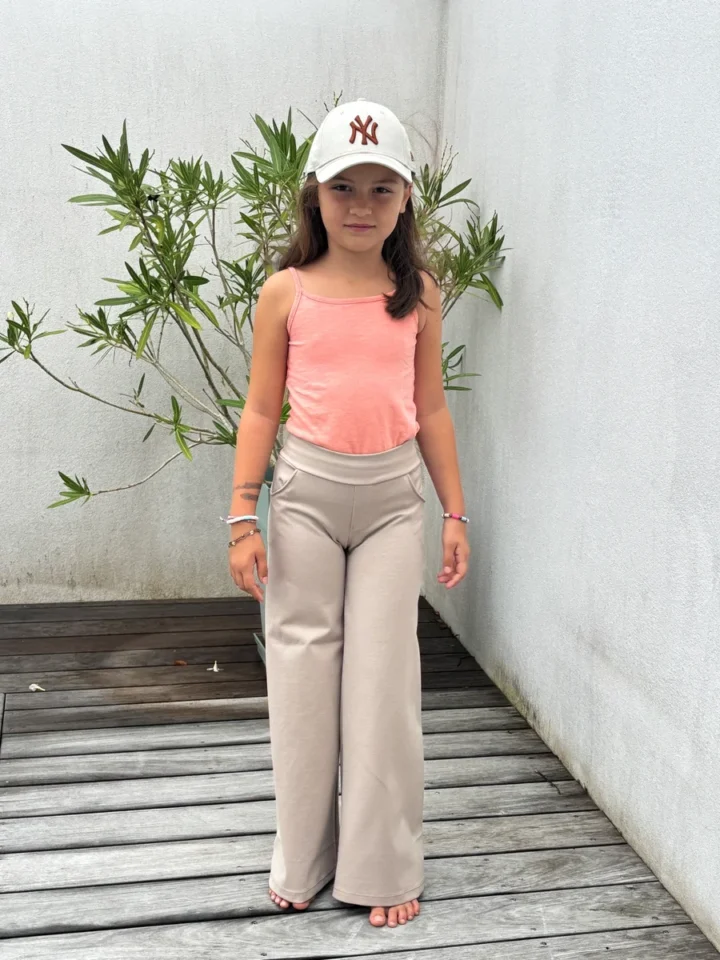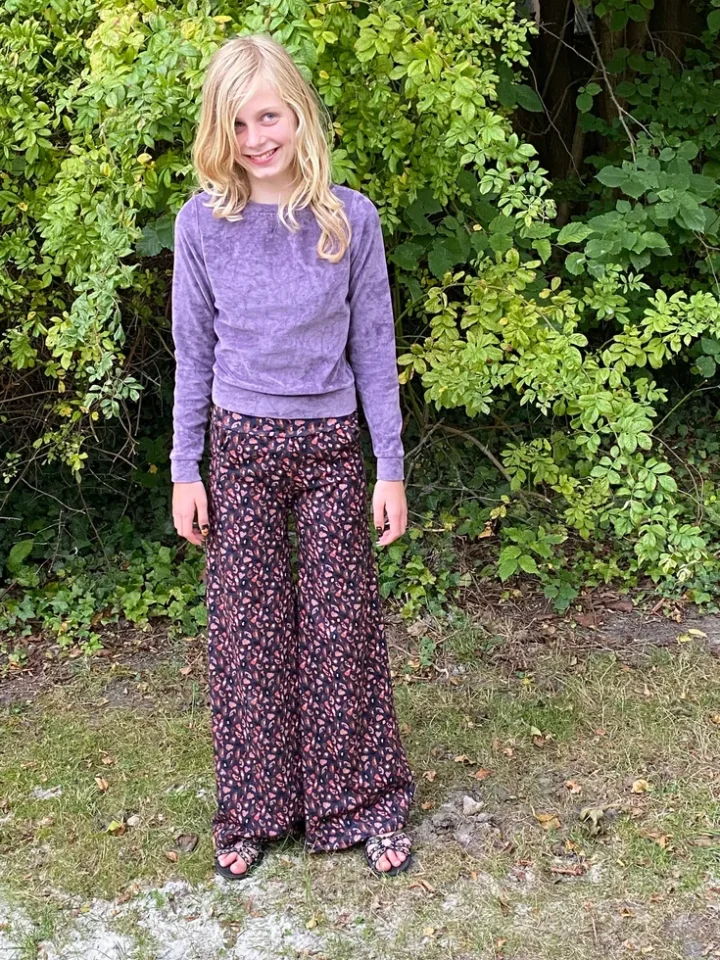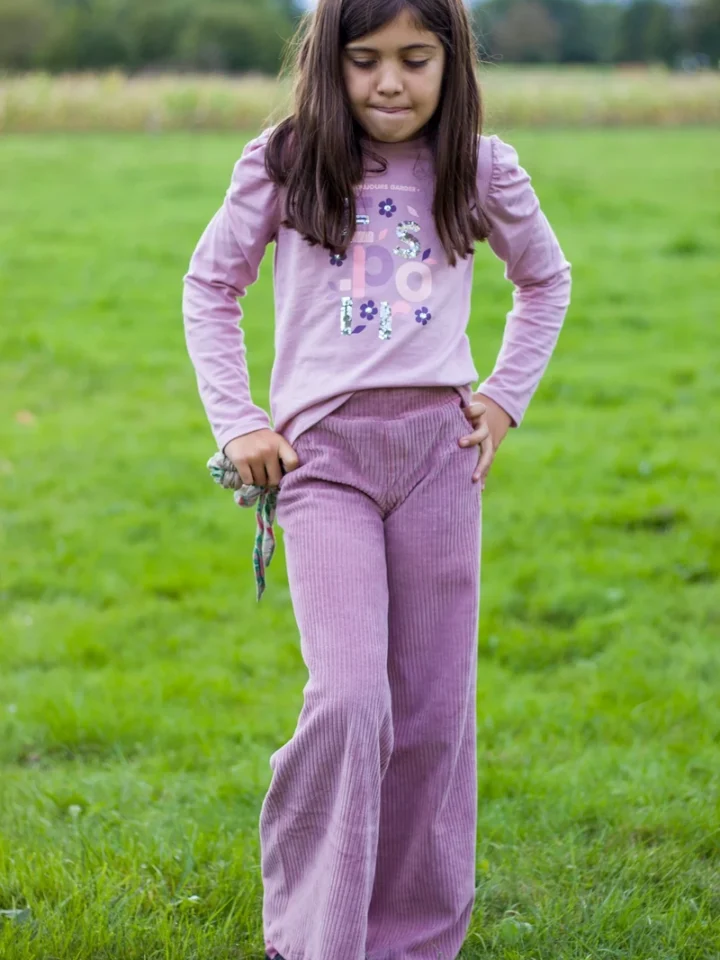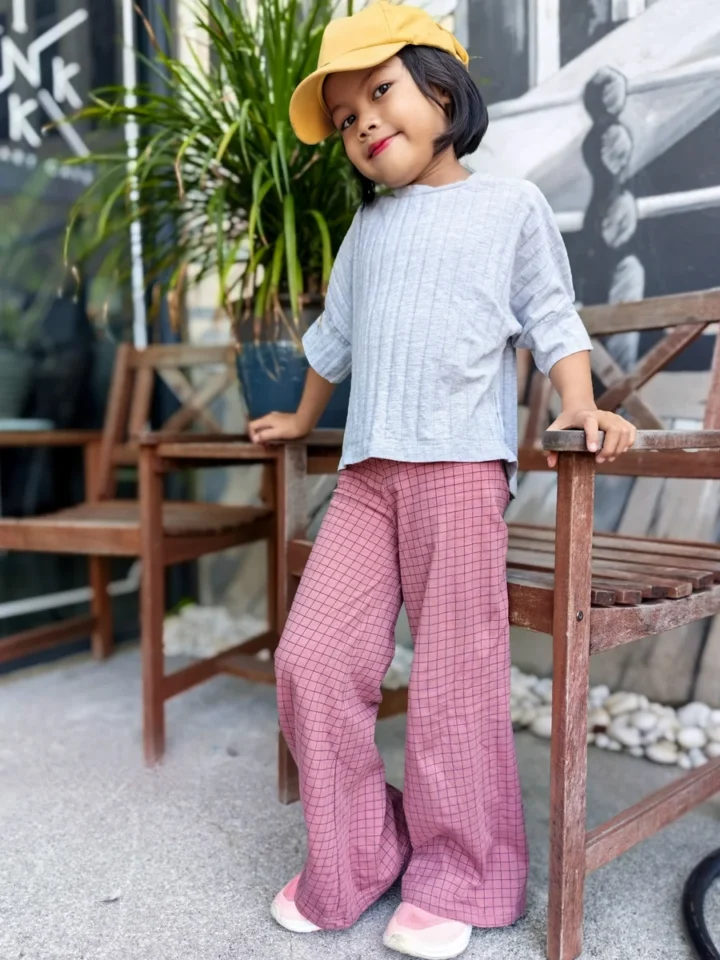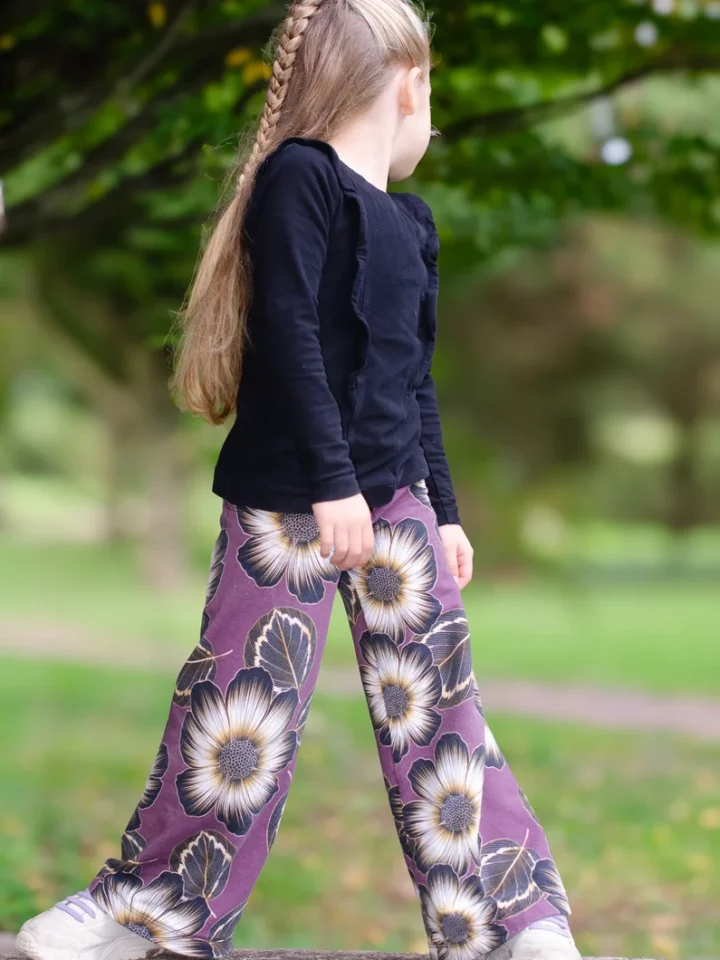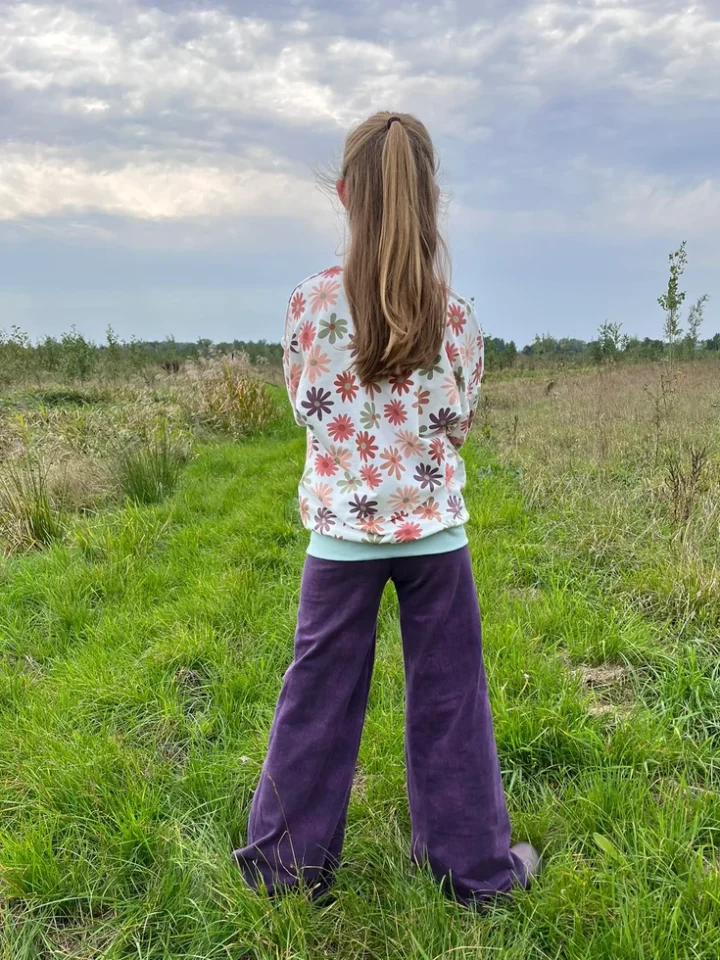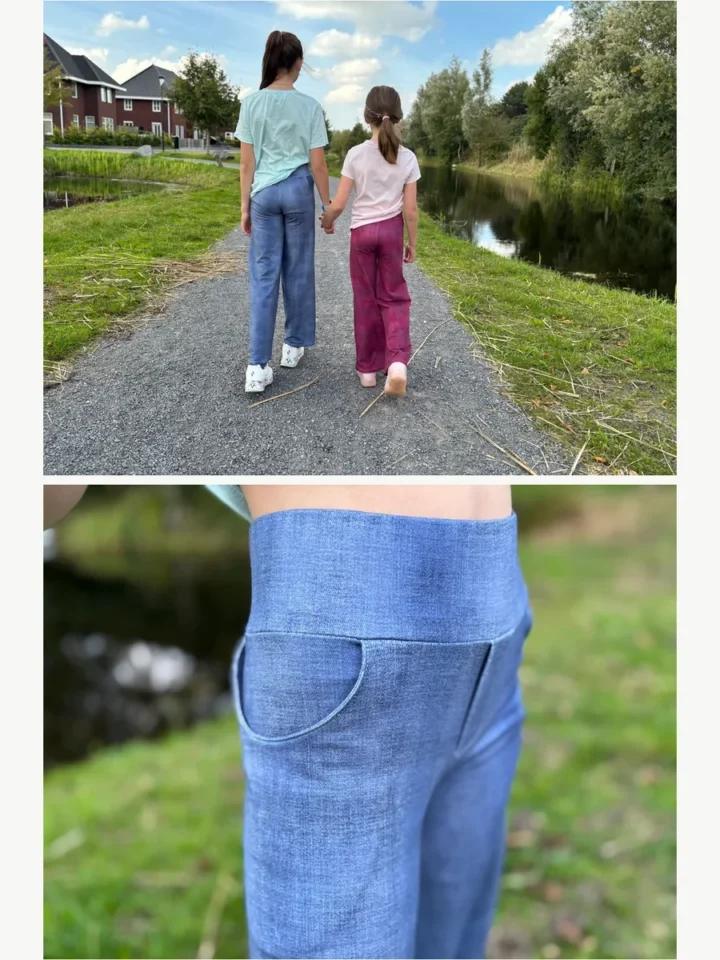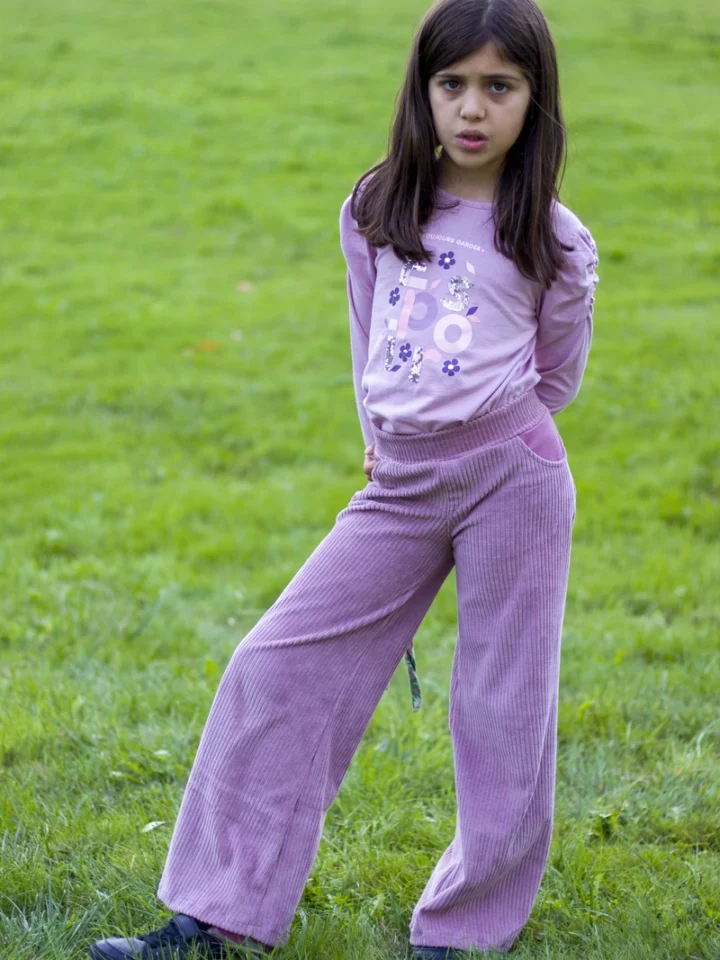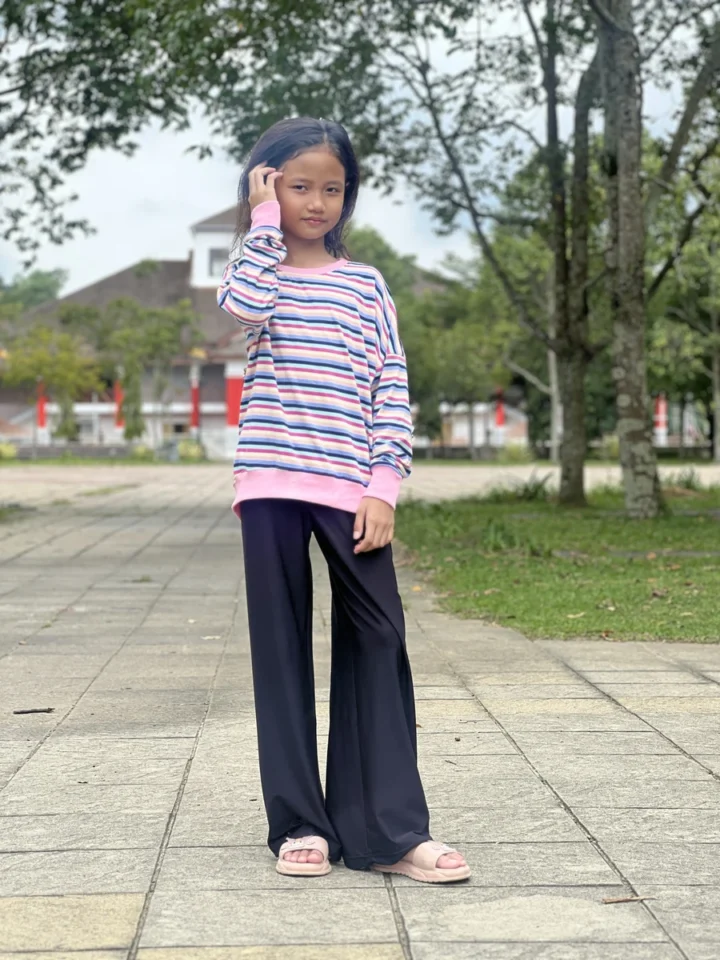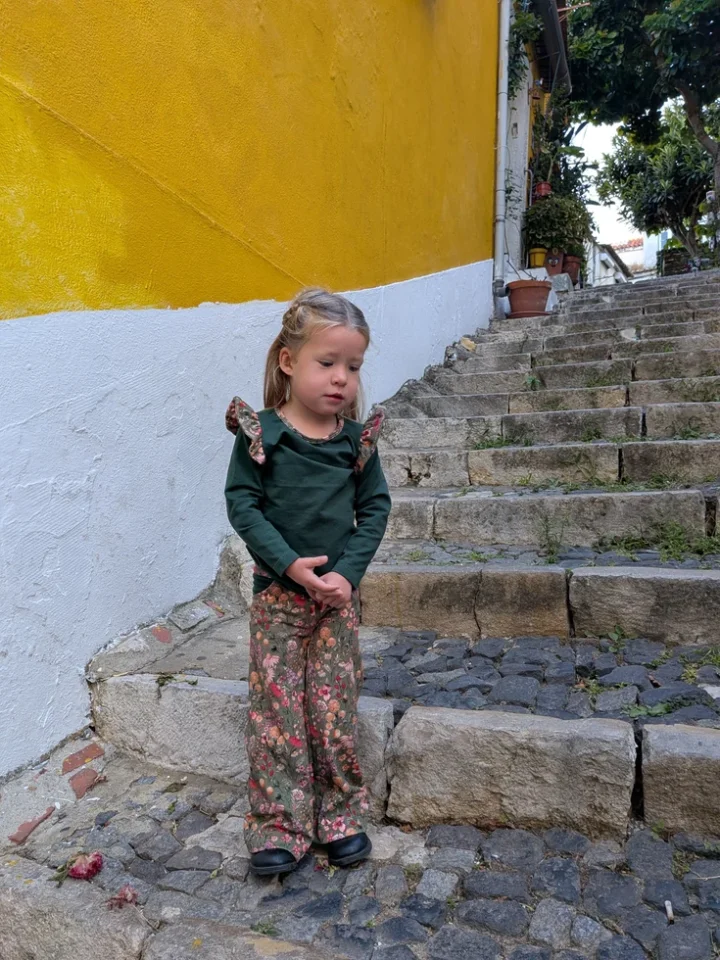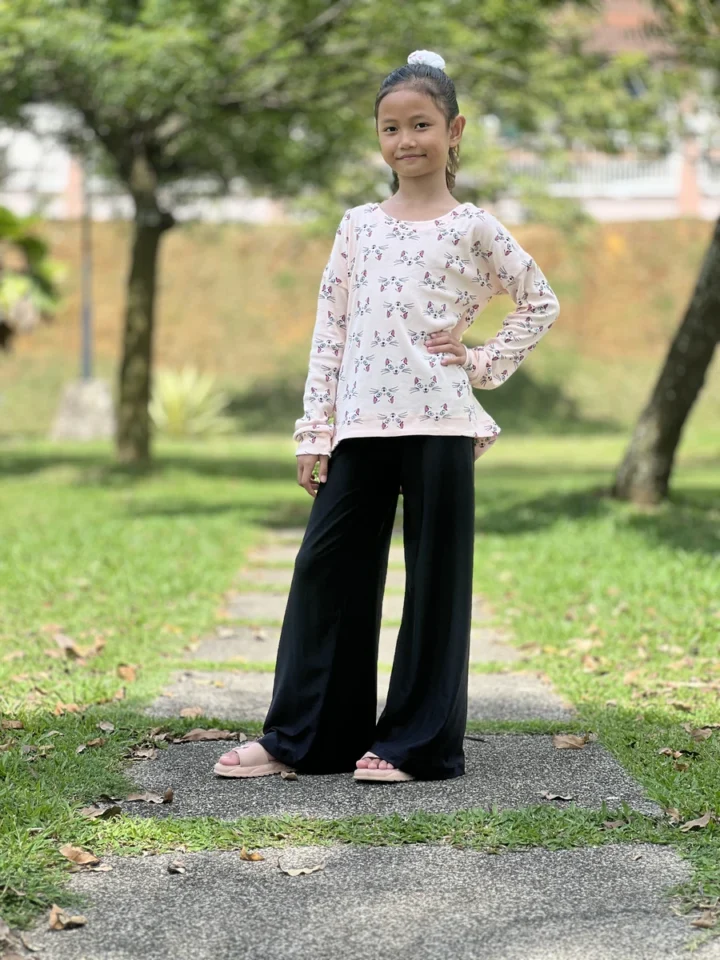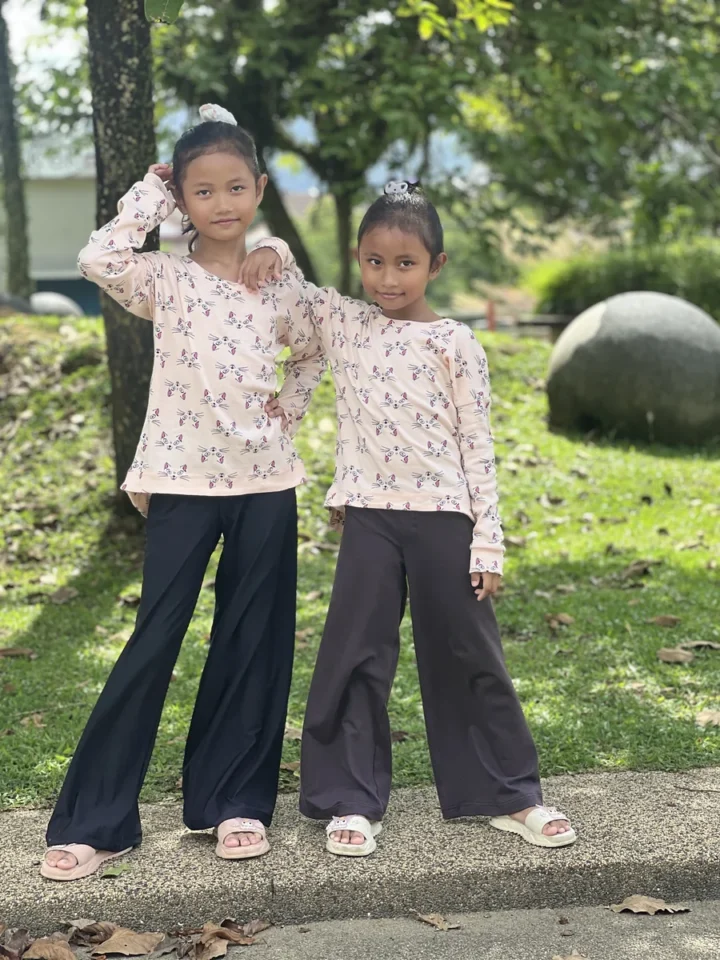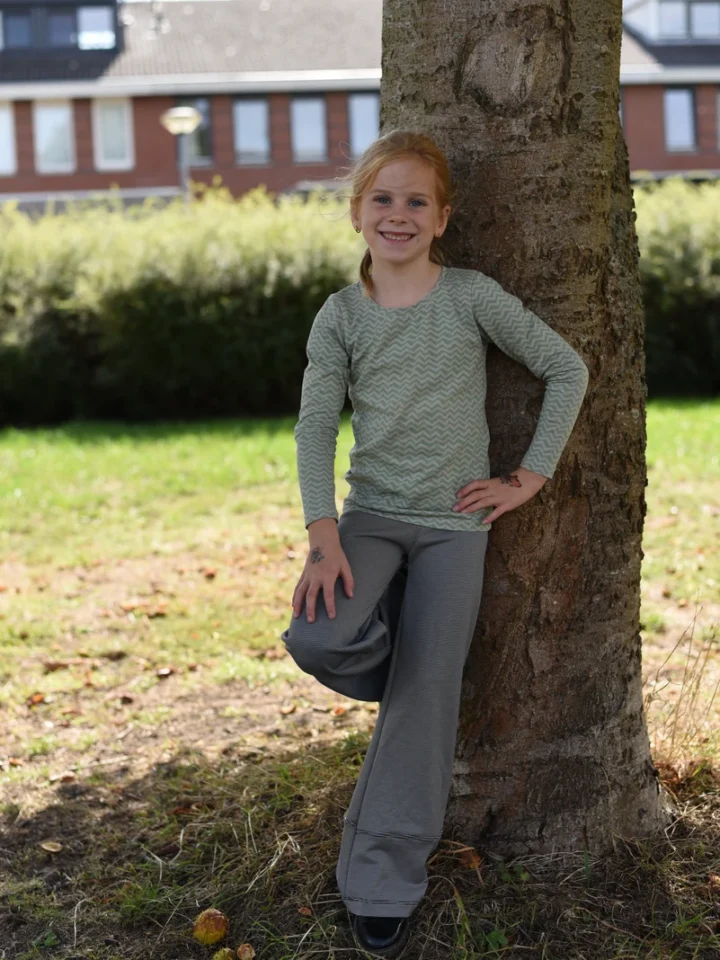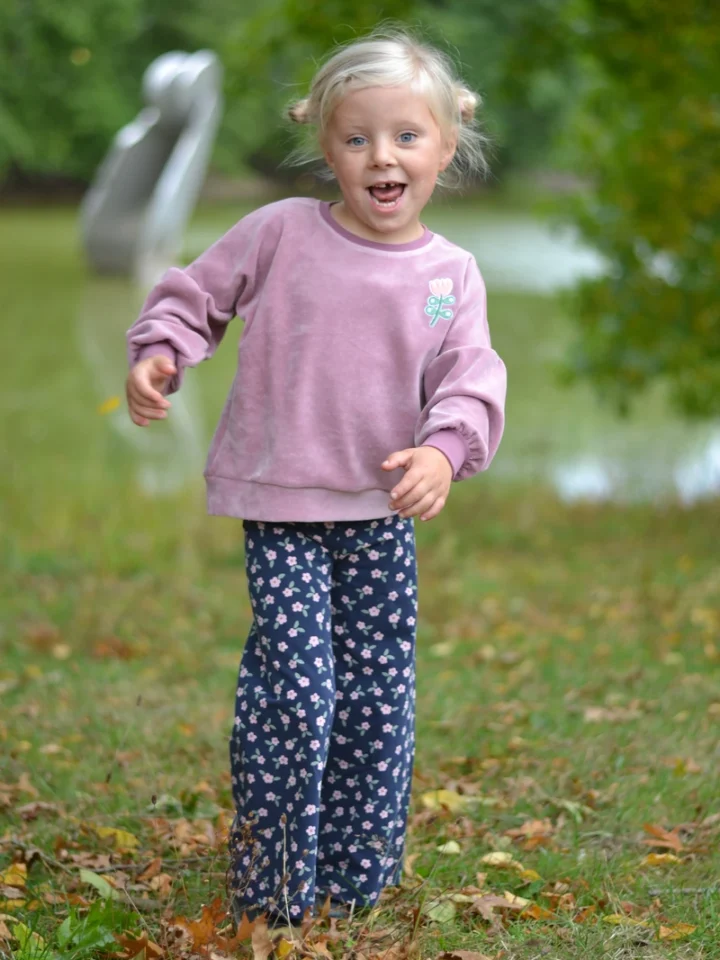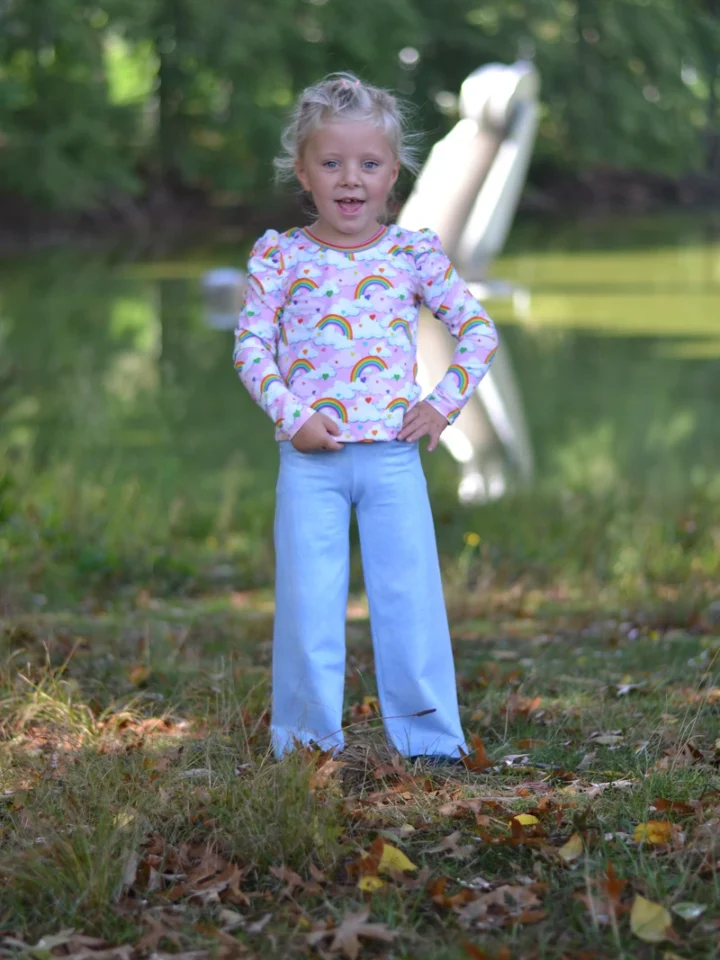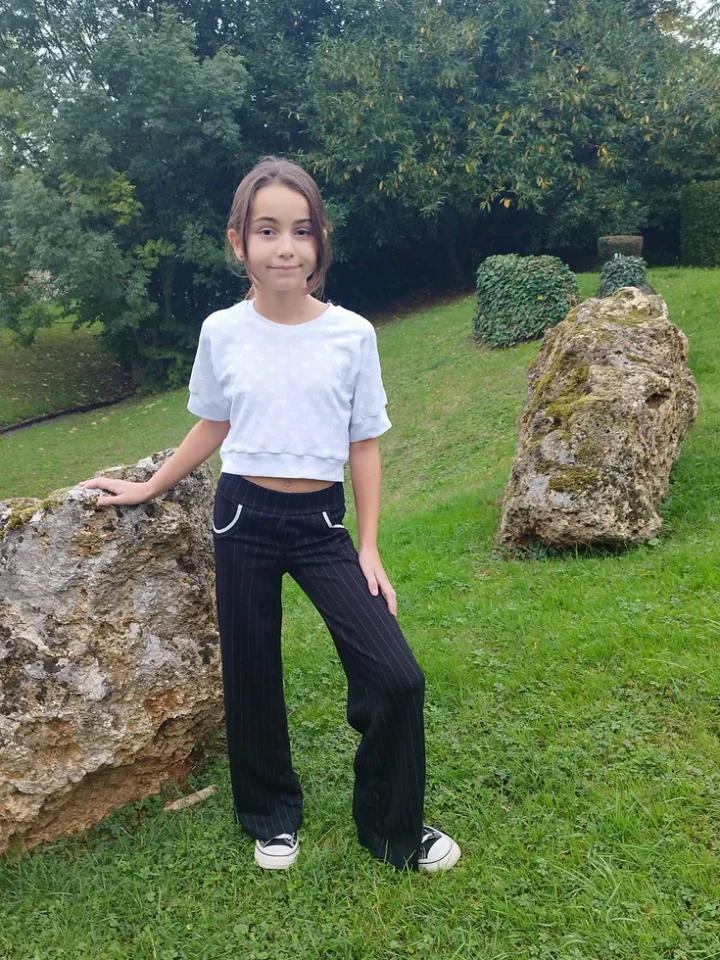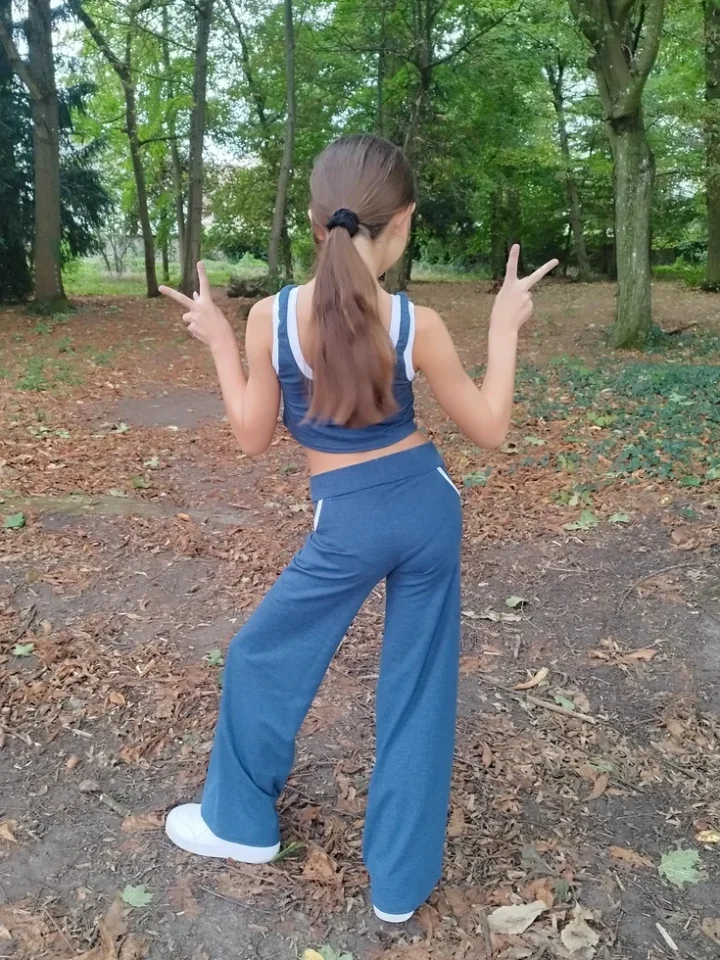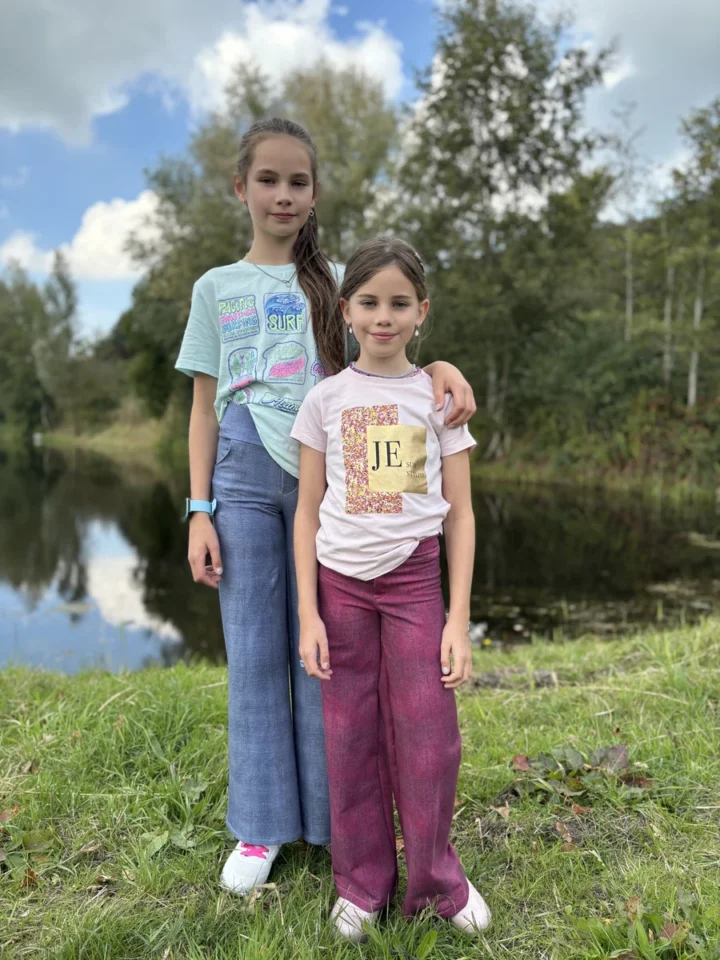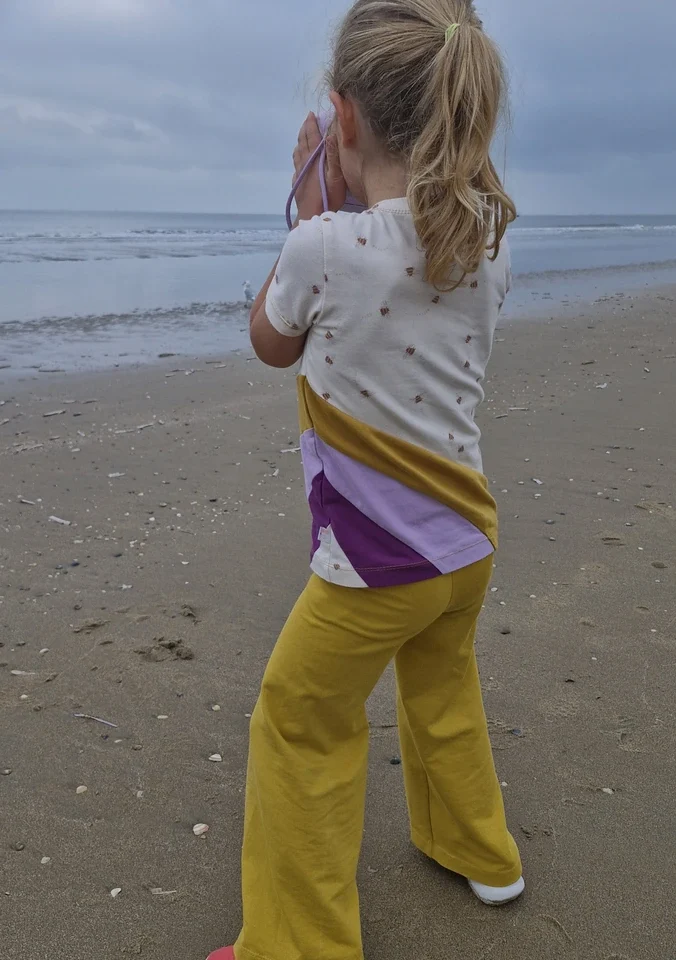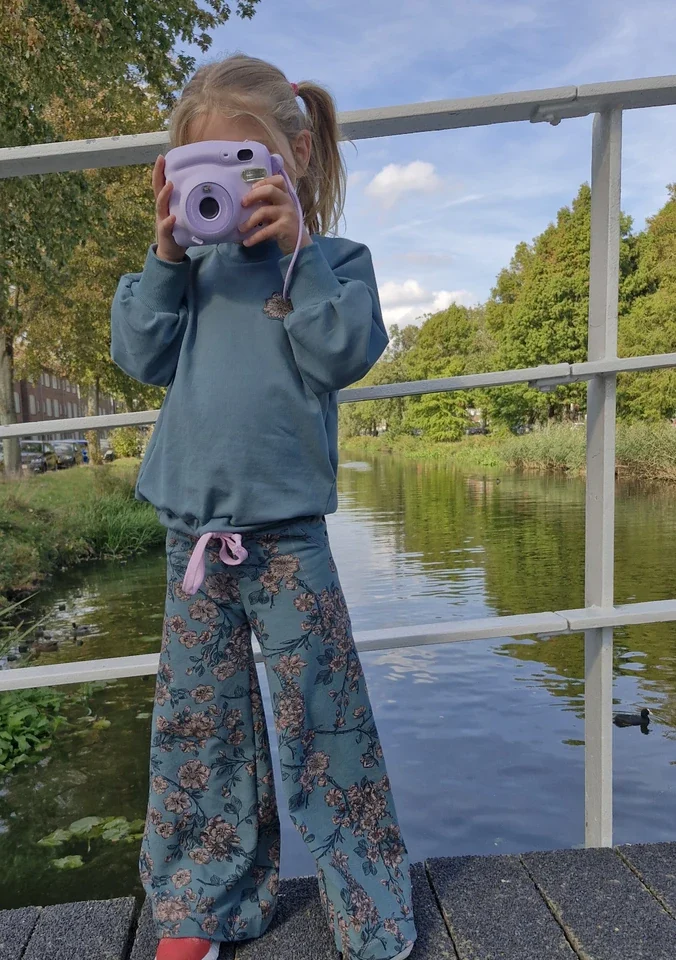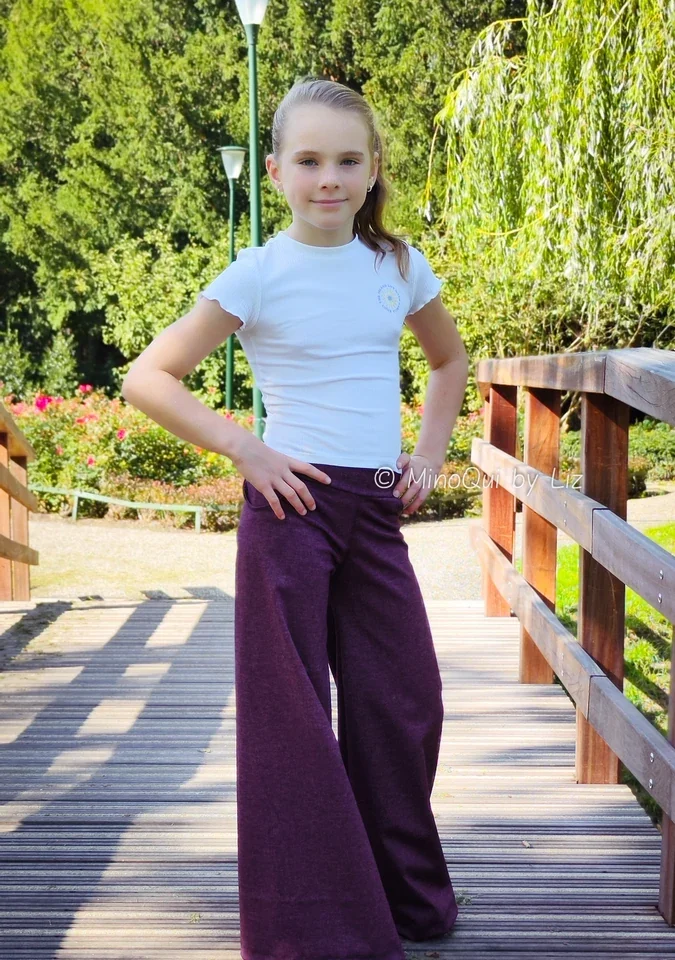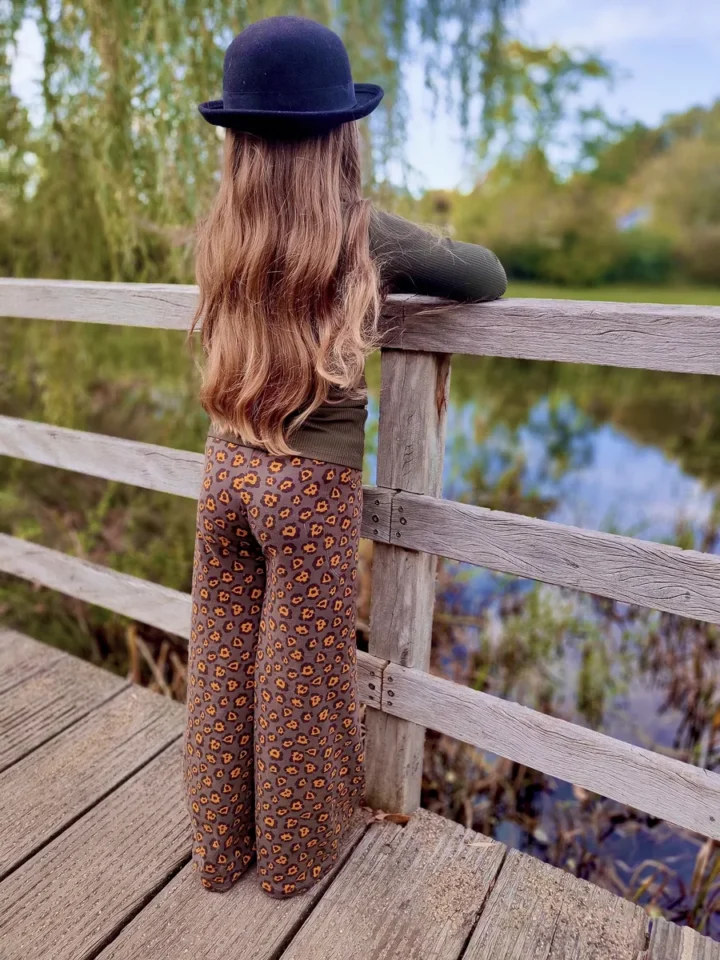
Start a pants fitting check with the waist, hips and leg length, then look at where the fabric pulls or hangs loose. This guide helps you separate those checks so that changing the crotch is not your first response to every wrinkle.
Why pants fit can be tricky
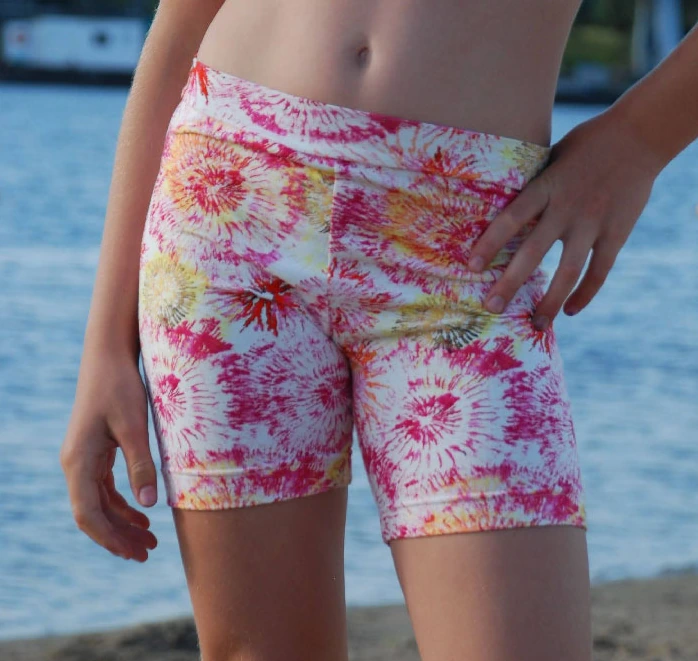
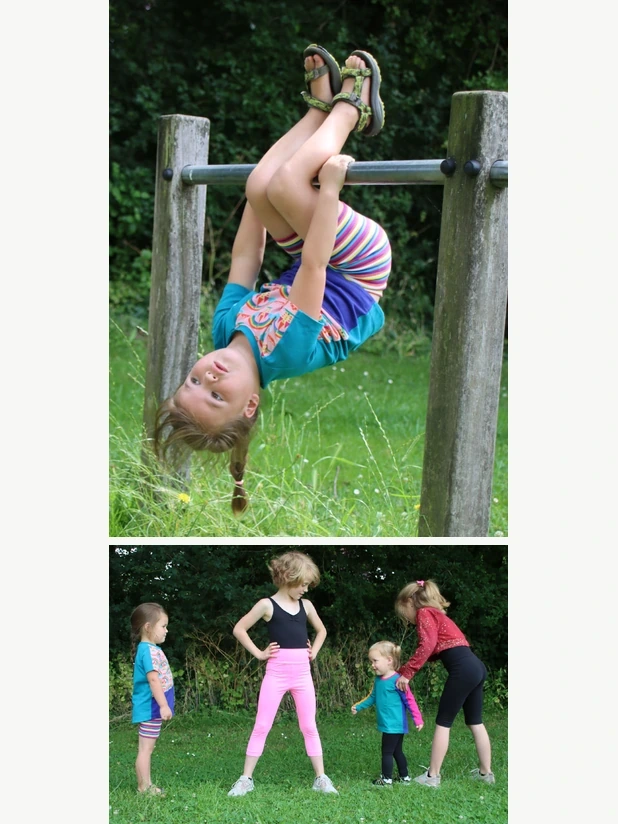
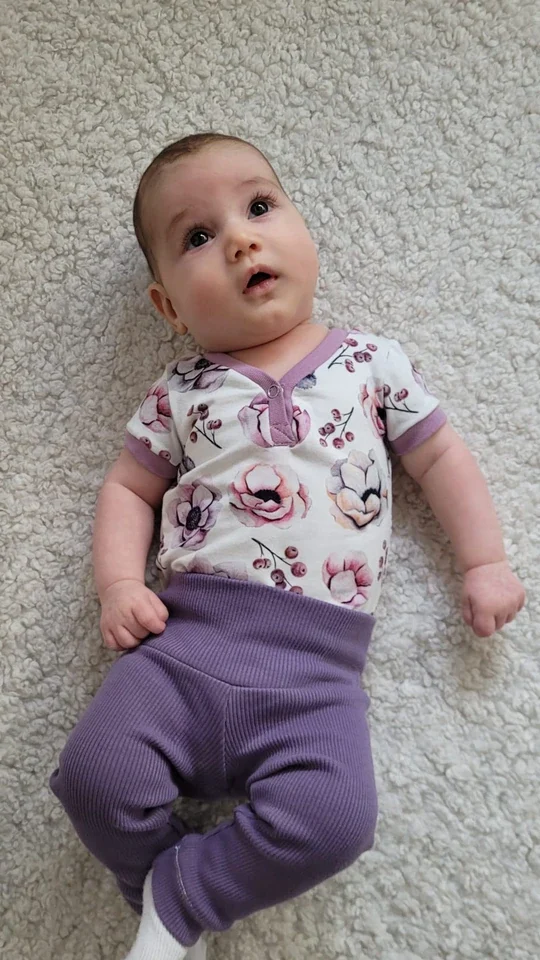
A pair of handmade pants can look beautiful when laid flat and still feel uncomfortable once worn. Waist, hip, rise, crotch shape, upper thigh and fabric recovery all influence fit. The aim is not to remove every small wrinkle: children need enough room to sit, squat and play, and relaxed wide-leg styles should not fit like leggings.
Start with the correct measurements
Measure the child over suitable underwear, keeping the tape comfortably level. Record waist, widest hip/seat, inseam and trunk measurement. In Gaia and Rivara, hip circumference is the starting point for size selection; waist and inseam can then be adjusted independently. Check the finished measurements and desired garment style before sizing up.
Check the fabric before changing the pattern
A fabric with less stretch or weaker recovery can behave very differently from the one intended. Both Gaia and Rivara are drafted for medium-weight knits with at least 30% stretch, so compare your fabric with the pattern instructions first. A garment made in an unsuitable fabric cannot always be fixed by changing the crotch curve.
Read the direction of drag lines
Tension lines often point towards an area needing more room, while folds that hang loosely may suggest extra length or fabric. But a horizontal crease alone is not a diagnosis. Check the waistband position, total hip width, rise and movement before adjusting one curve.
Make a simple test garment
Use a knit with similar stretch, weight and recovery to your final fabric. Baste the main seams, mark the waistline and photograph front, side and back while standing naturally. Test sitting down and bending. Pin small temporary changes in the test garment; change one variable at a time.
Transfer and check the adjustment
Once a change works, redraw the seamline smoothly on the pattern, keep grainlines intact, and check that adjoining inseams and notches still match. The seam allowance printed in the chosen pattern is not extra fitting ease. Keep a copy of the untouched pattern.
Should all wrinkles be removed?
No. Ease for movement and the intended design matter. Look for persistent discomfort or obvious concentrated folds rather than chasing a perfectly smooth garment.
Can I use the same alteration on every fabric?
Not automatically. Weight, stretch and recovery can change how the garment sits. Check the pattern requirements and test with a comparable fabric.
What should I do after changing a crotch curve?
Smooth the seamline, check front and back seam matching, restore the included seam allowance if necessary, and make a new fitting sample.
Separate thigh volume from seat and length
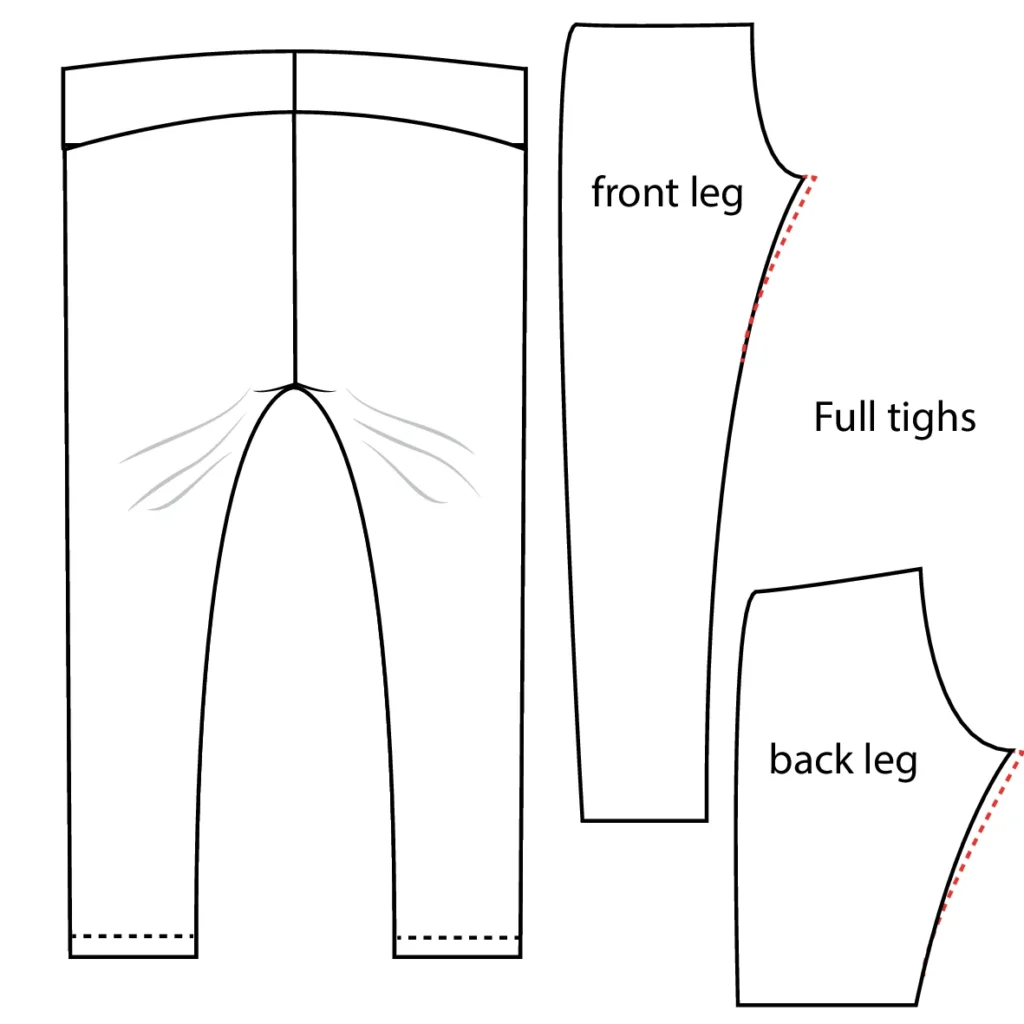
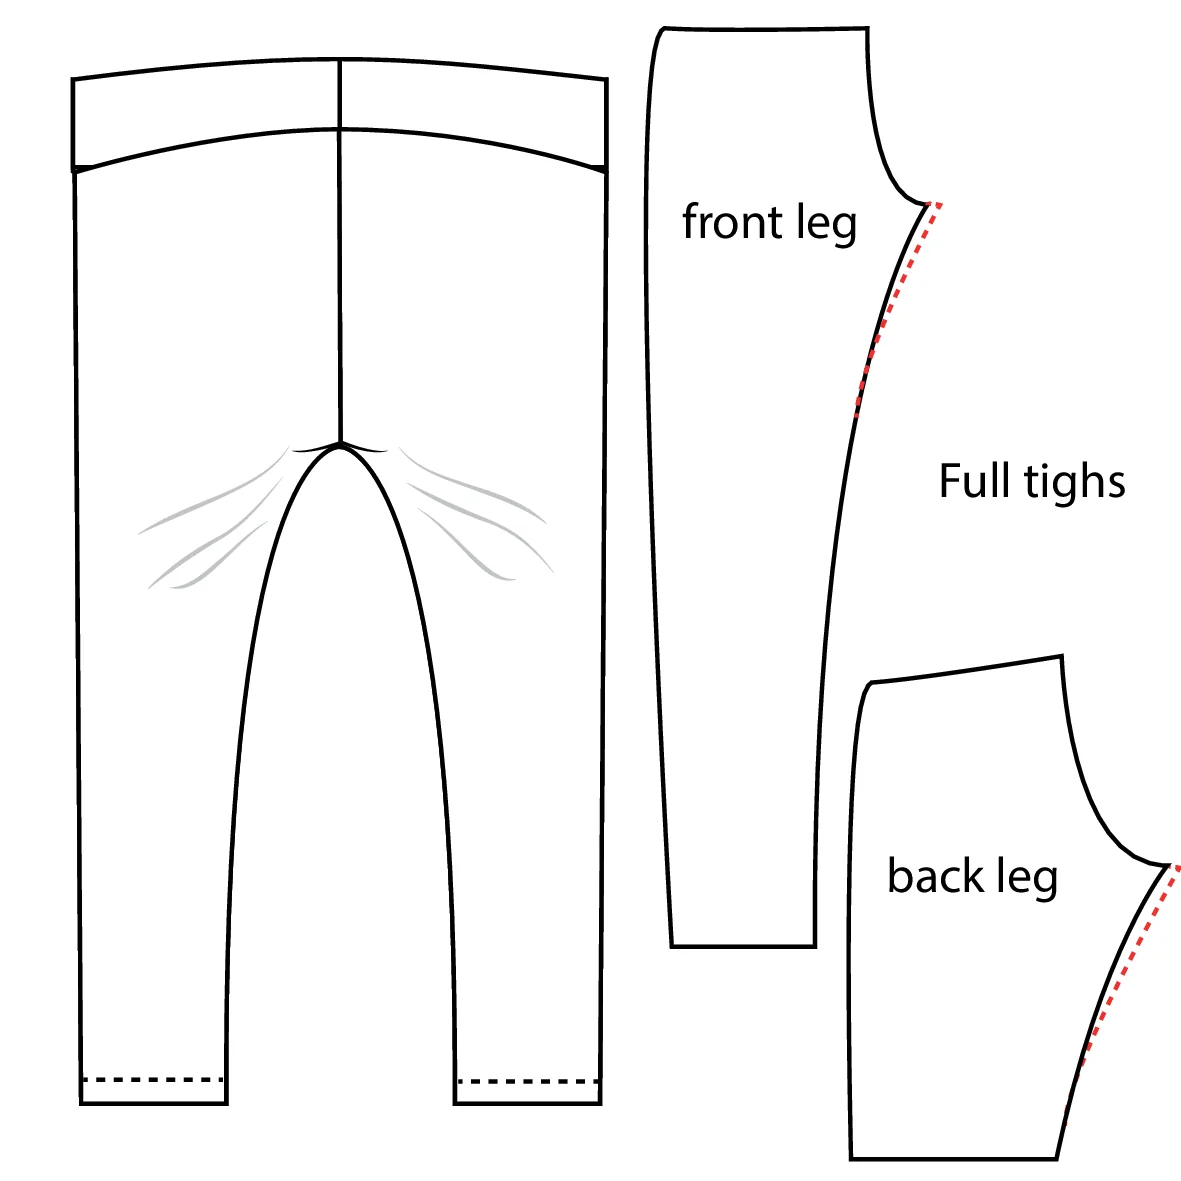
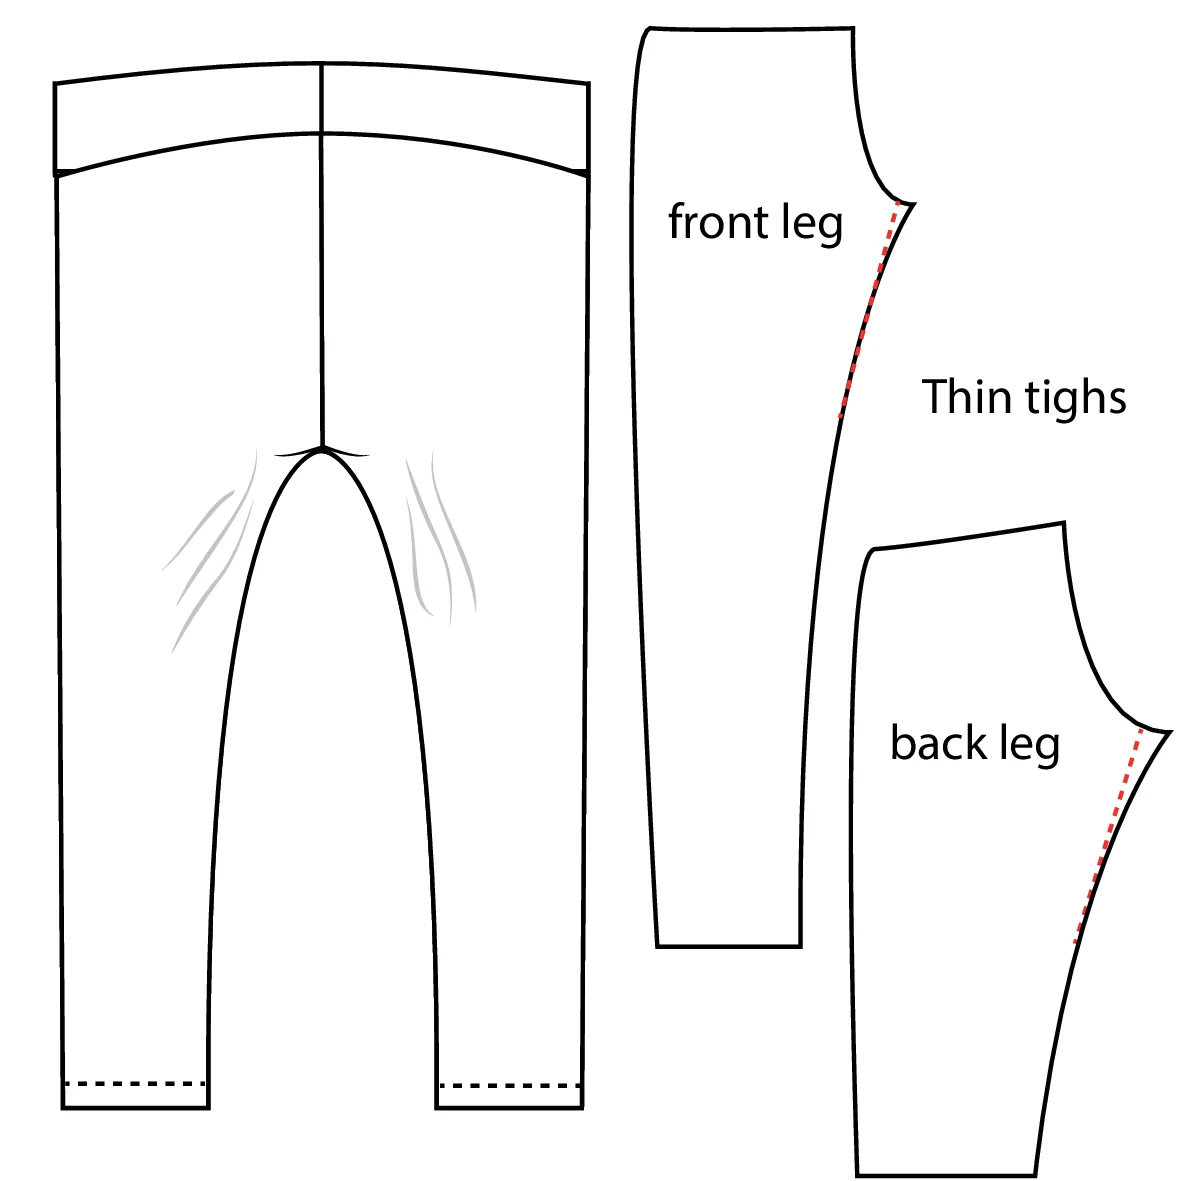
The supplied Cherielle drawings show different adjustment directions for fuller and slimmer thighs. A local thigh issue does not automatically require a larger size throughout the waist and rise. Check the grain direction, seam placement and comfort in a test garment, then make one controlled change and reassess.
Explore more F4U sewing tips
Taking measurements, stretch and recovery and Getting Started can help you prepare. Explore the Gaia Flared Leggings and Rivara Wide Leg Pants for the intended silhouettes.