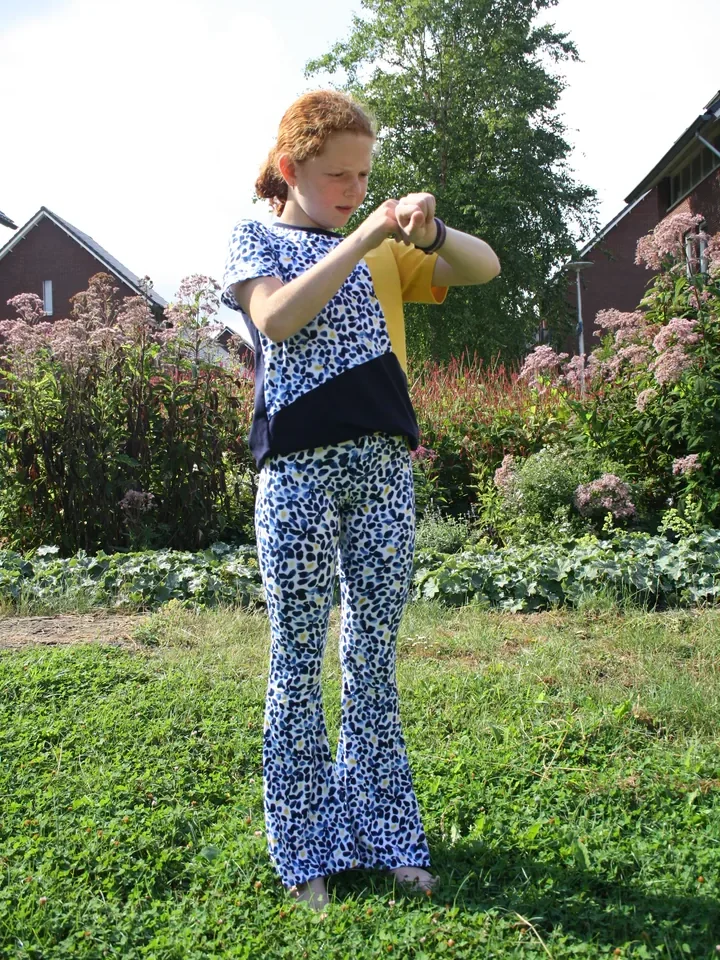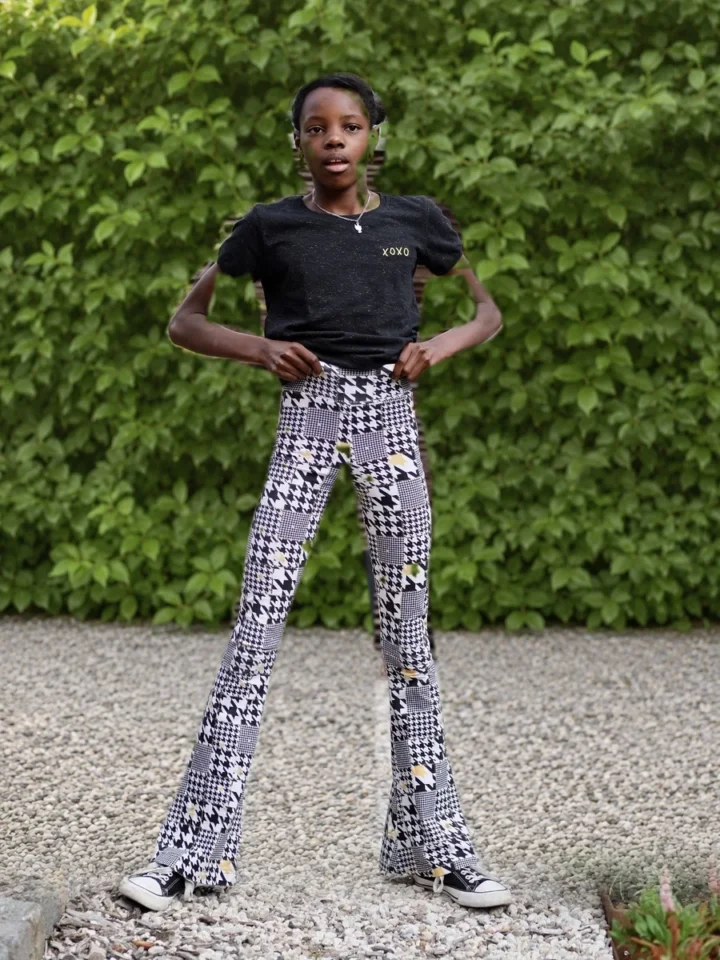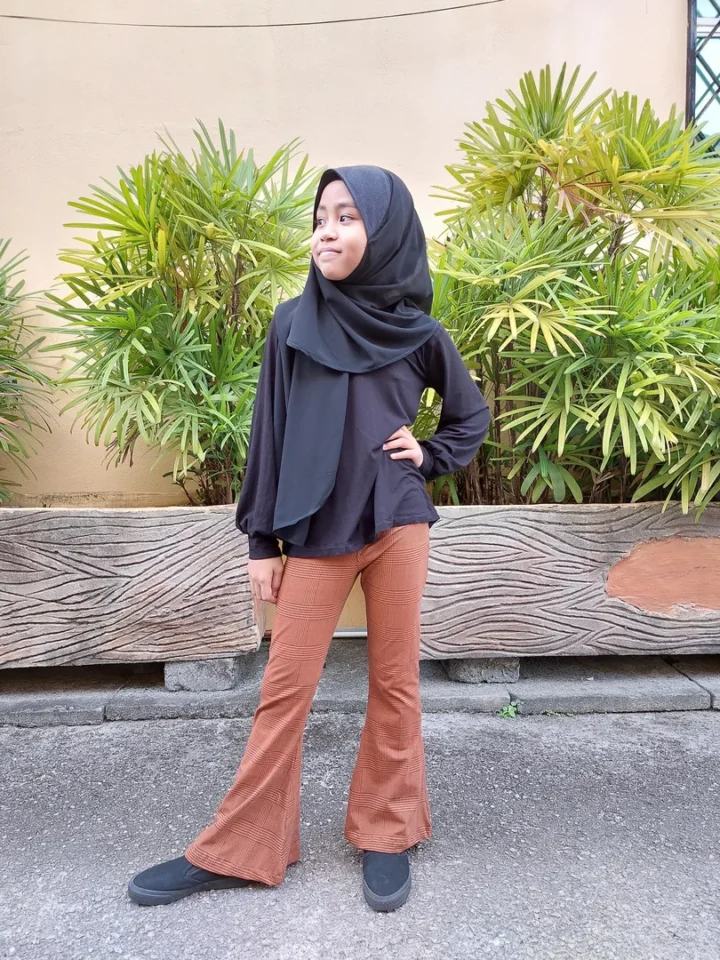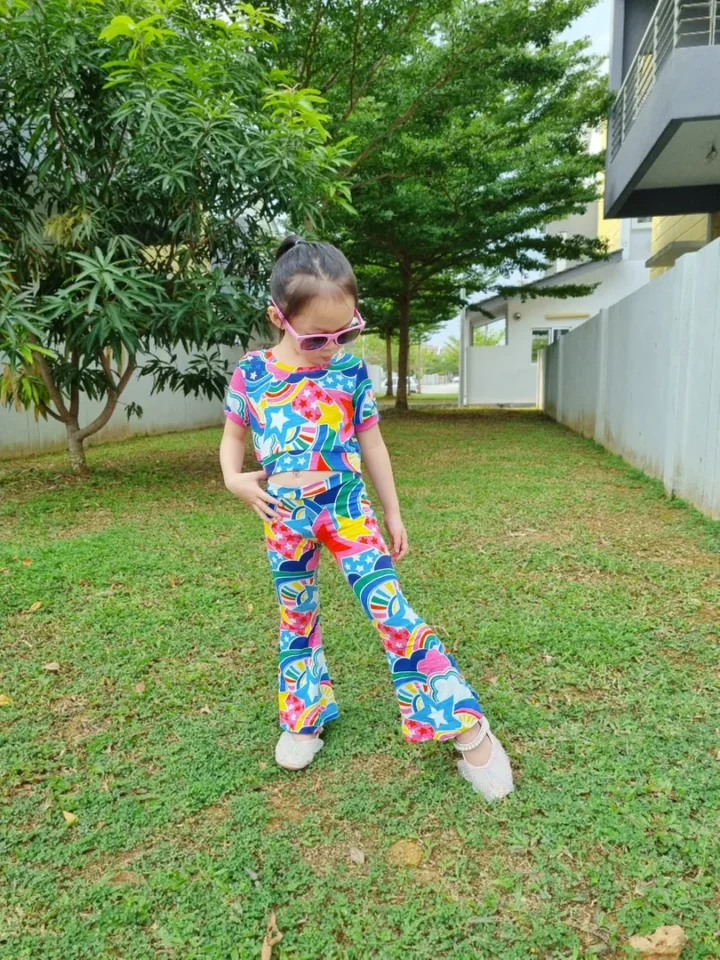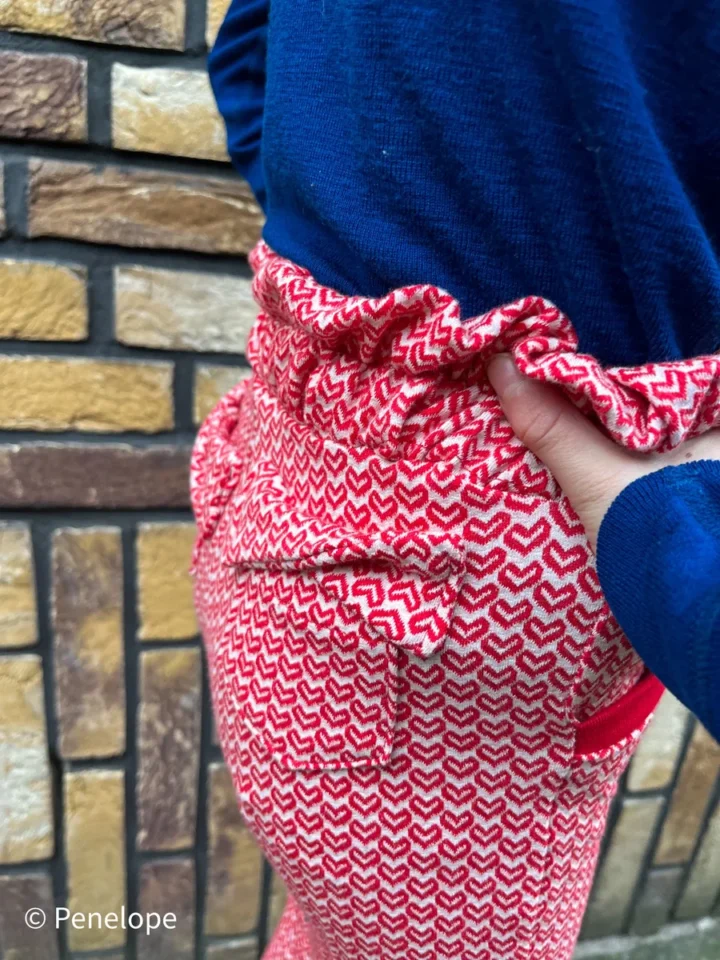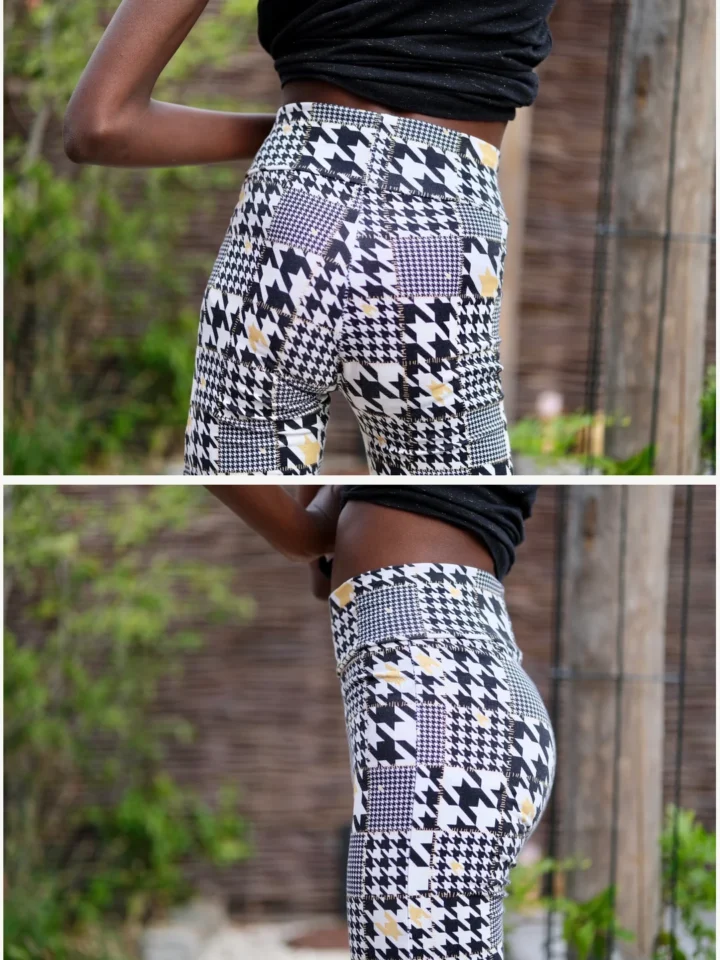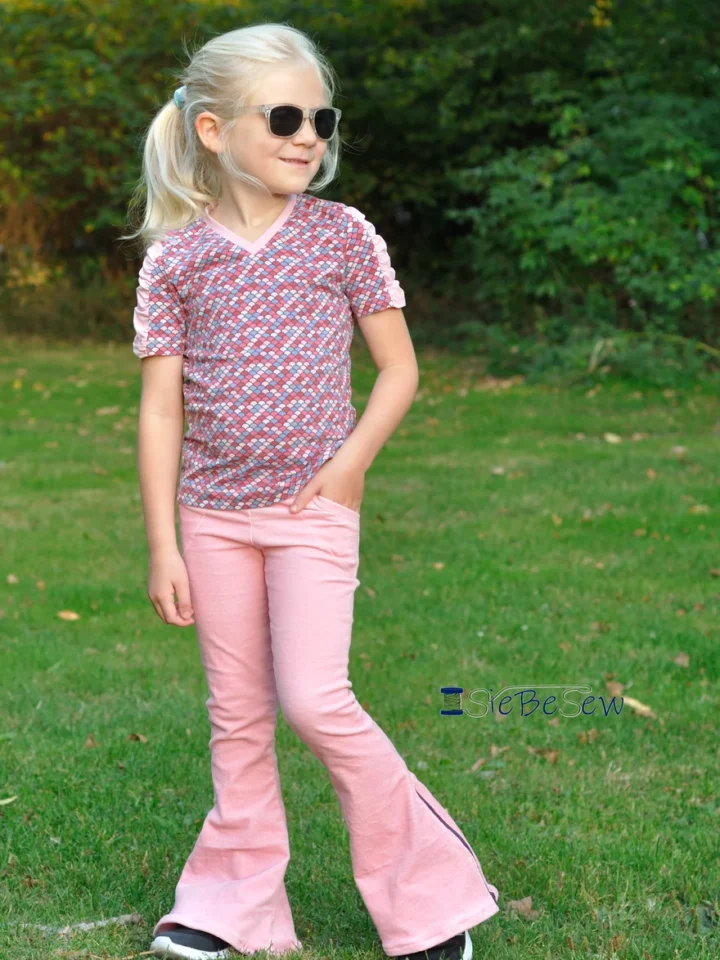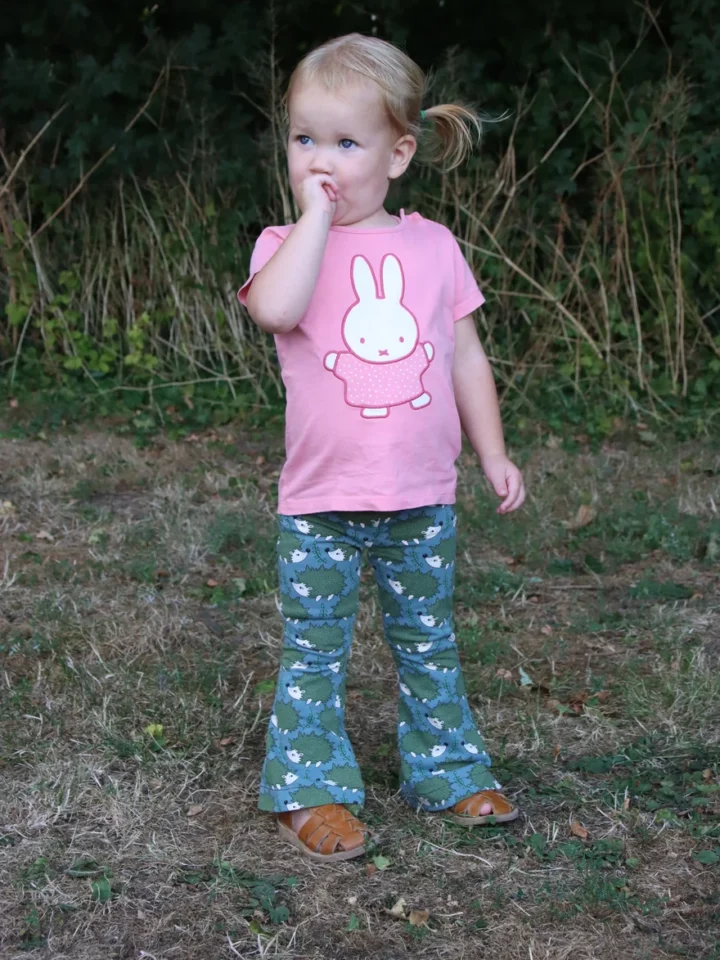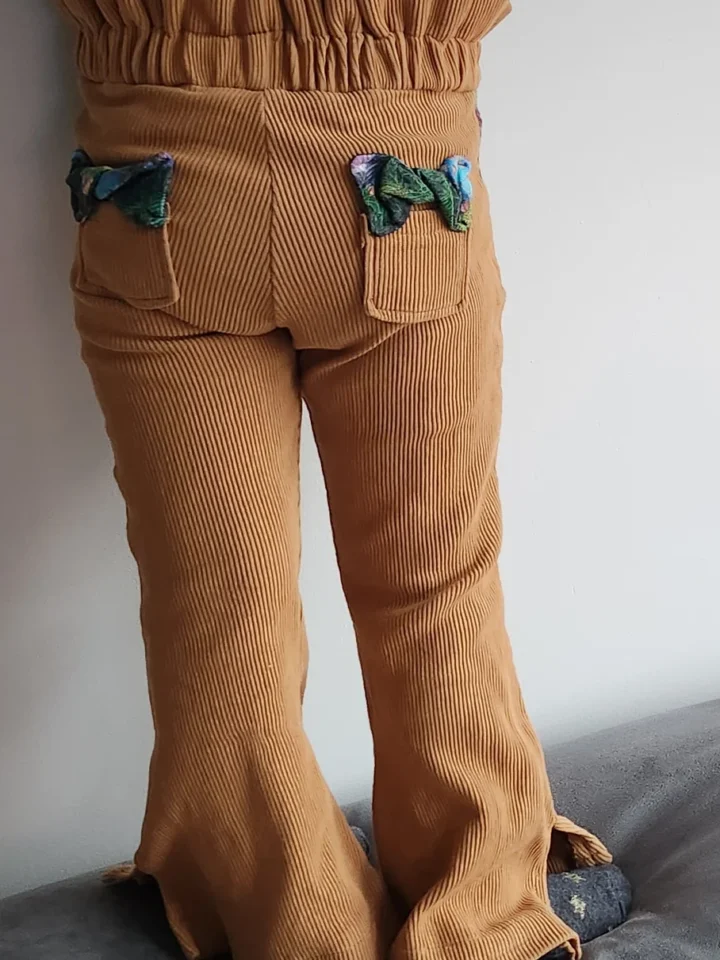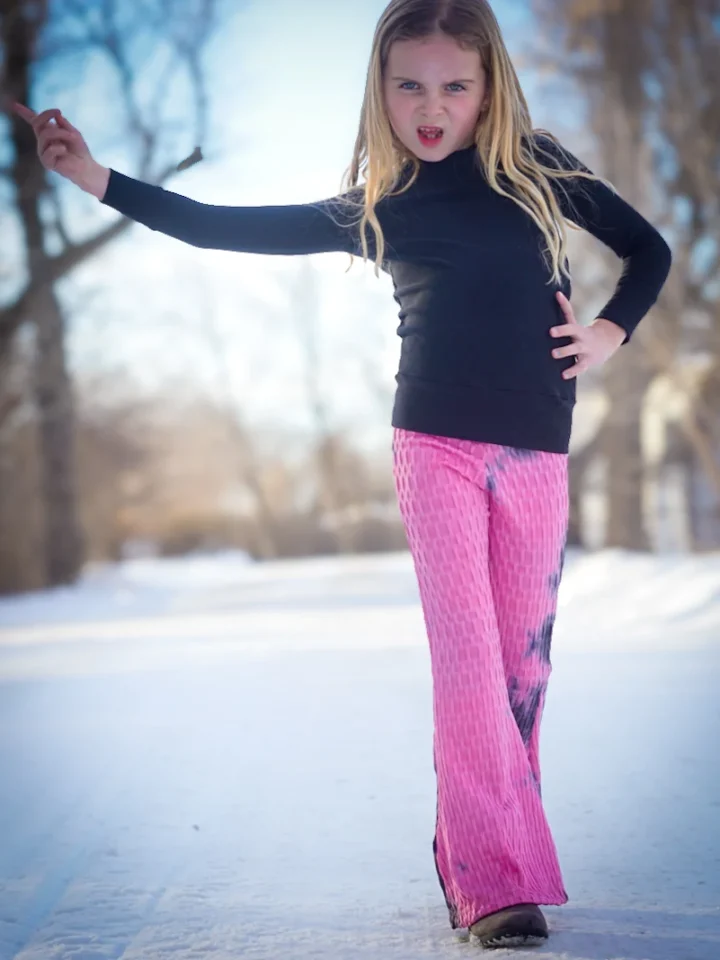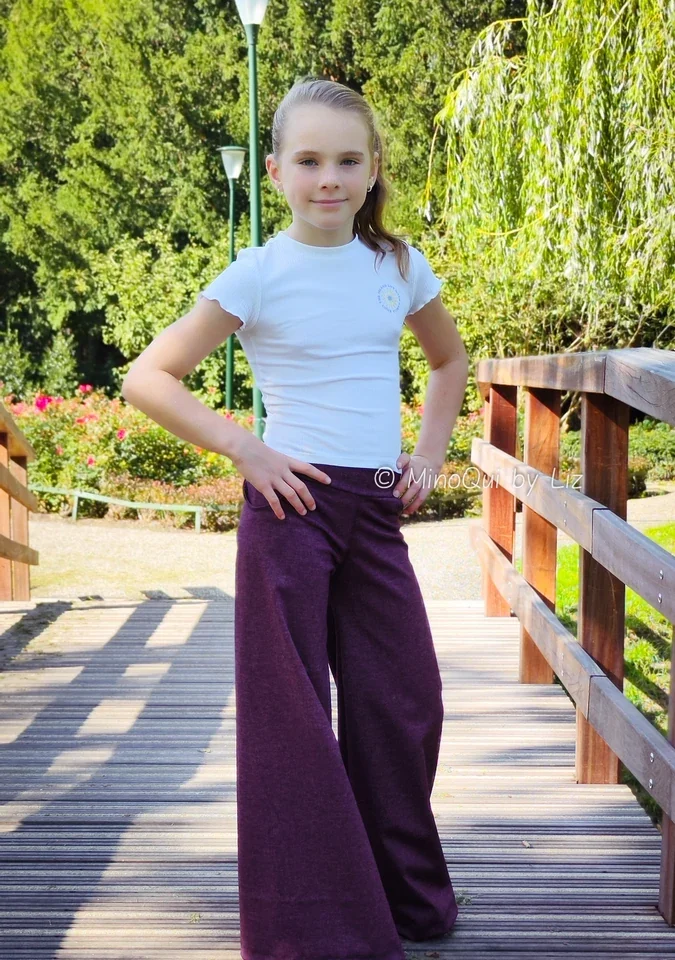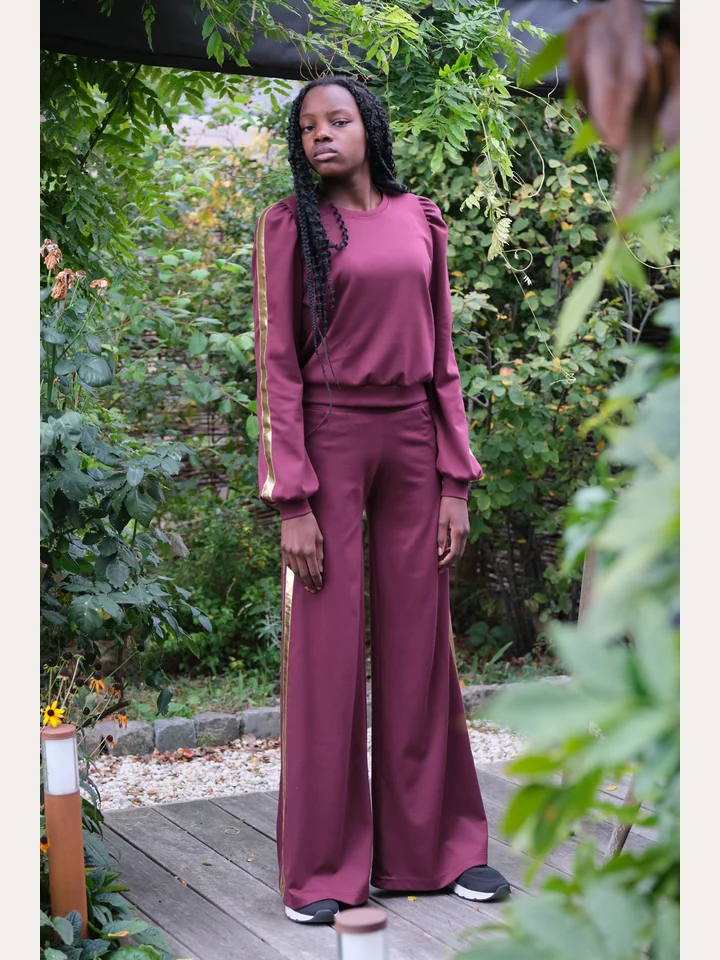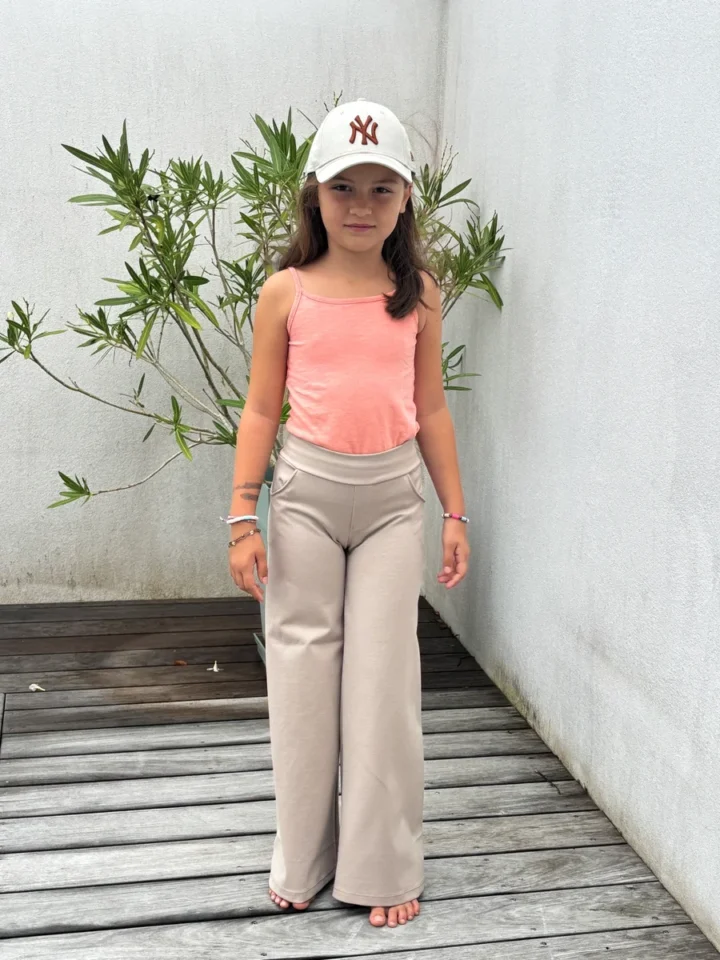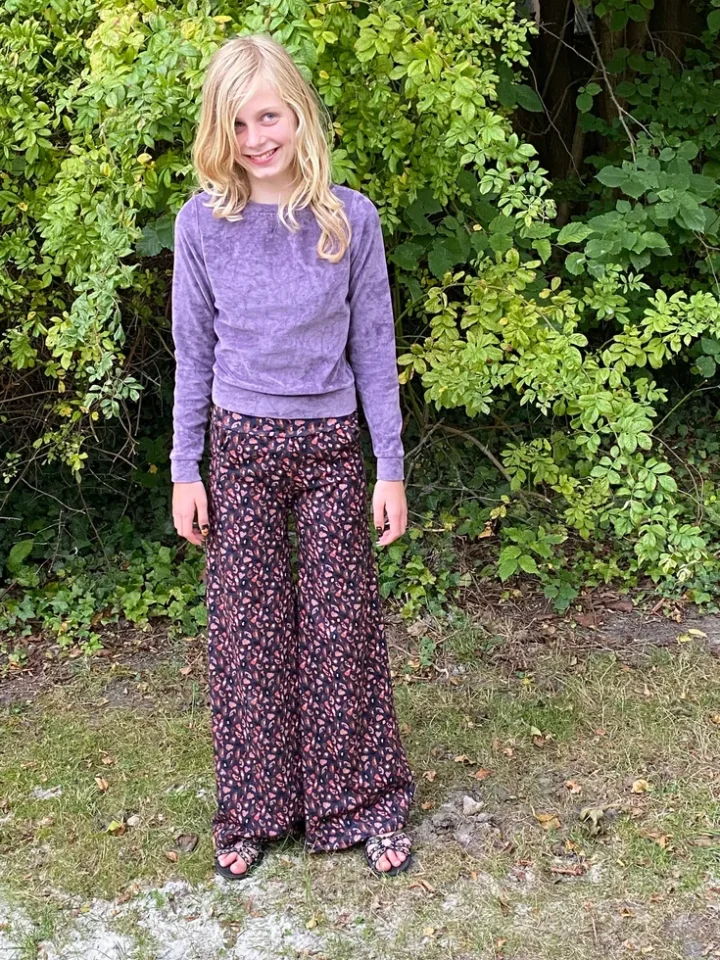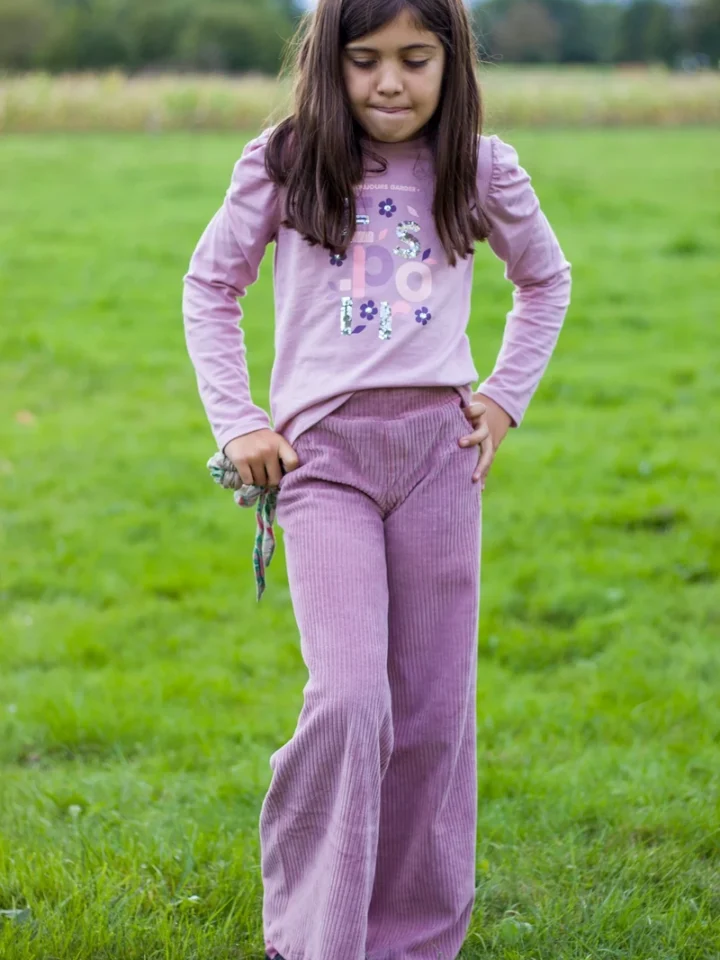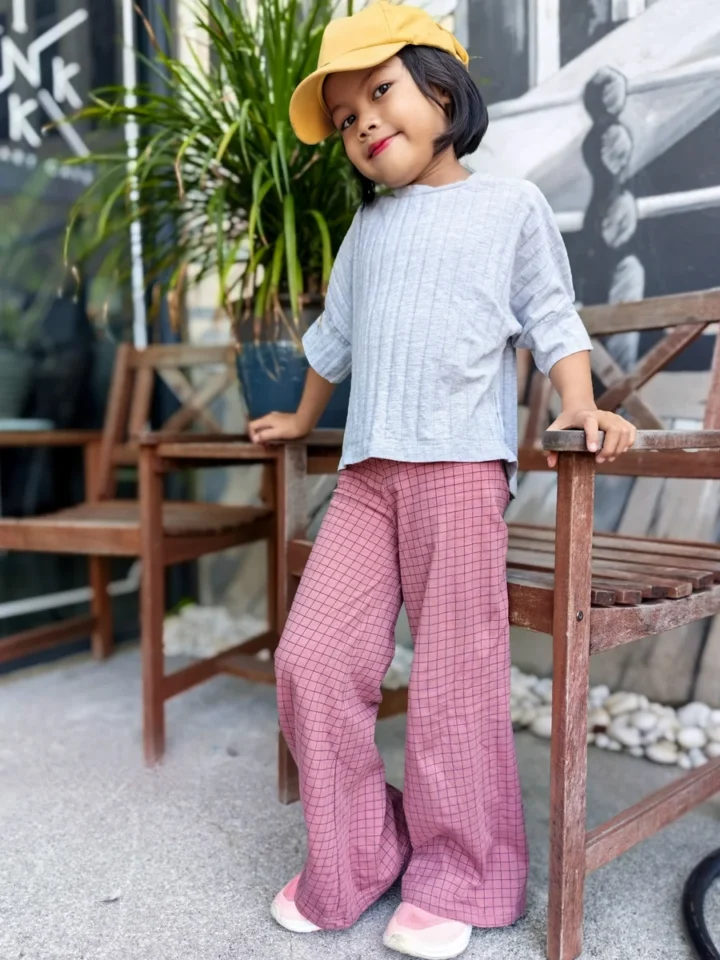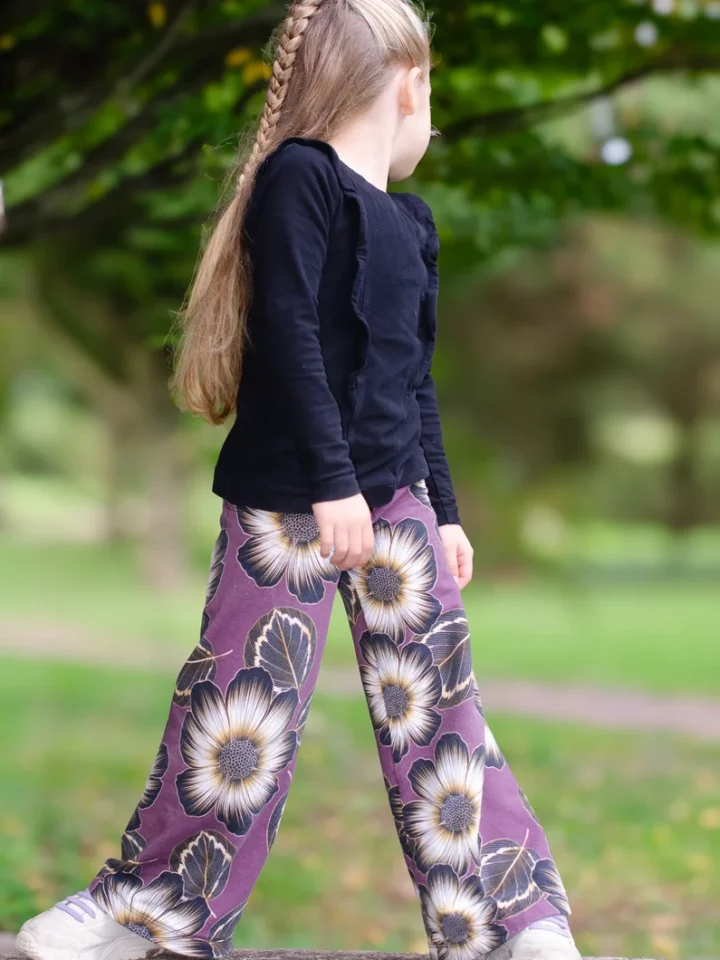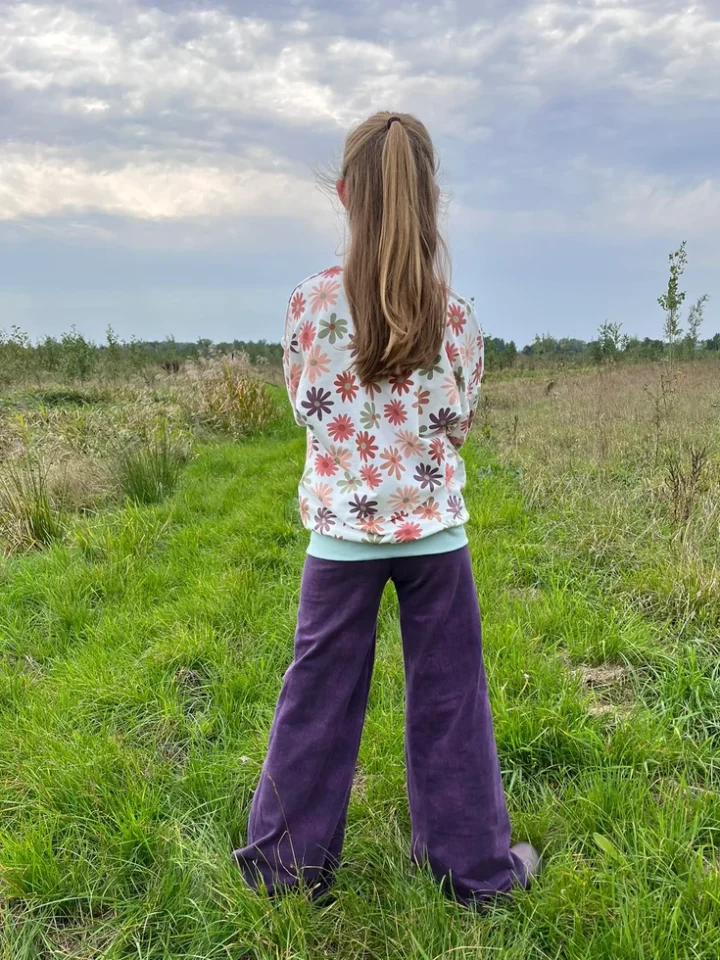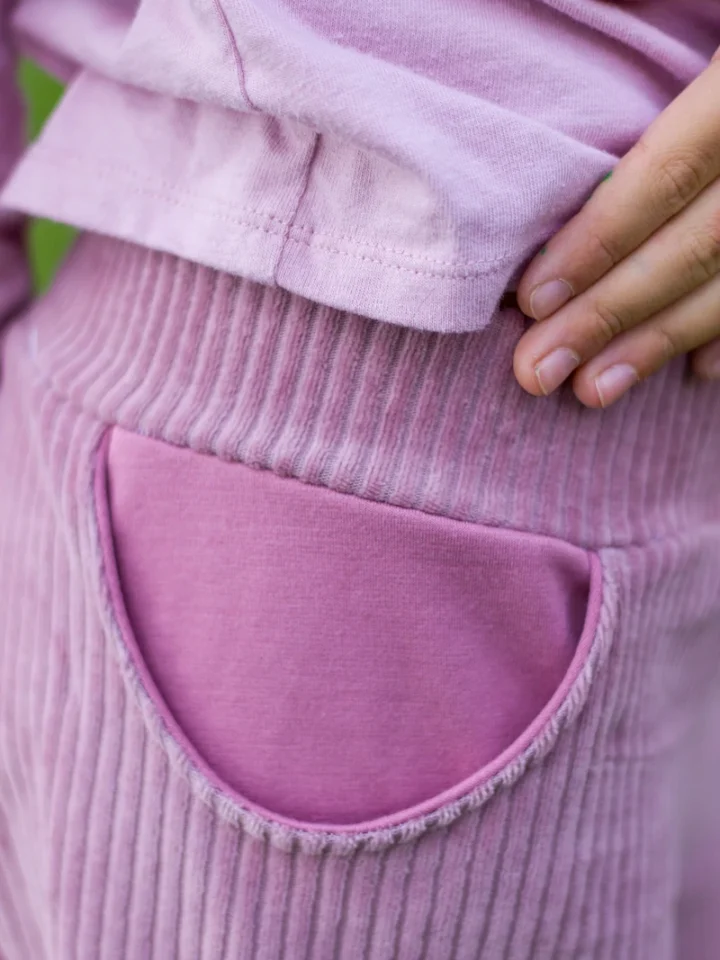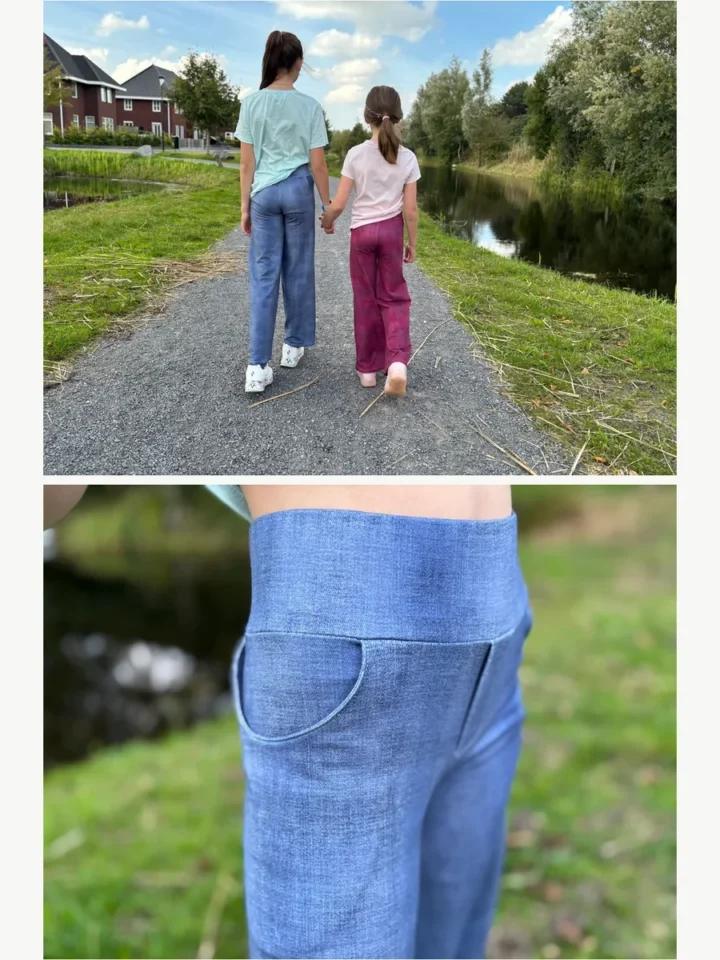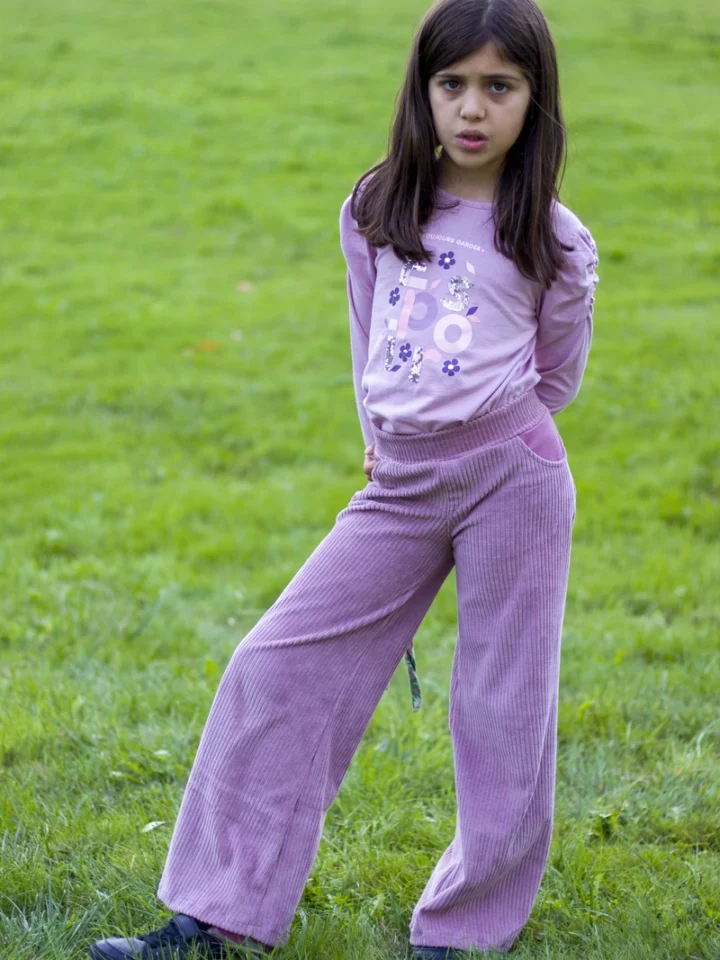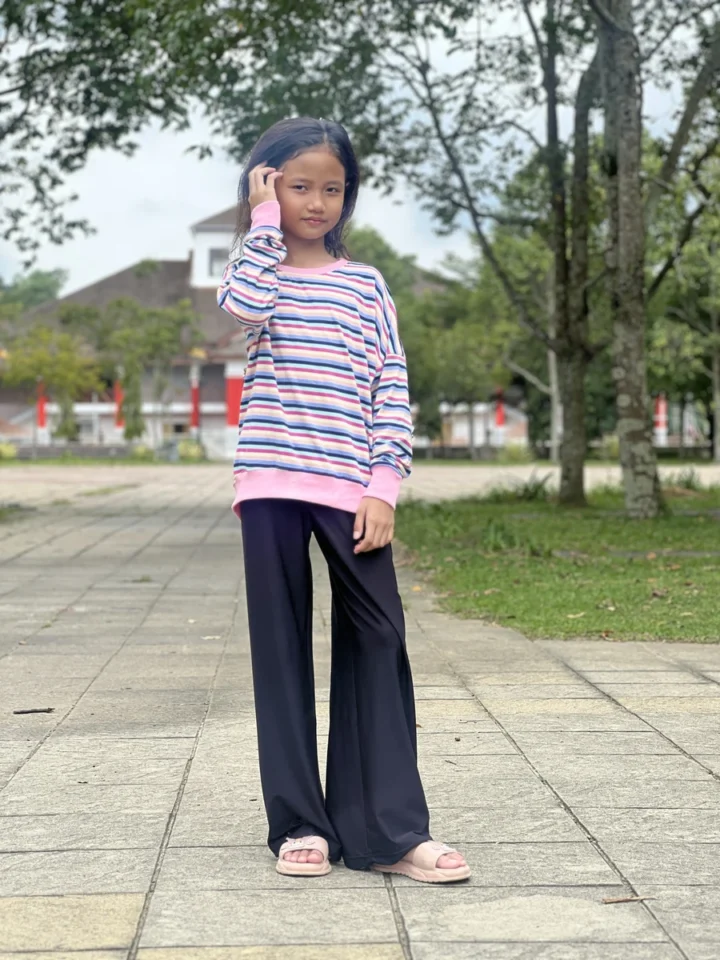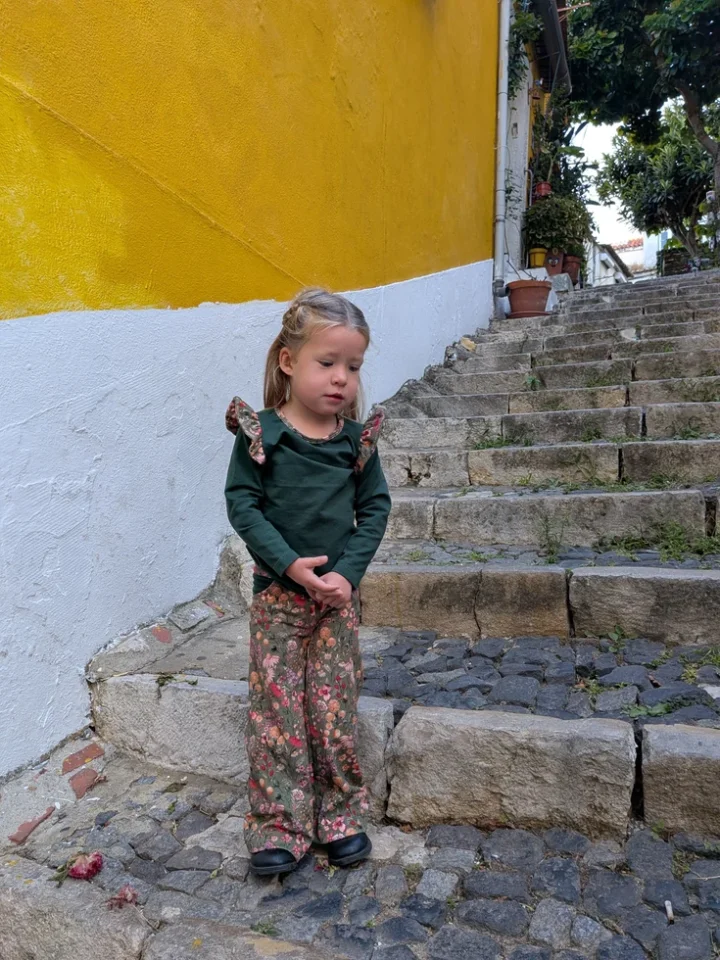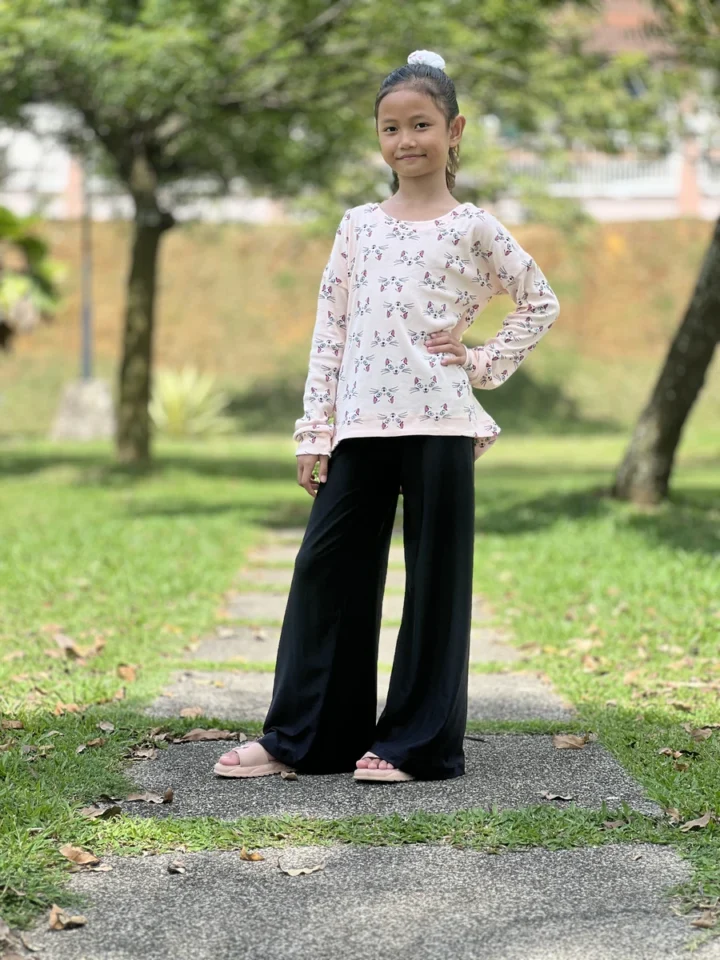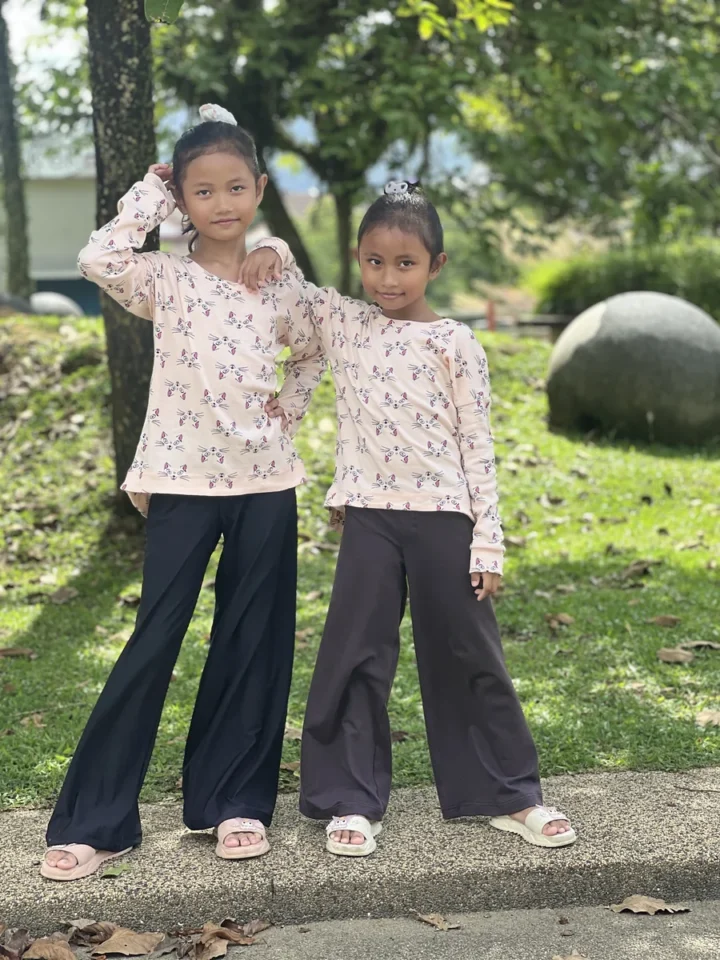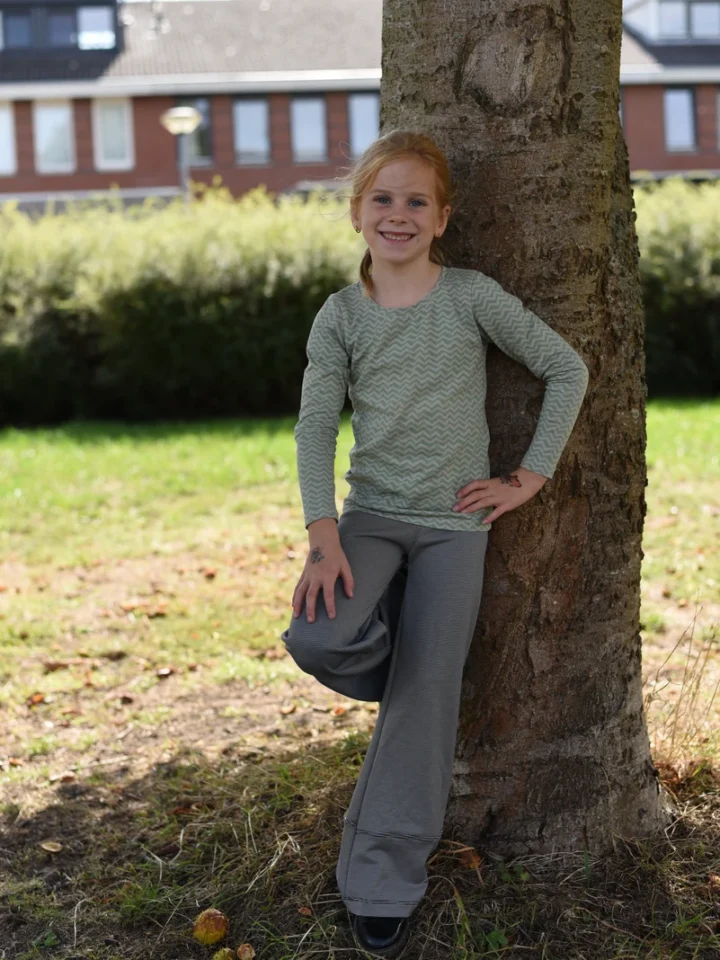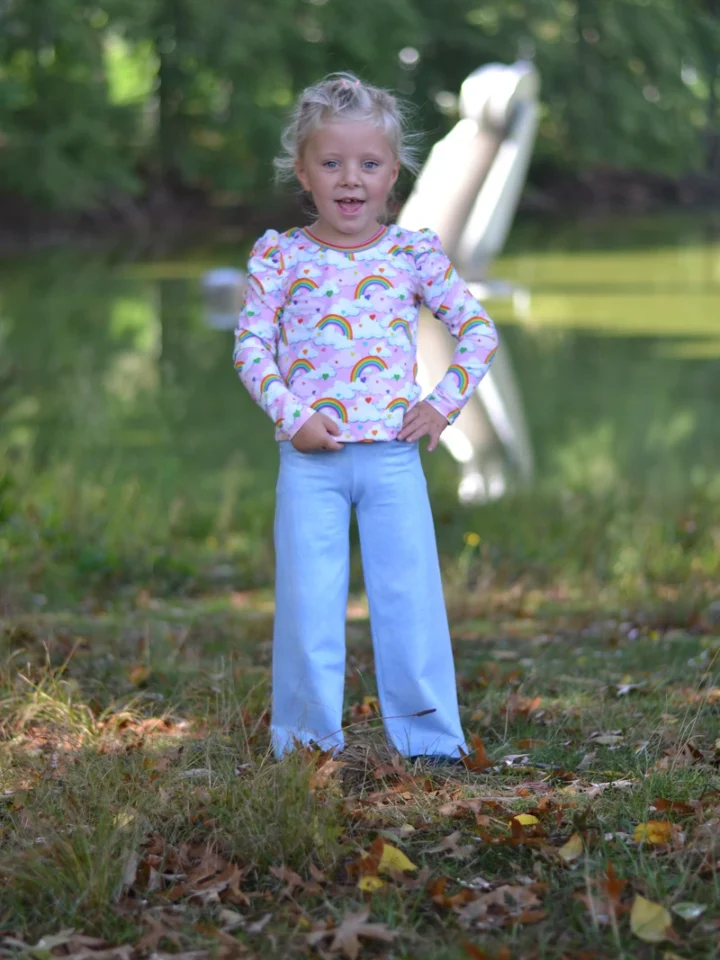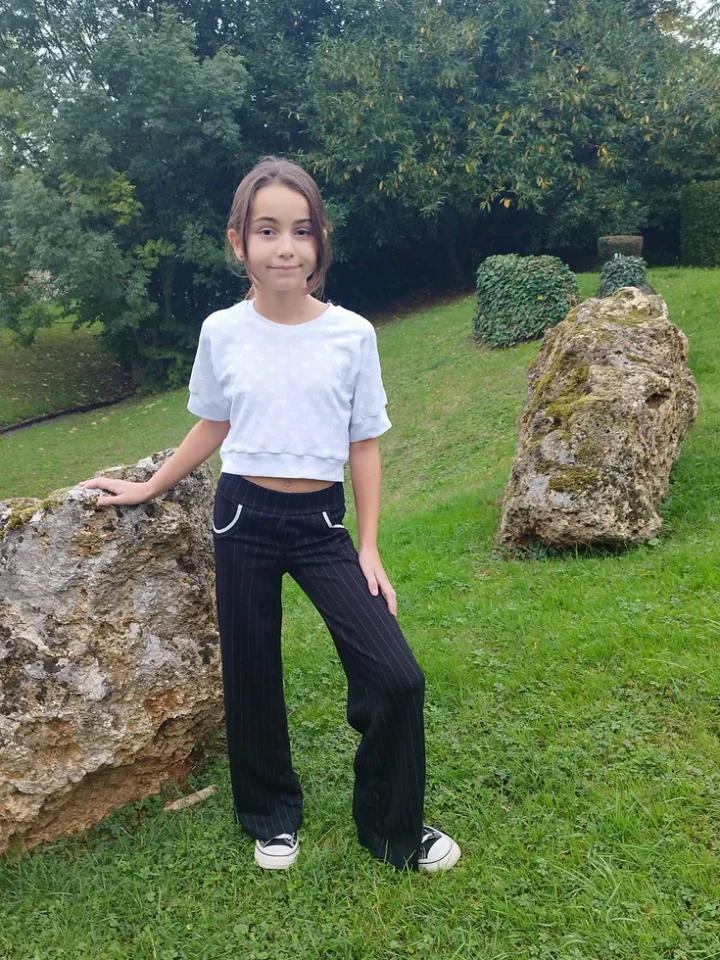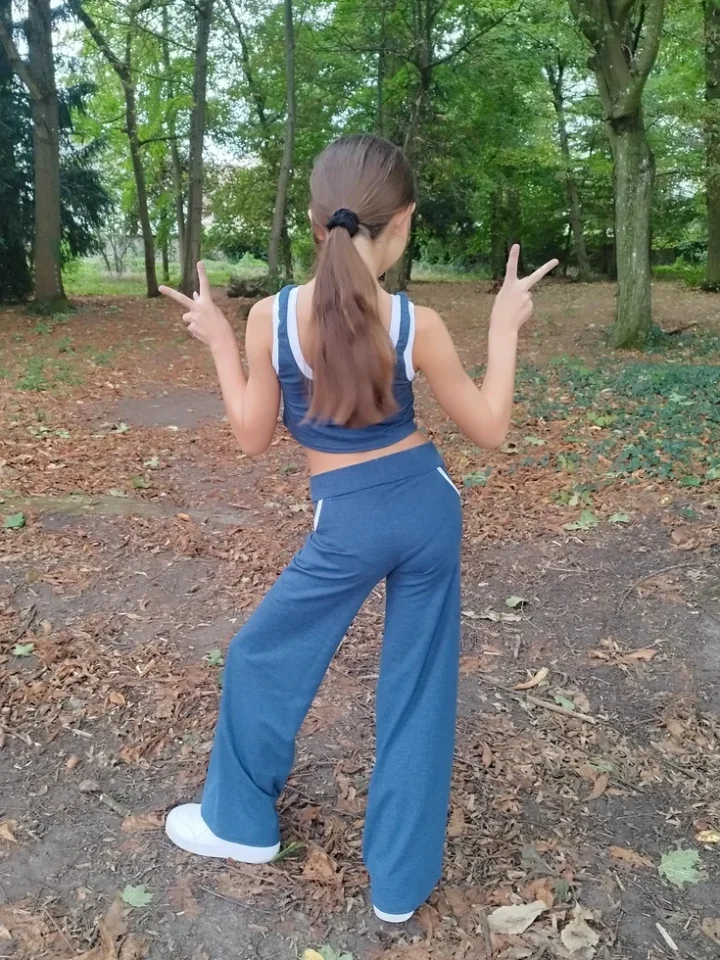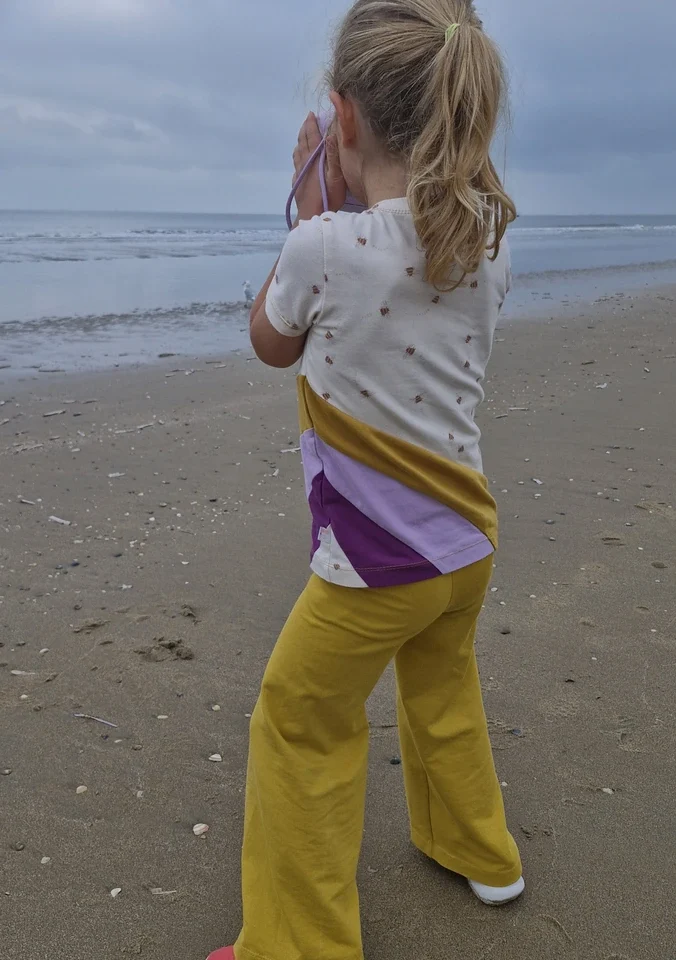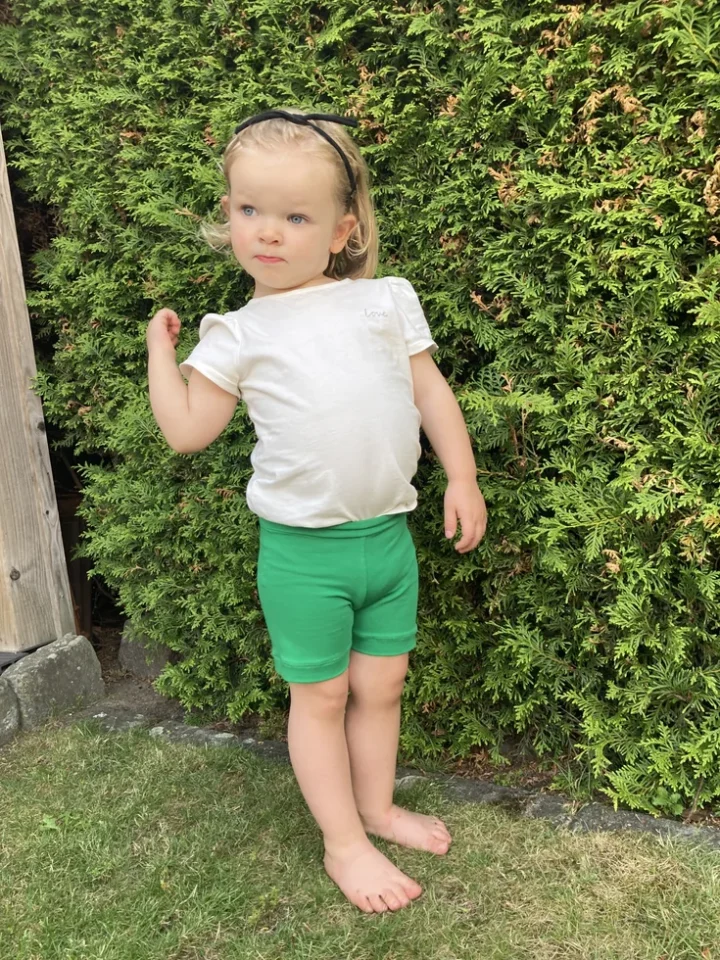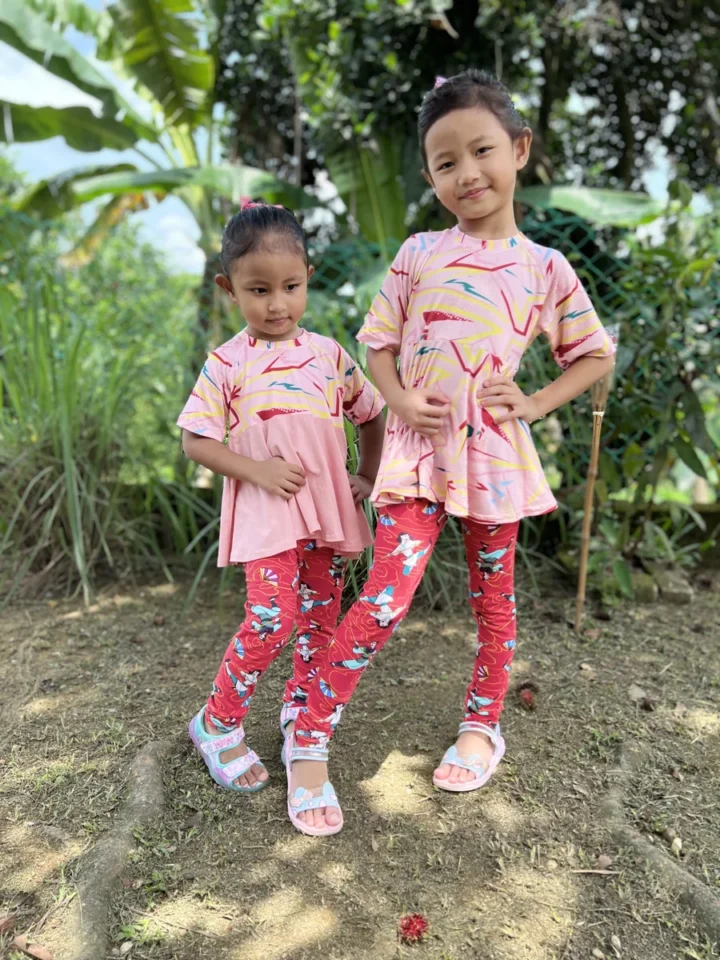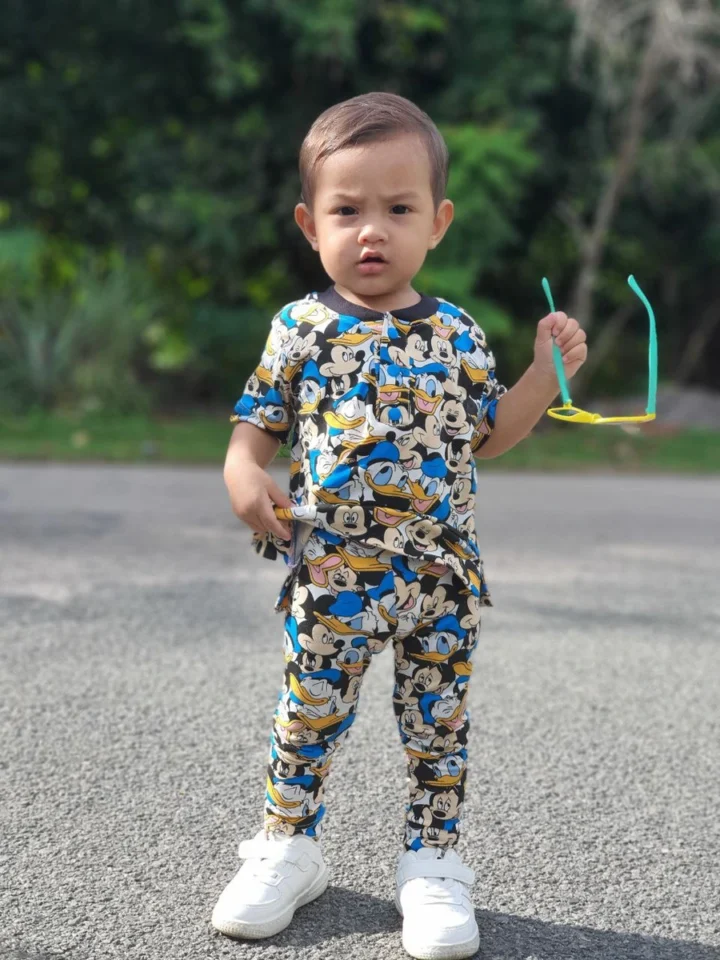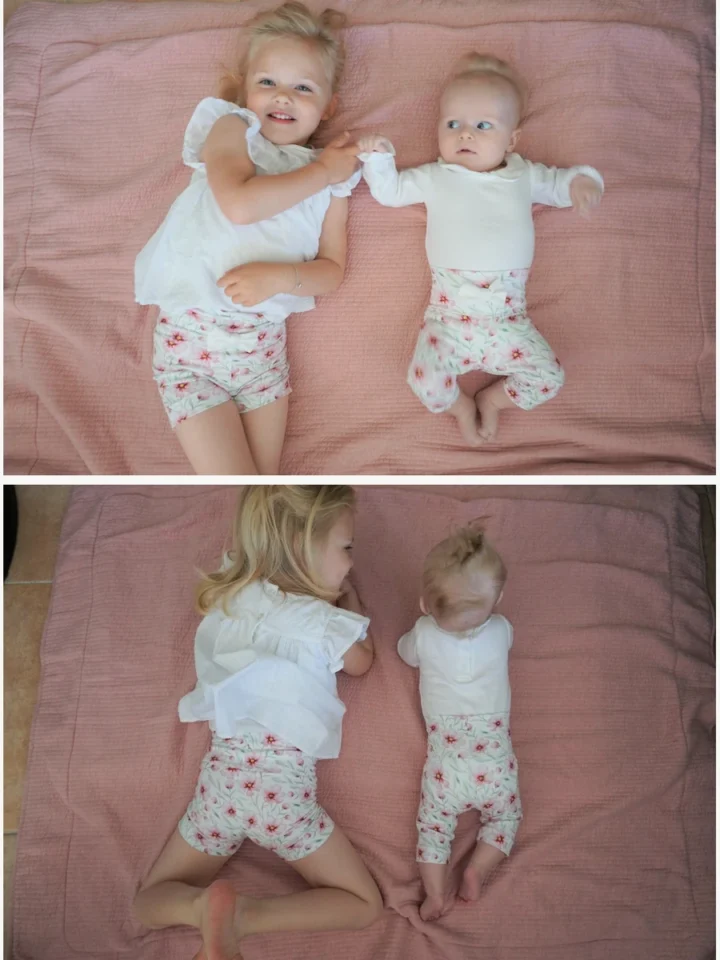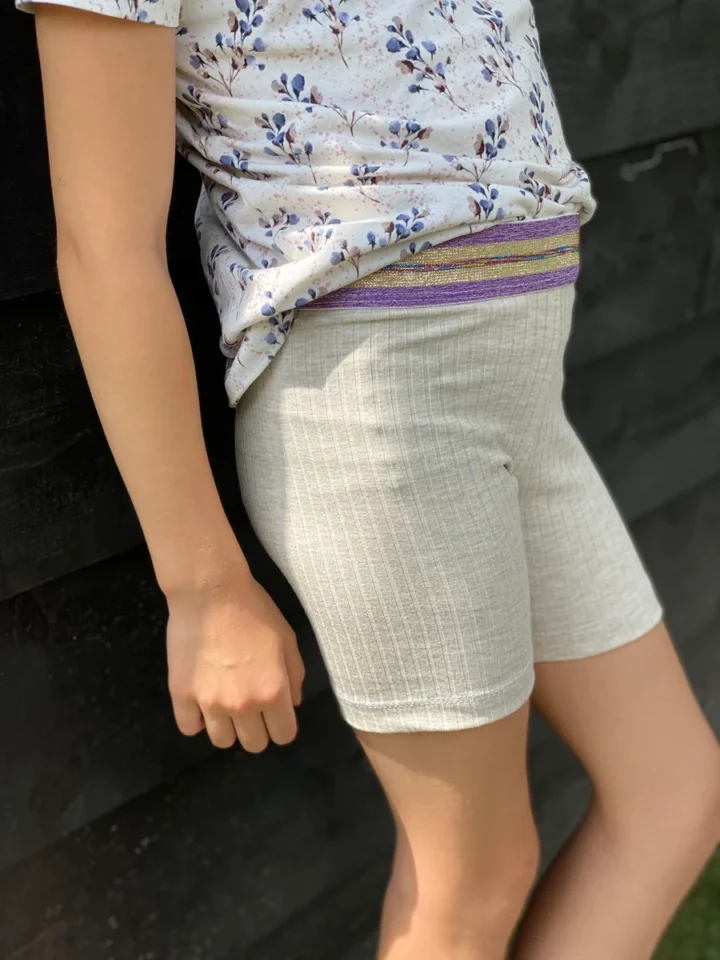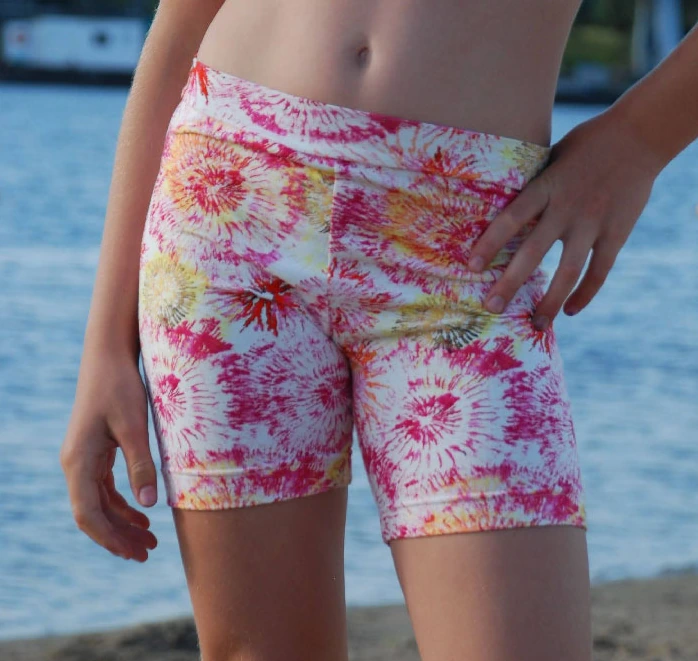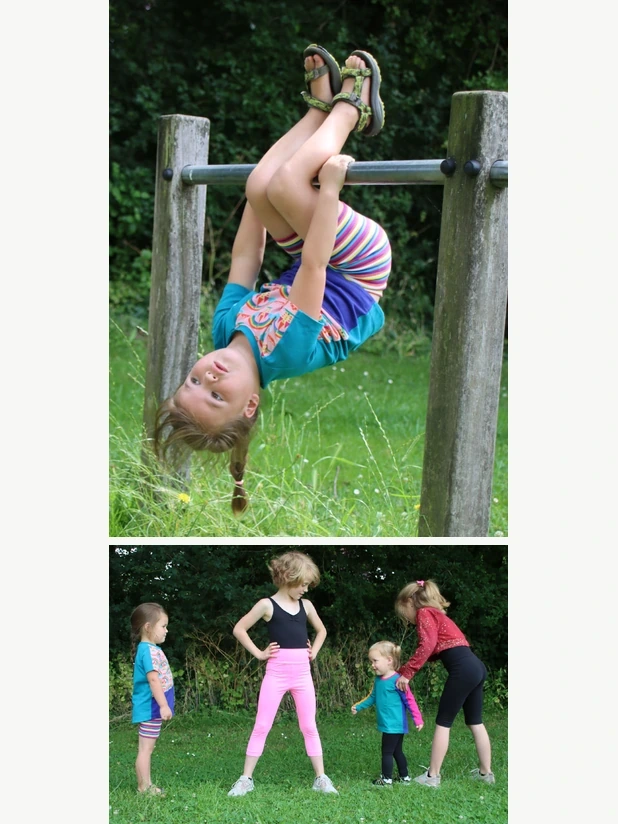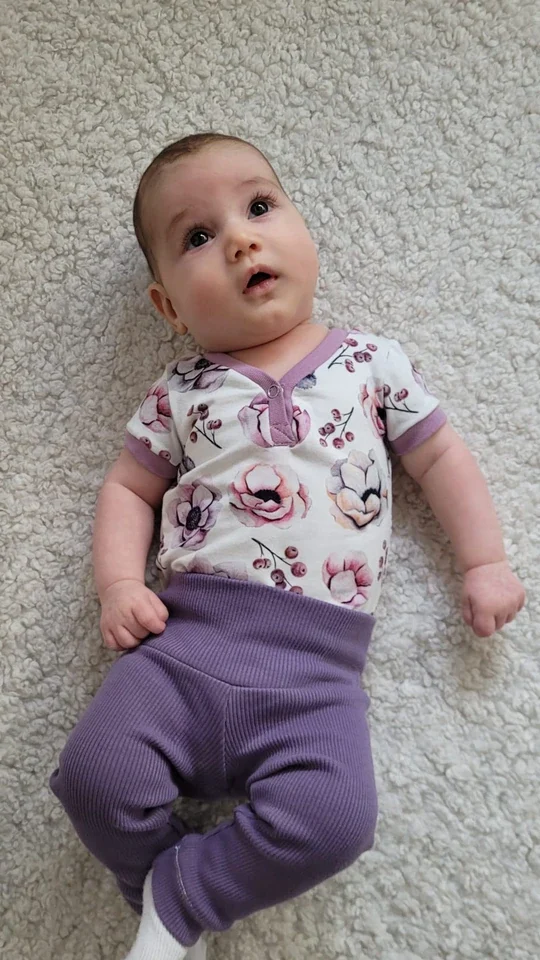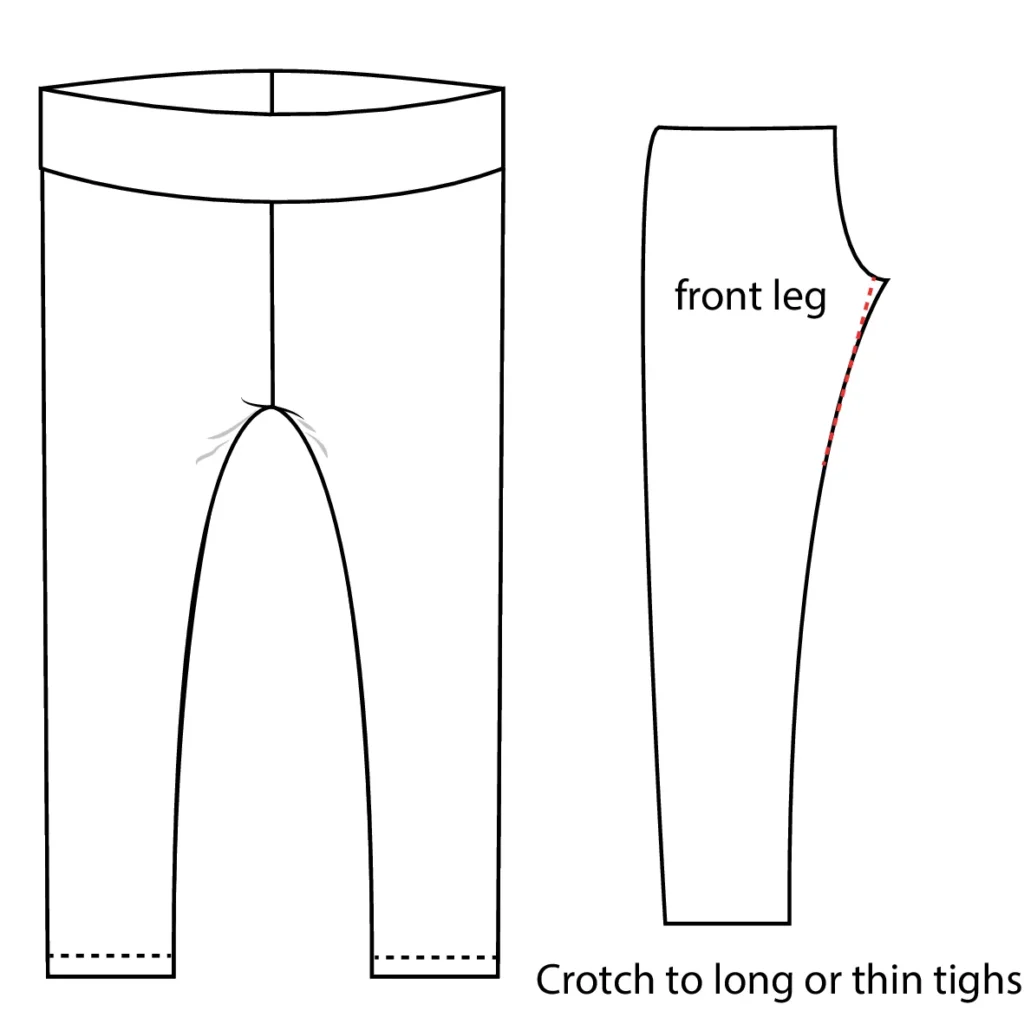
A front crotch that pulls upwards and one that hangs in loose folds need different checks. The original F4U diagrams show both possibilities. Work from the wearer’s measurements and a fitting sample before changing the seamline.
What does a poor front crotch fit look like?
A front crotch can feel restrictive, pull upwards, or develop excess folds below the opening. Compare the problem while standing and moving: a fabric that merely wrinkles at rest may not need a permanent pattern change.
Too much fabric at the front
Loose folds dropping below the front crotch may indicate excess front crotch length or a narrower upper thigh than the draft expects. In the F4U Gaia and Rivara fit guides the proposed first experiment is to shorten the front crotch curve slightly. Test by pinning or basting before editing the paper pattern.
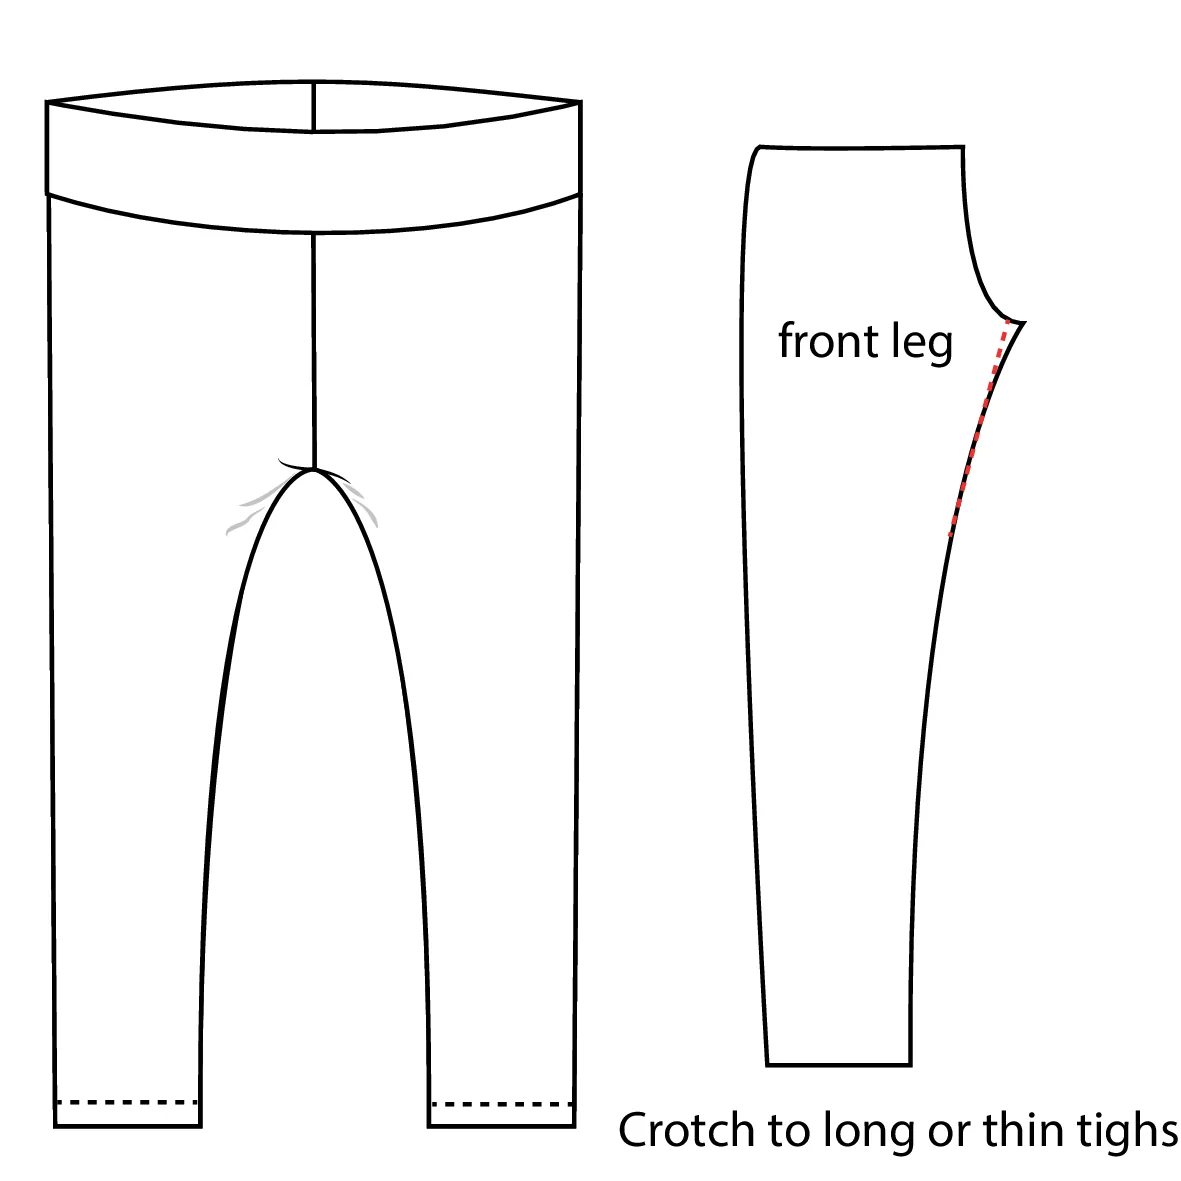
Tension pulling upwards
Lines pointing upward toward the front crotch together with discomfort can indicate too little crotch length or insufficient upper-thigh room. The F4U guide suggests adding some front crotch length in small increments. Check circumference first: tight horizontal lines may instead mean insufficient garment width.
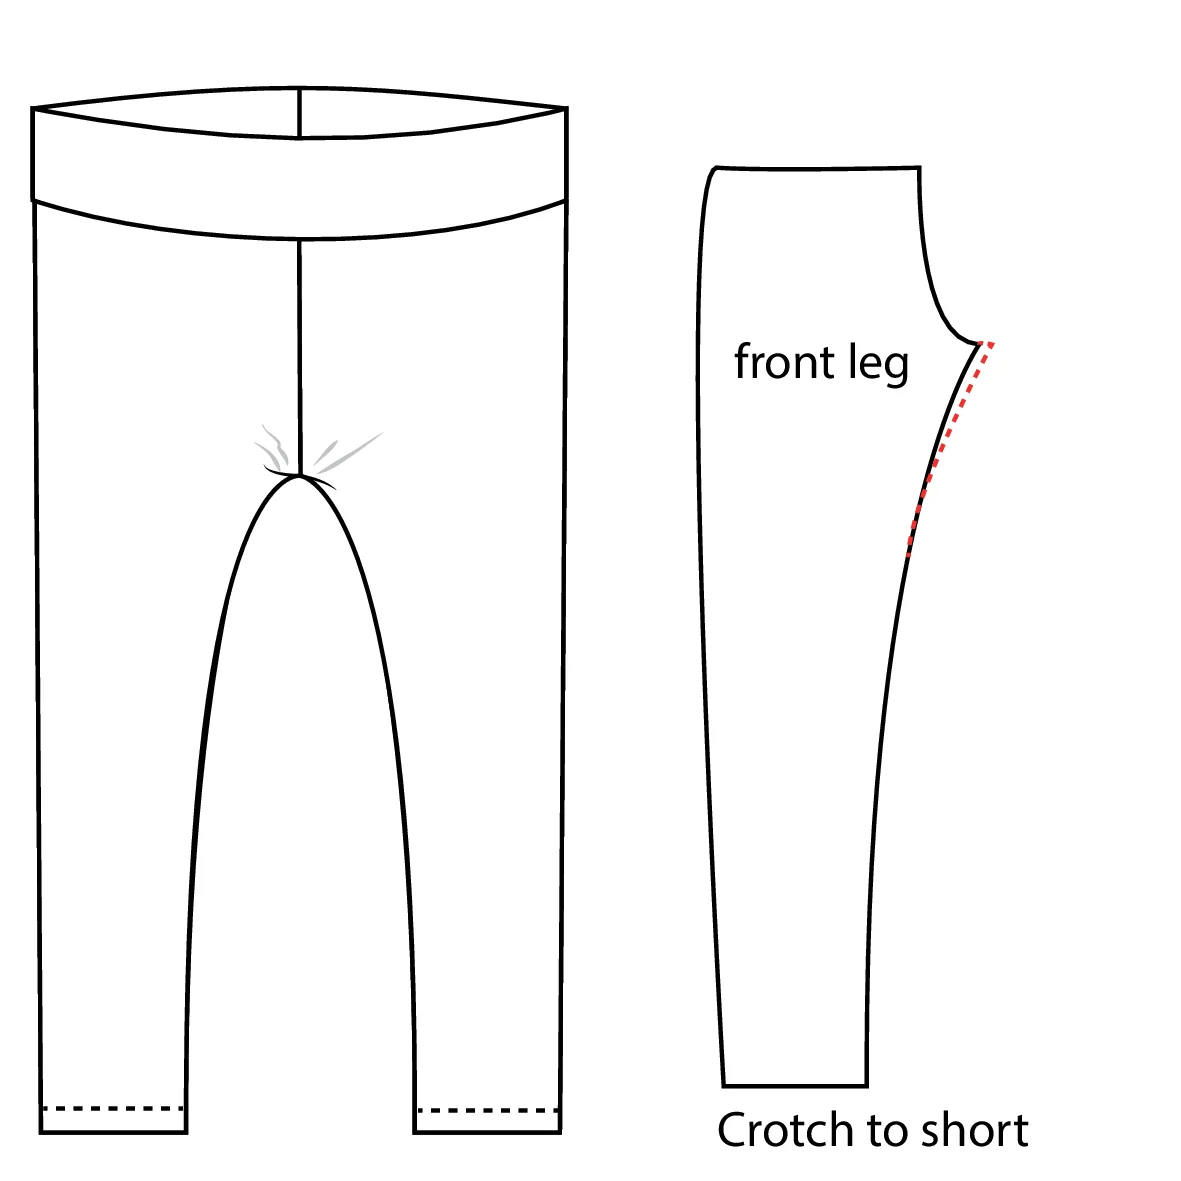
Shallower or deeper front curve?
A localized front bulge with spare fabric may benefit from a shallower front curve, while a very tight central front can sometimes need a deeper curve. The exact adjustment depends on the body, fabric and position of the rise; never scoop a curve automatically just because one fold is visible.
How to test without spoiling the original
First confirm size and fabric stretch. Put on a trial pair with the waistband at its intended height. Photograph front and side views, then change the front seamline only a few millimetres at a time. Walk, sit and squat. Redraw a smooth line and check where the front and back inseams meet.
What to avoid
Avoid taking a large amount from the inseam in one go; this also changes leg width and can shift the leg grain. If the entire front is stretched tight, compare hip and thigh ease before adjusting the center front. Work on the stitching line, not just the outer cutting line.
Similar wrinkles can have different causes
The original Cherielle illustrations label one possibility as a crotch that is too long or thighs that are slim, and another as a crotch that is too short. A drawing cannot diagnose the wearer’s fit from one photograph. Check waistband position, ease, fabric recovery and movement before adding or removing length.
Explore more F4U sewing tips
Taking measurements, stretch and recovery and Getting Started can help you prepare. Explore the Gaia Flared Leggings and Rivara Wide Leg Pants for the intended silhouettes.