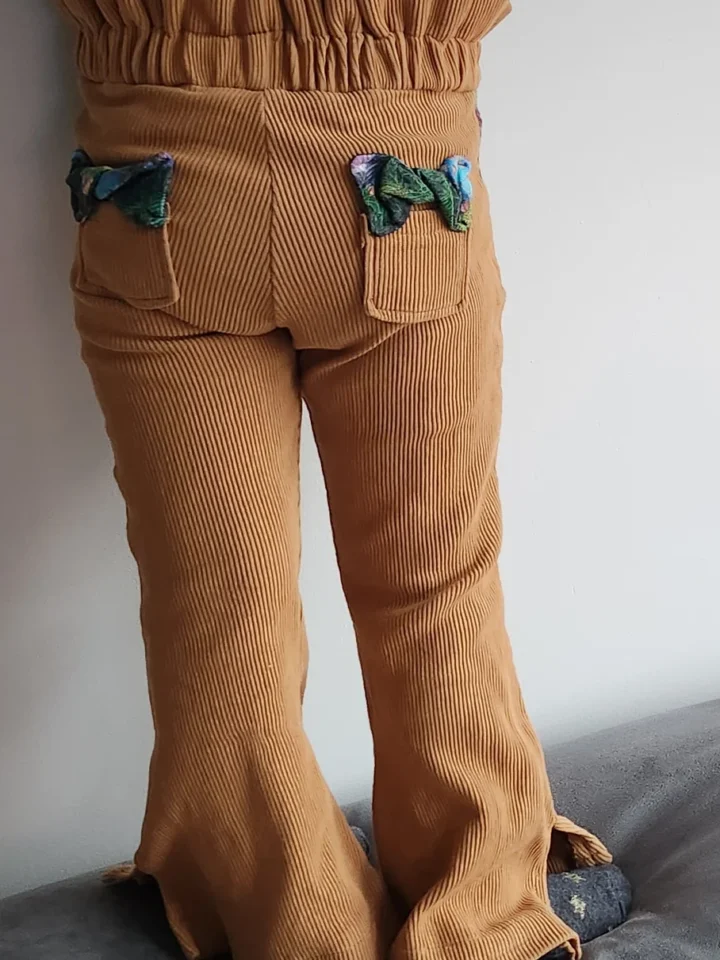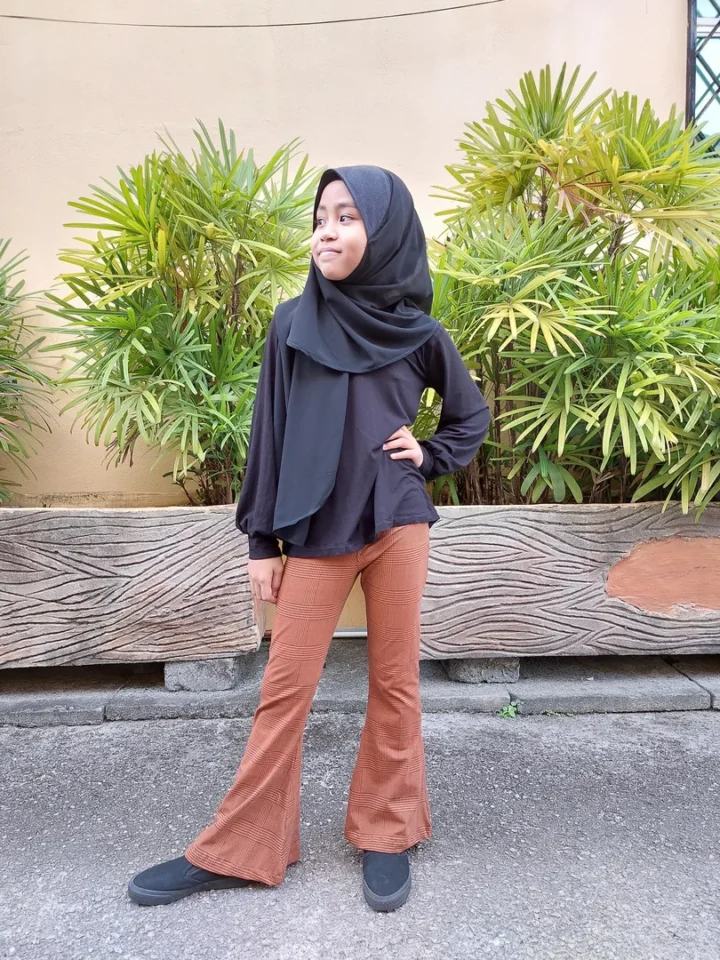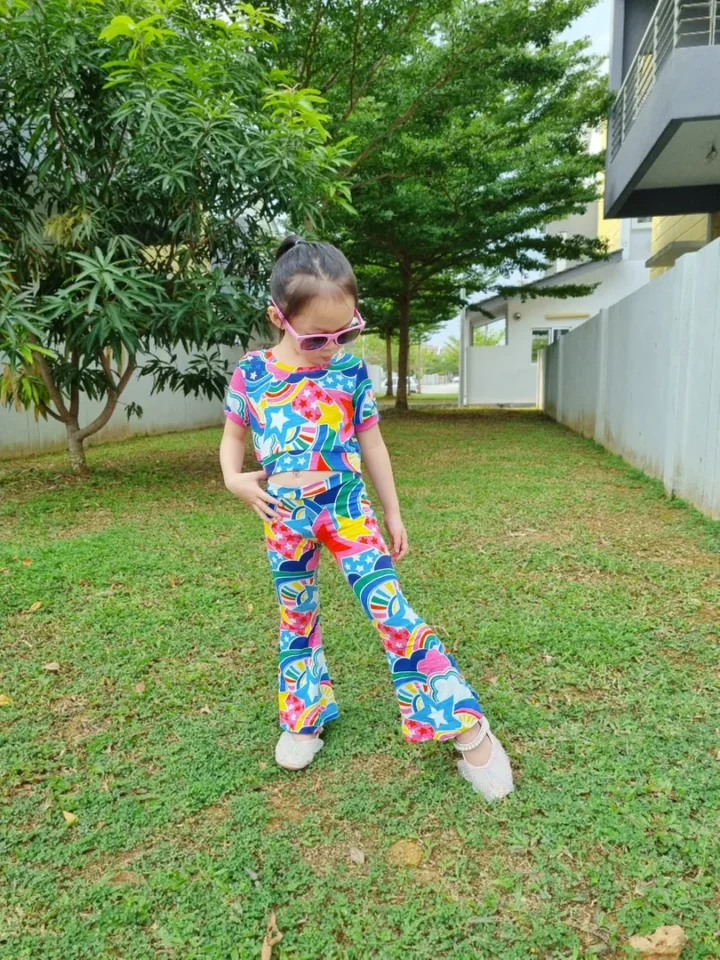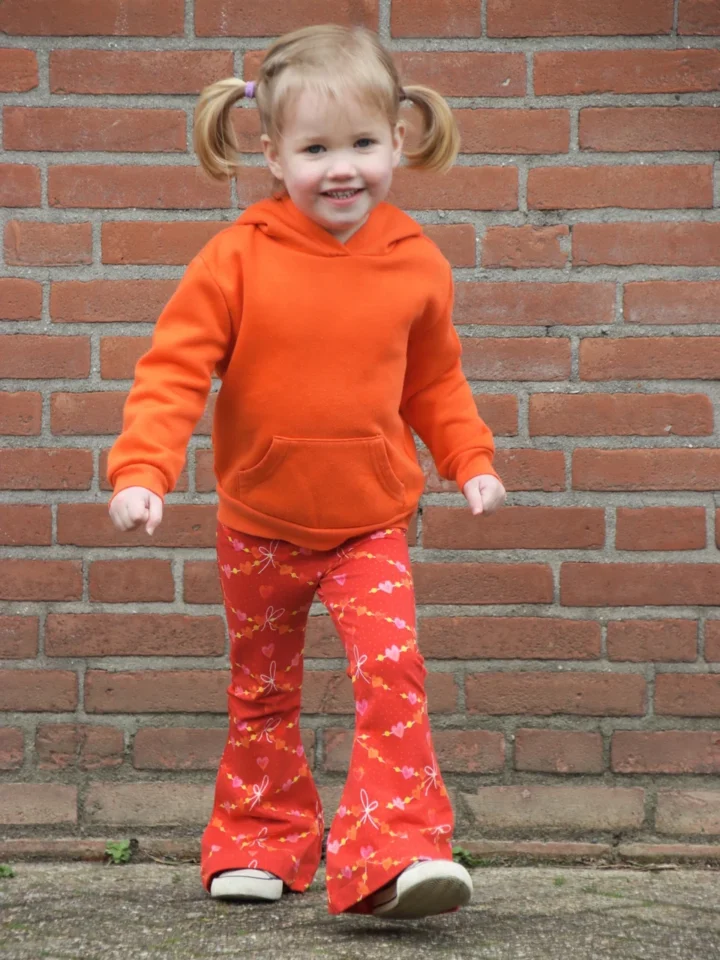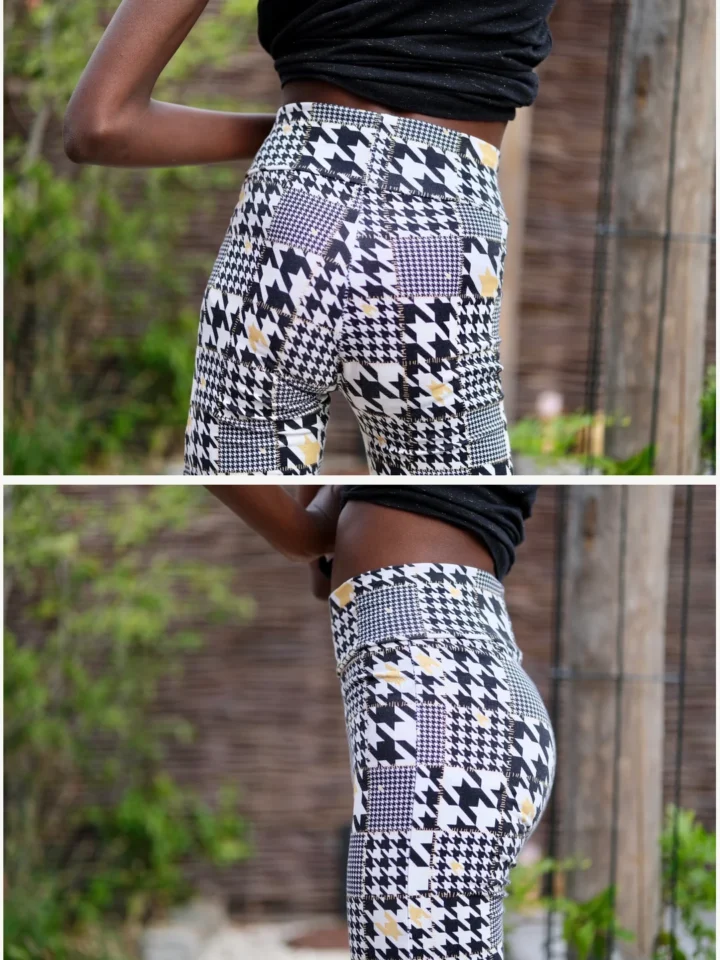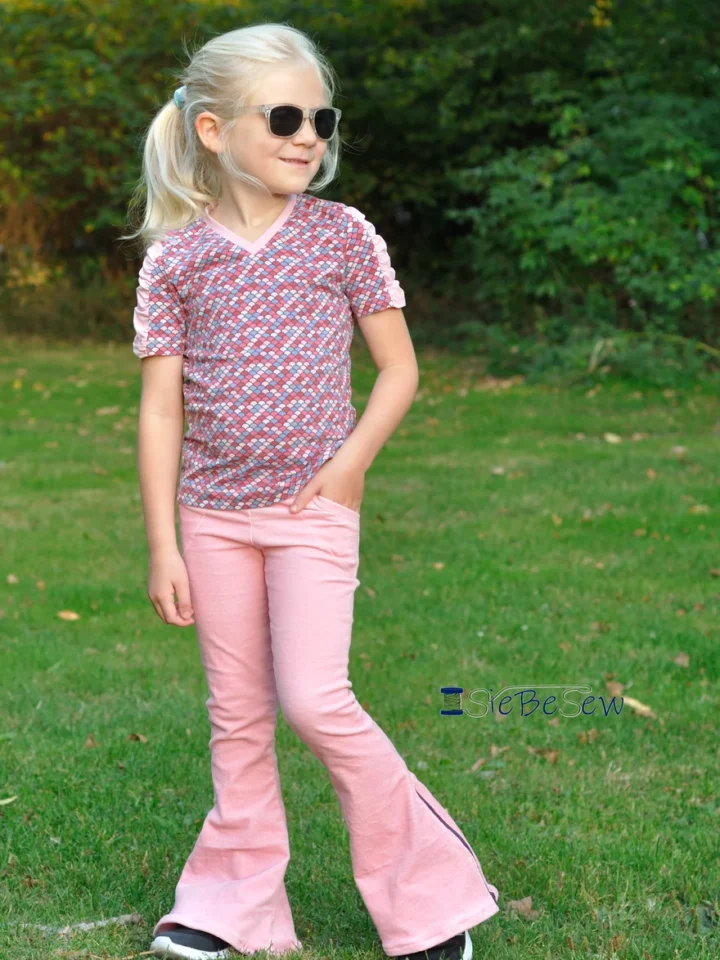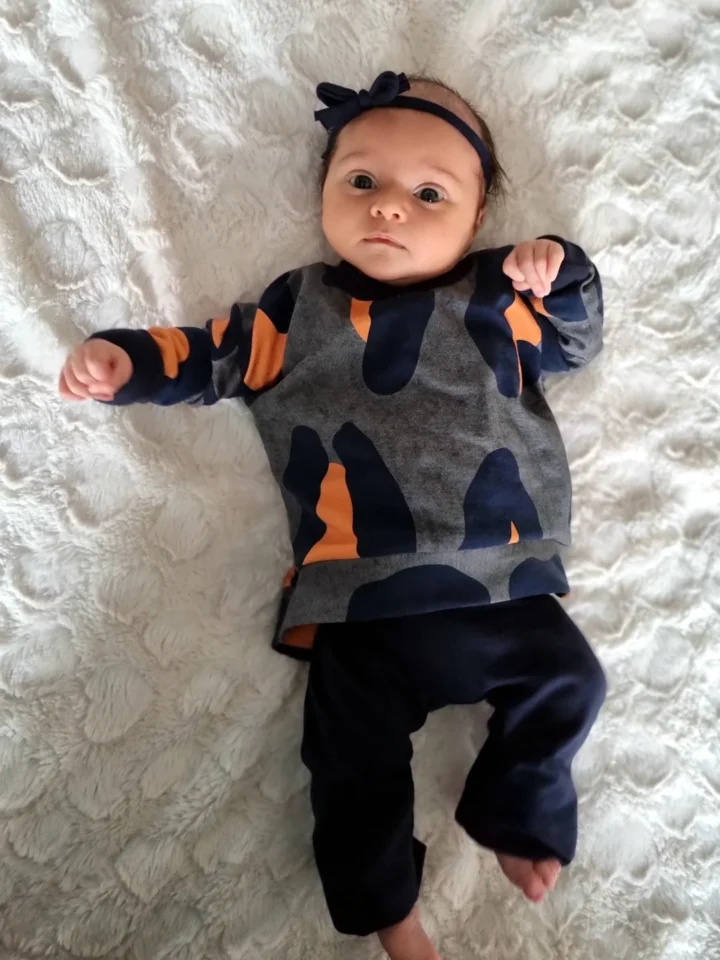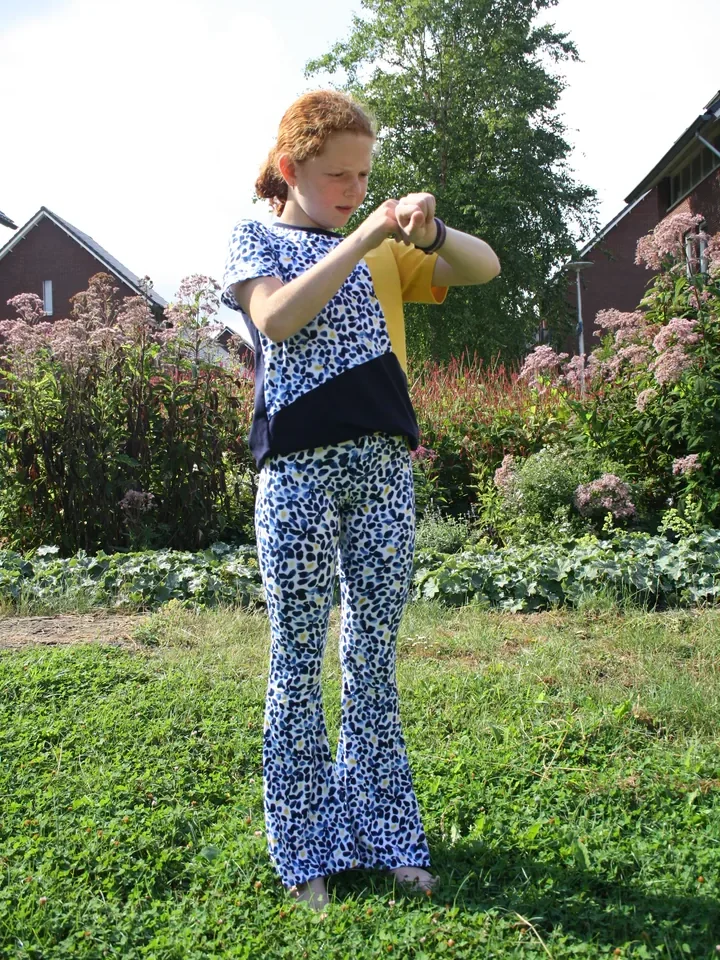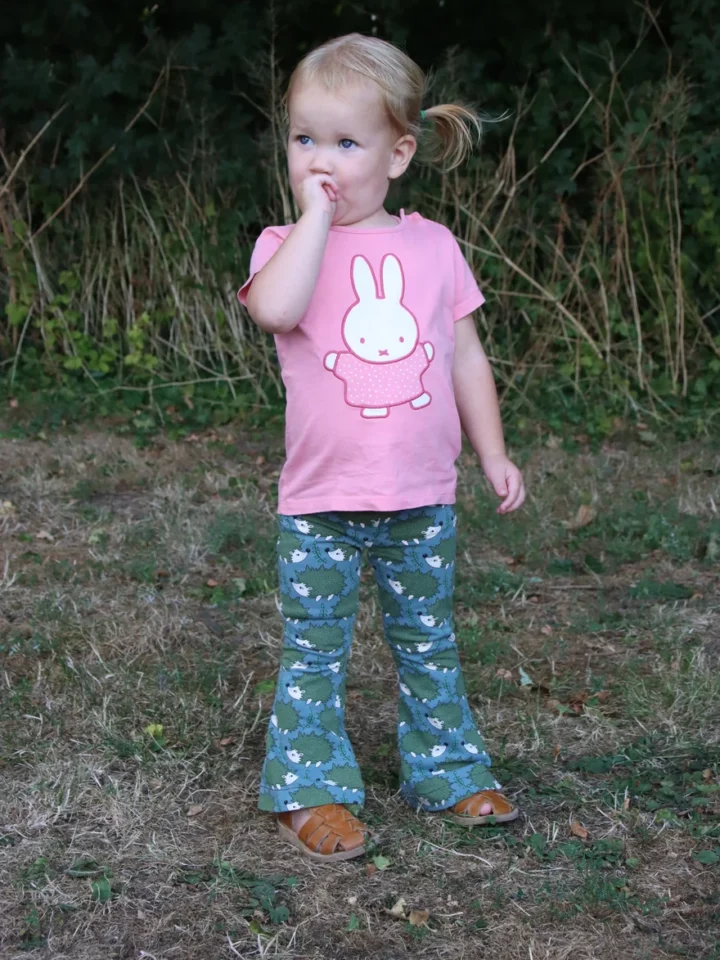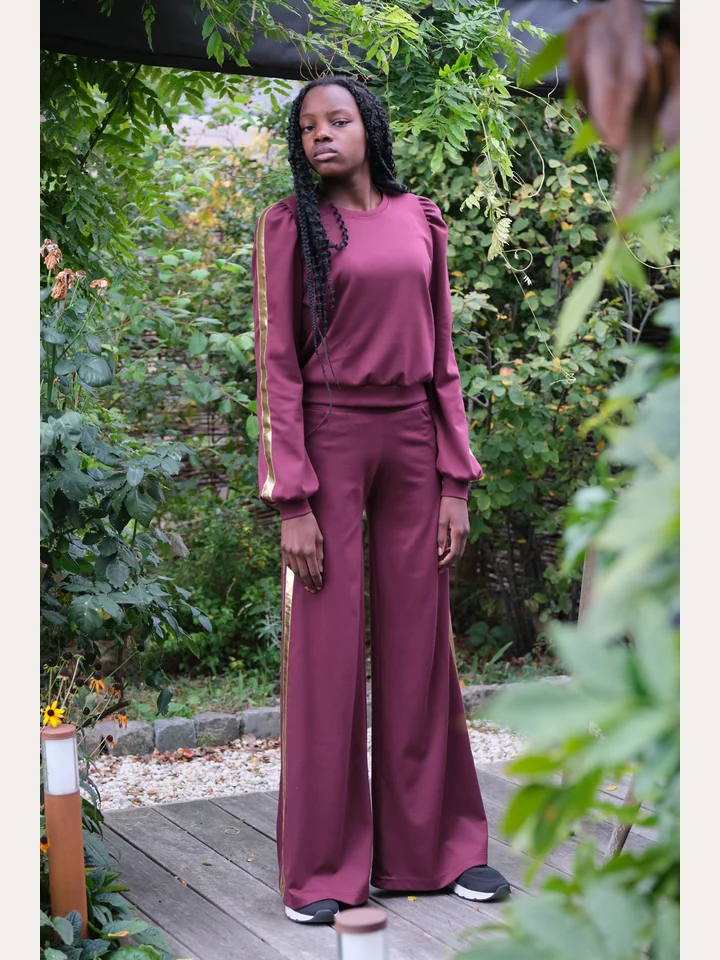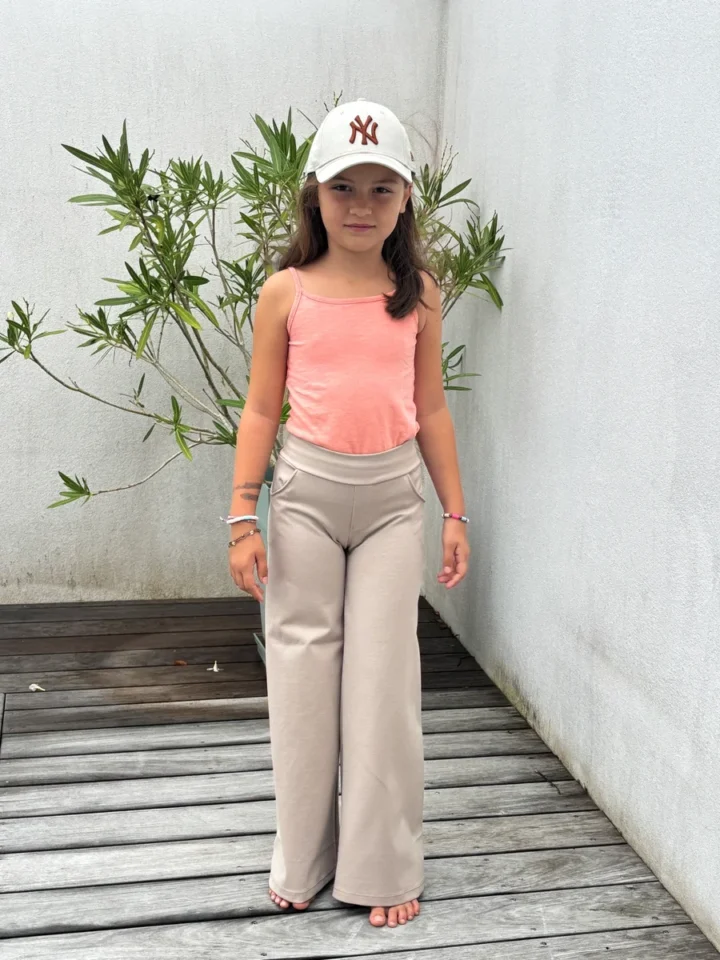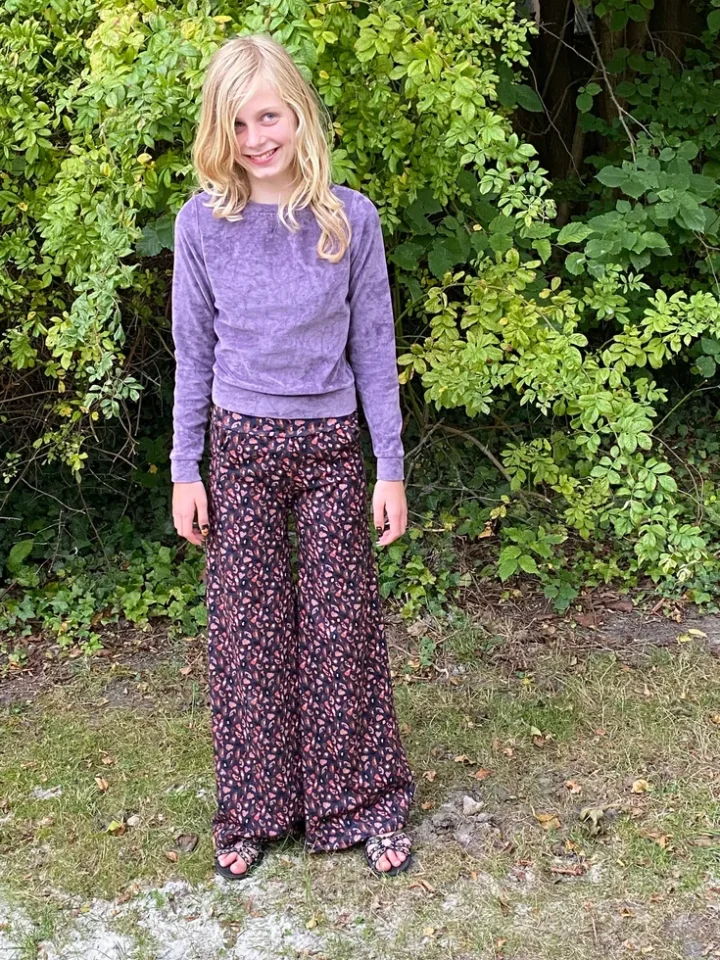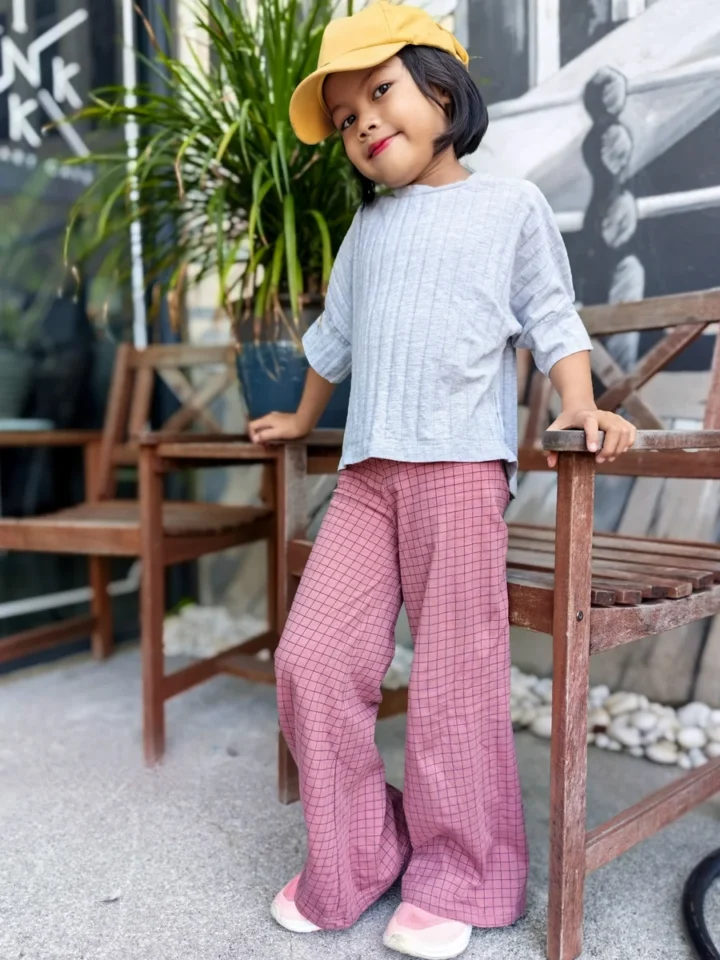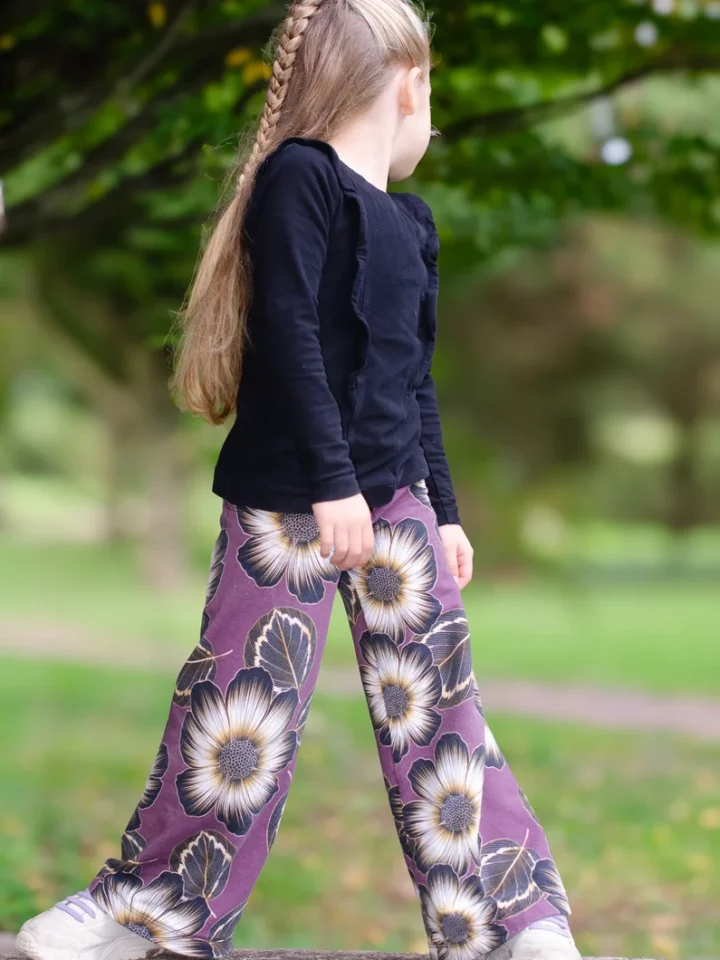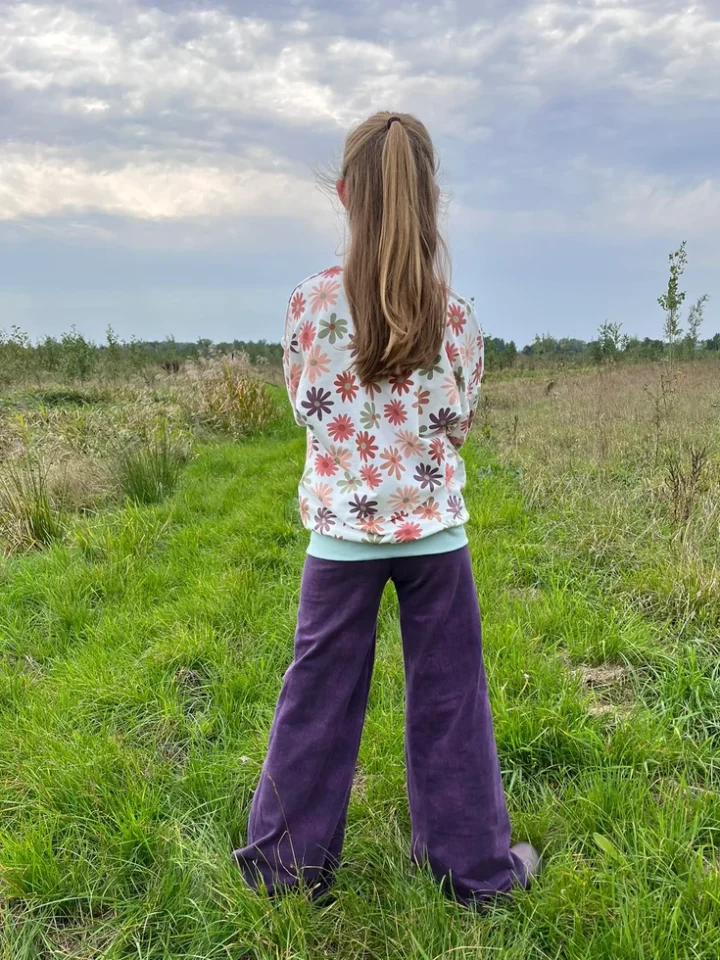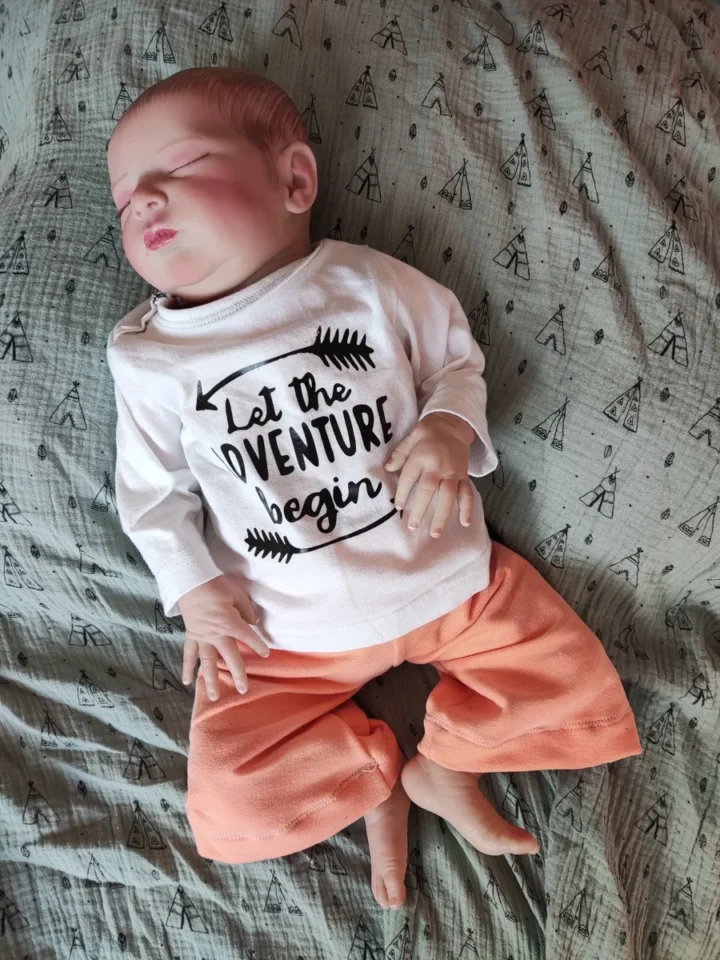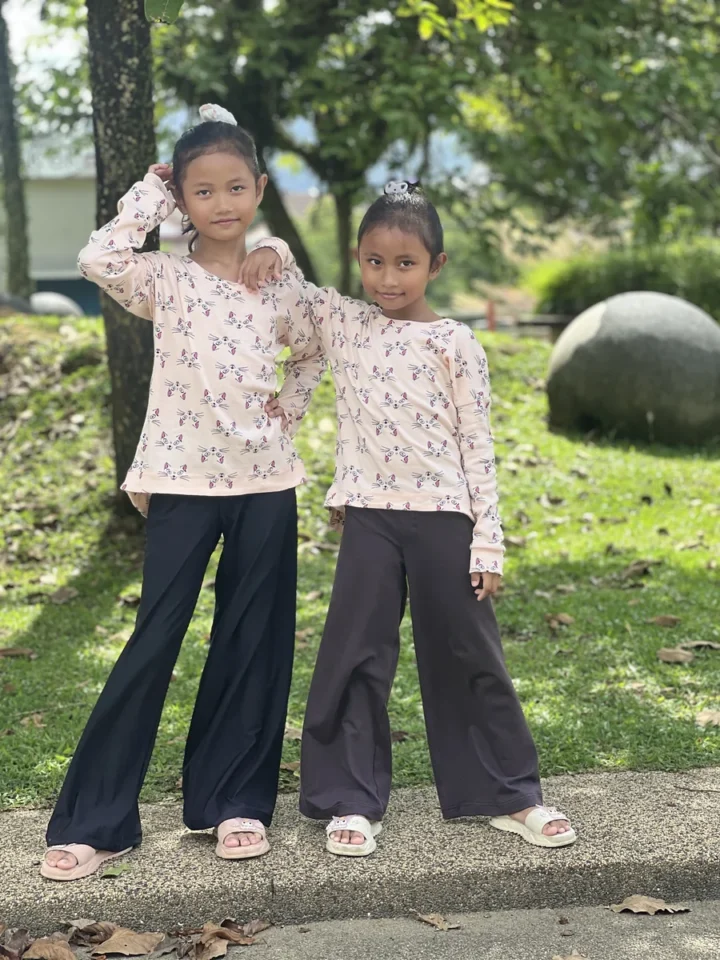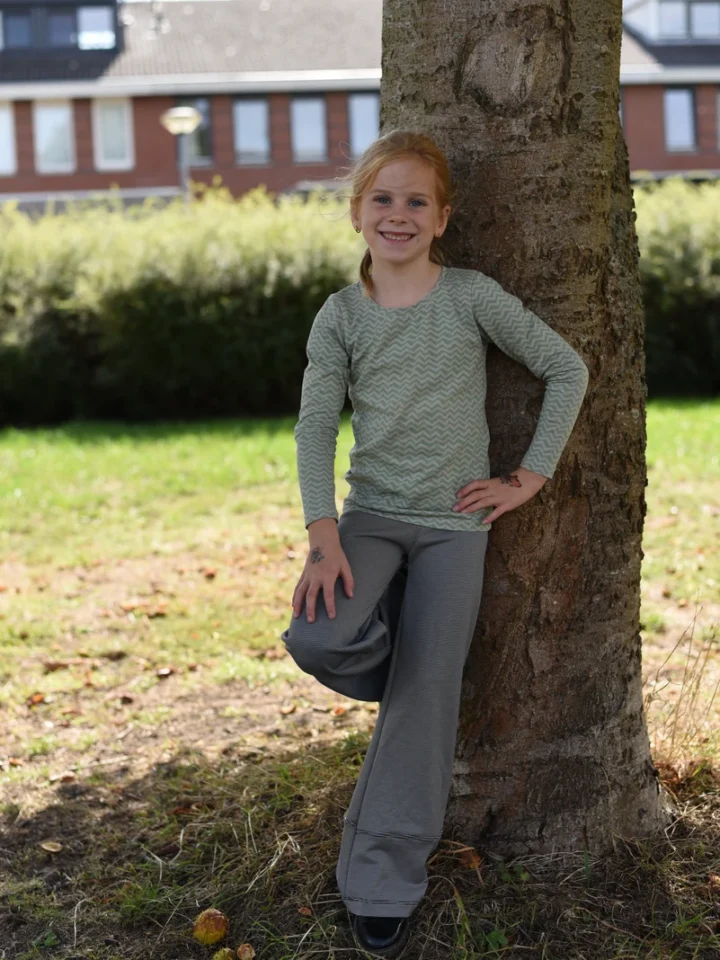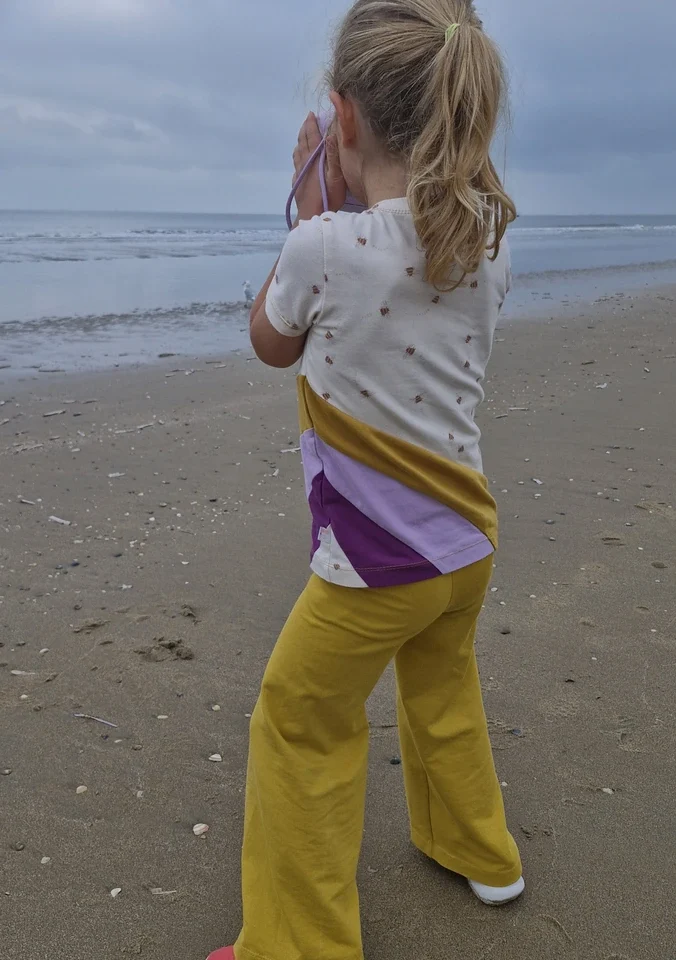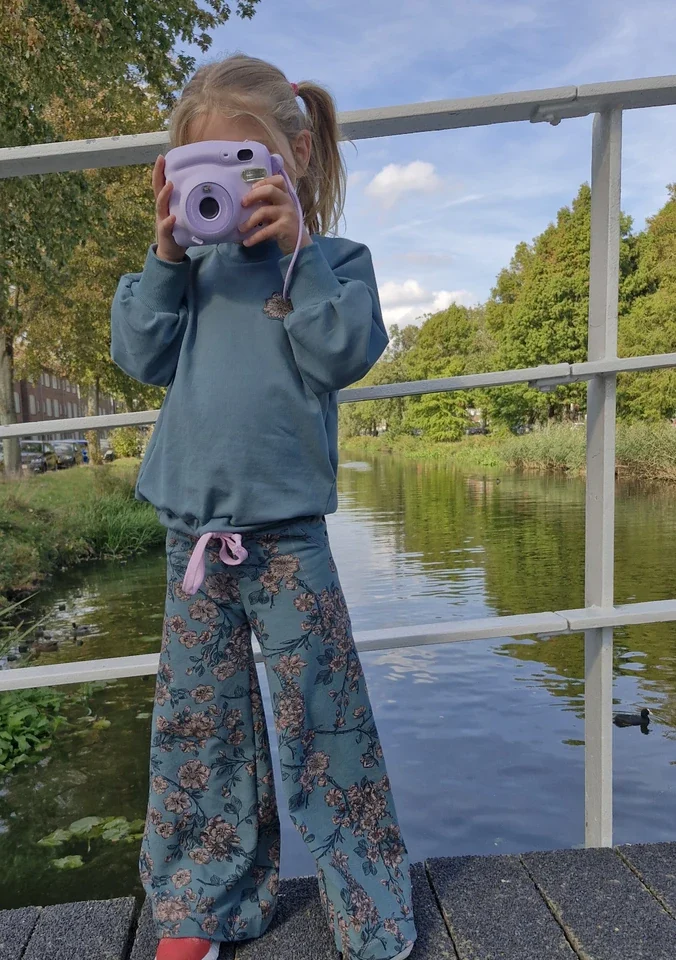
The rise controls the length between the crotch and the waist. If the legs are the right length but the waistband pulls down or the crotch hangs low, check the rise separately before changing the leg length.
What is the rise?
The rise is the section of a pants pattern between the crotch and waist. Front and back rises work together to provide room over the body. A waistband that slips, pulls down or sits much higher than expected may involve rise proportions, but waist circumference and fabric recovery should be checked first.
Use the trunk measurement
F4U measures trunk length around the body, travelling from the shoulder, through the crotch and back to the starting point. The Gaia and Rivara instructions use trunk measurements among the information for fit adjustments. Compare the wearer with the size chart rather than assuming height alone determines the rise.
A higher waistband is not the same as more rise
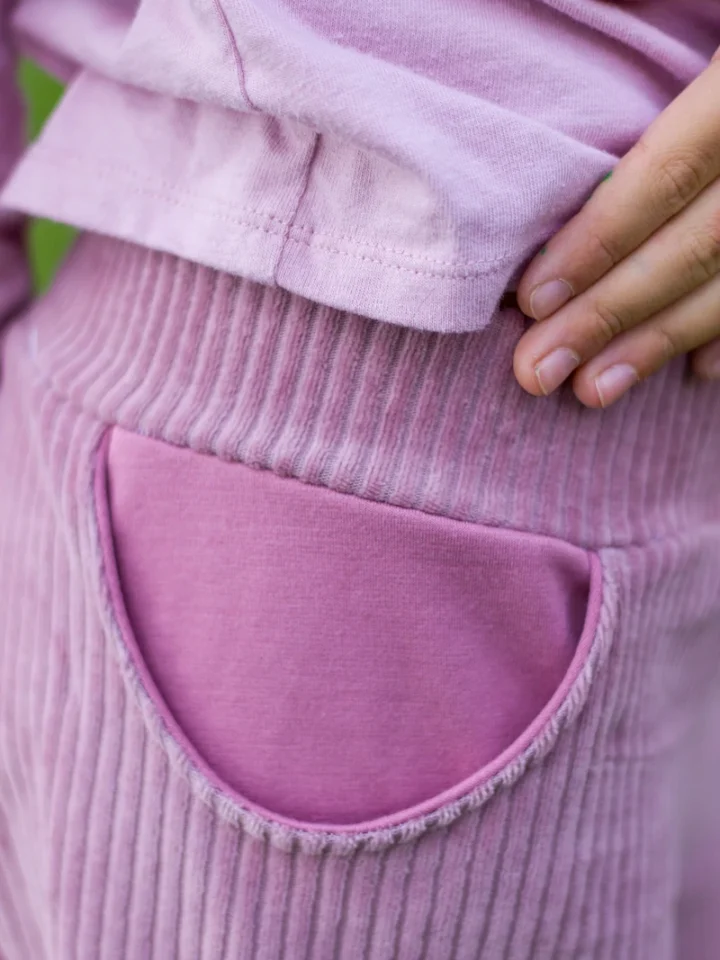
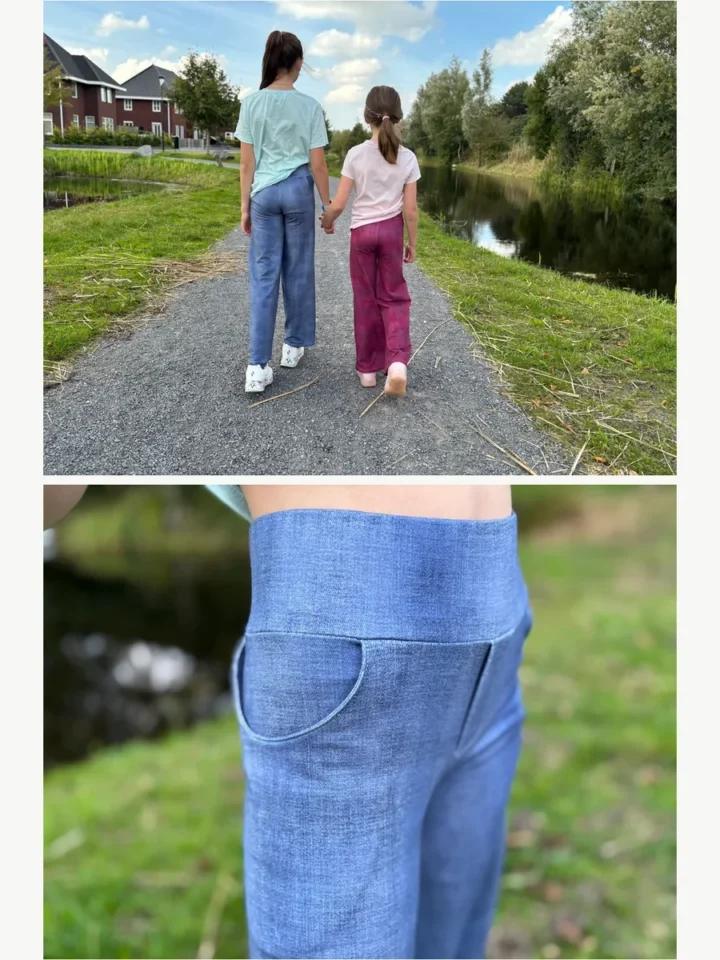
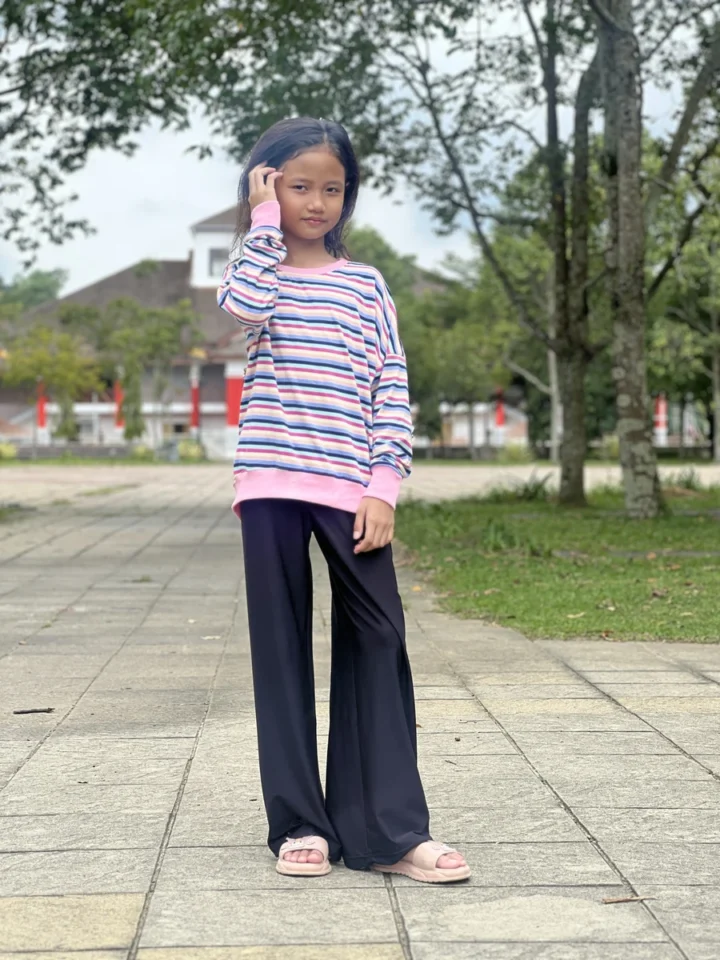
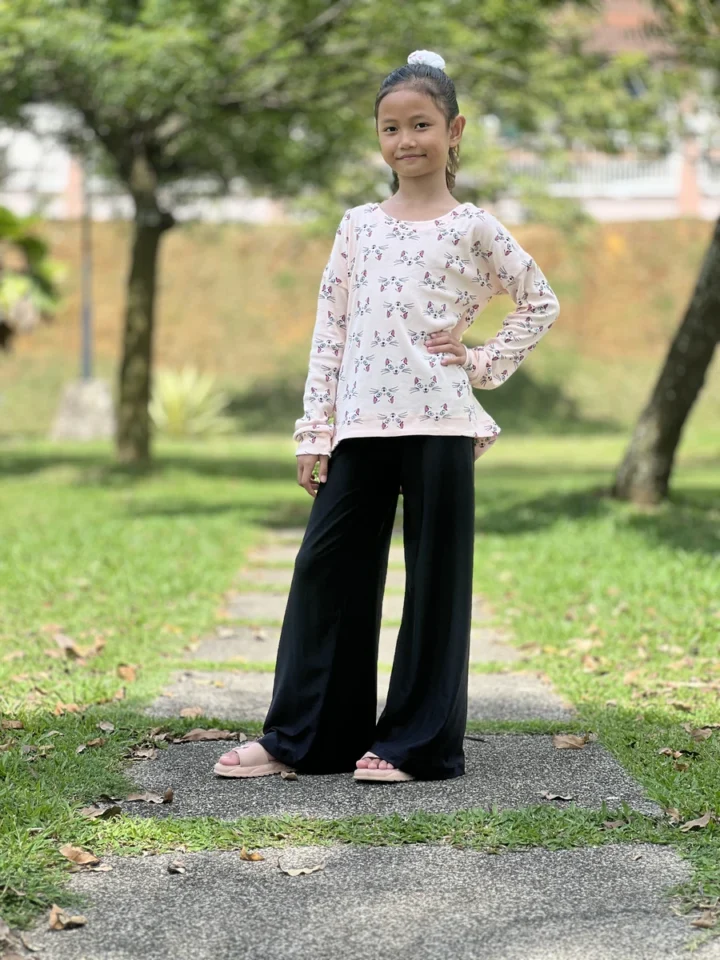
Gaia has low and high yoga waistband choices, while Rivara includes multiple waistbands. A taller waistband changes where the garment finishes but does not automatically solve insufficient length through the crotch. Choose the waist style for the intended look and address the body rise separately if needed.
When the rise is too short
You may notice a crotch seam pulling upward, a back waistband dipping or discomfort when sitting. Before lengthening the pattern, verify that the garment is not simply too narrow over the hips or made with too little stretch.
When the rise is too long
Excess vertical length may contribute to hanging fabric around the crotch or a waistband sitting too high. Pin away a small amount on a trial garment and check that movement and the intended silhouette remain comfortable.
A careful alteration method
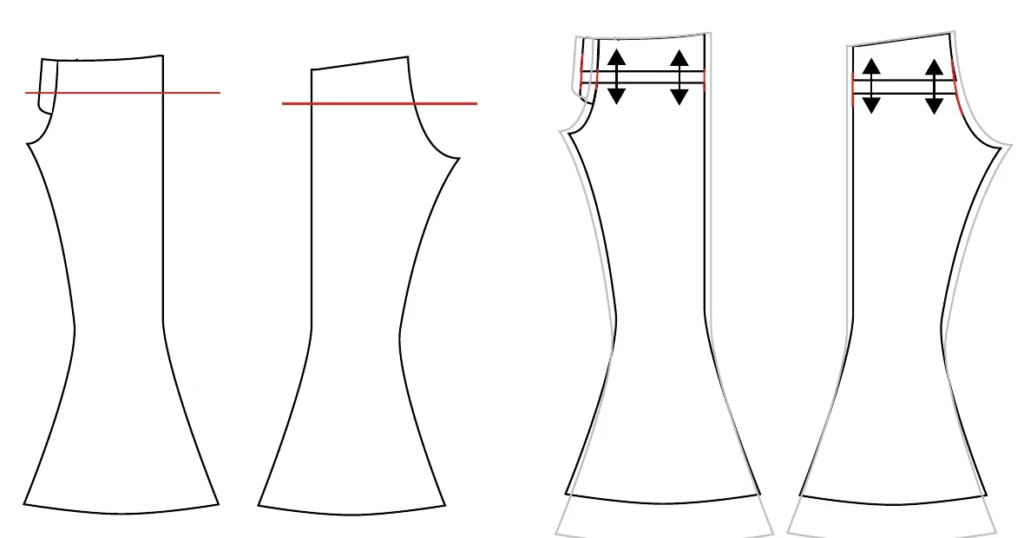
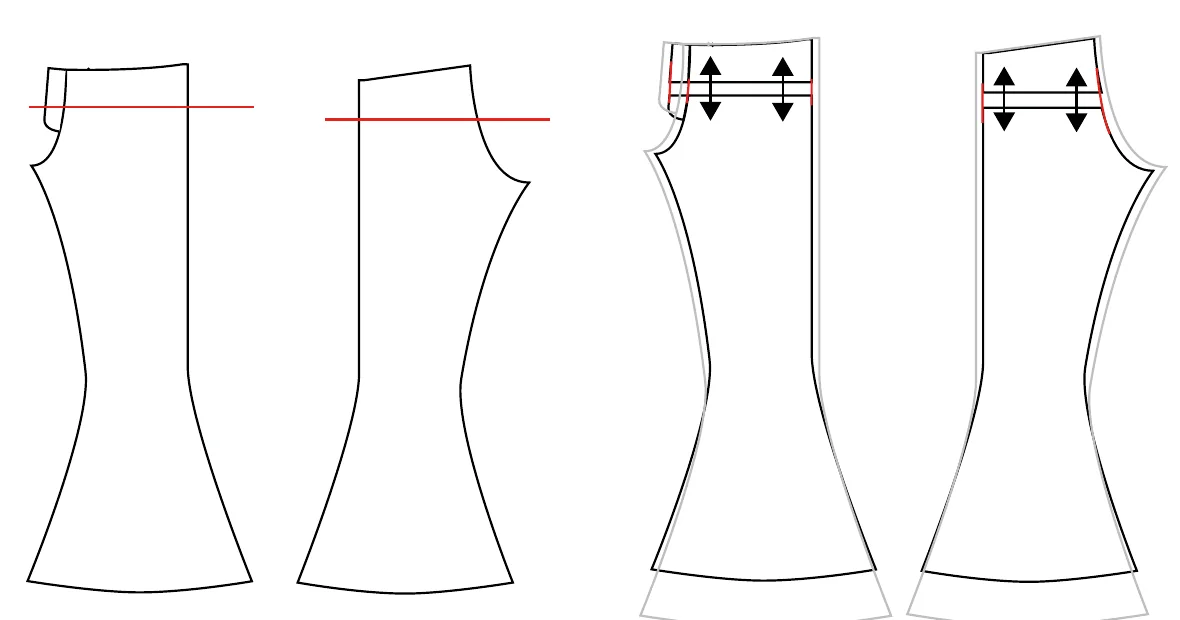
Mark a horizontal alteration line across the rise area while preserving the side seam and center seam shape. On a traced pattern, slash and spread for more vertical length or overlap to remove length; keep front and back changes coordinated. Re-draw edges and seamlines smoothly. The F4U instructions illustrate cutting and shifting at the crotch for trunk-length adjustments.
Recheck the rest of the pattern
After changing the rise, confirm waist placement, crotch length, total side seam and any pocket markings. Test the finished rise while sitting and squatting, not only standing.
Explore more F4U sewing tips
Taking measurements, stretch and recovery and Getting Started can help you prepare. Explore the Gaia Flared Leggings and Rivara Wide Leg Pants for the intended silhouettes.