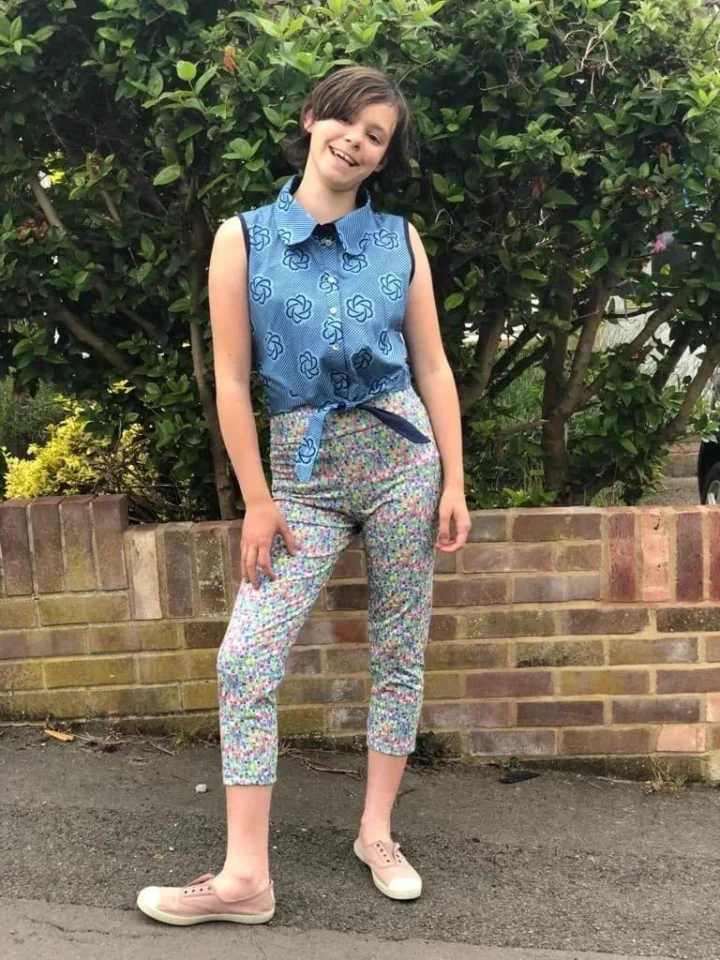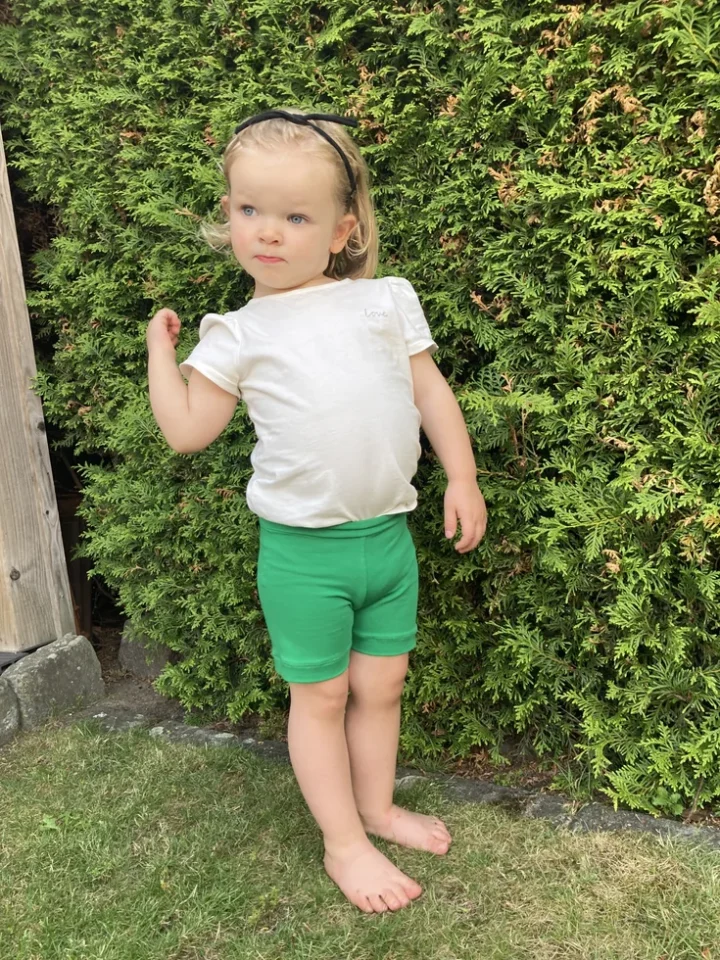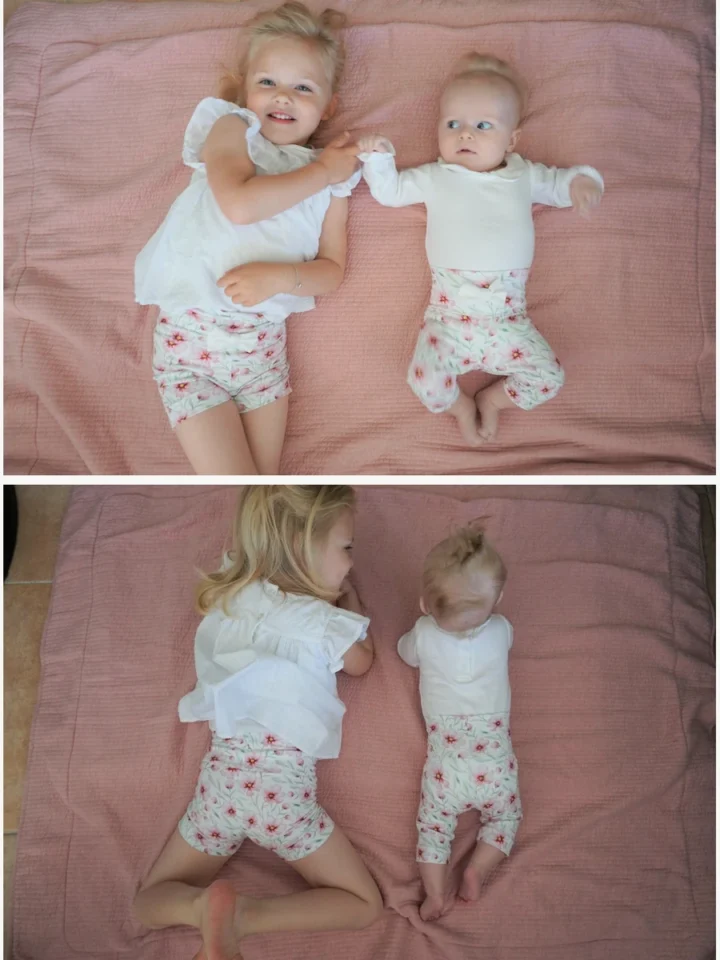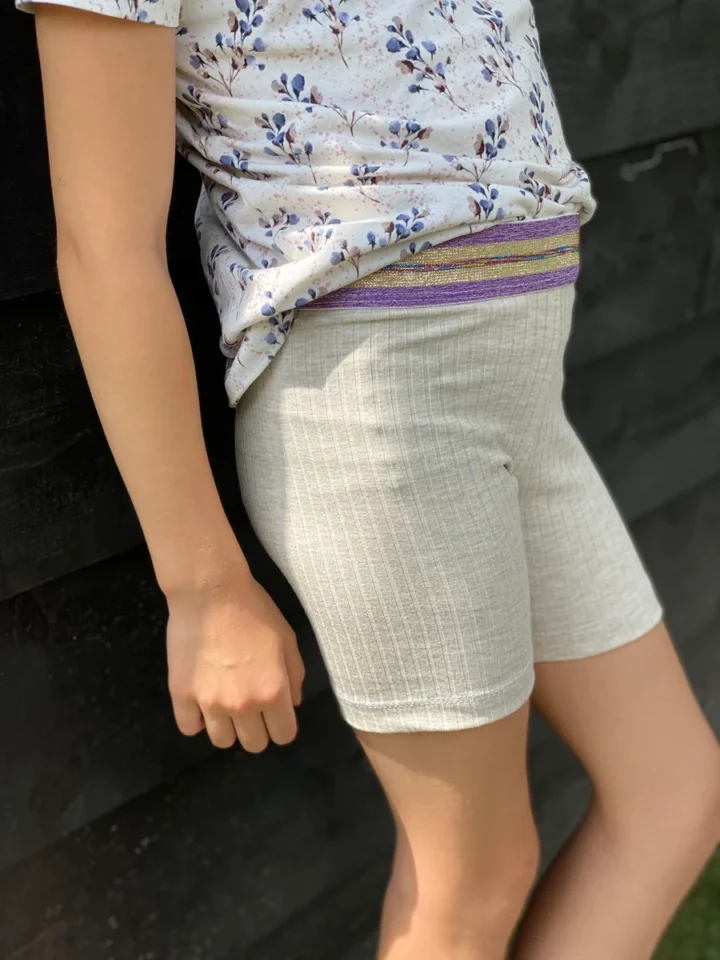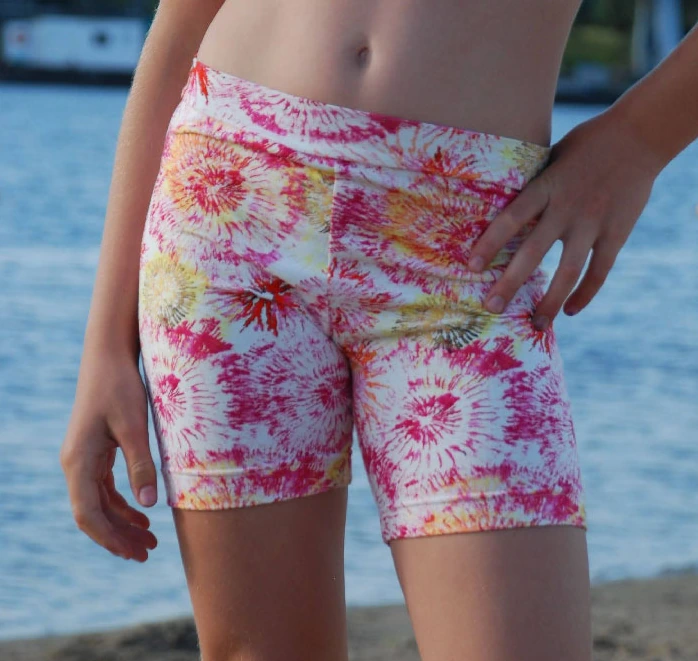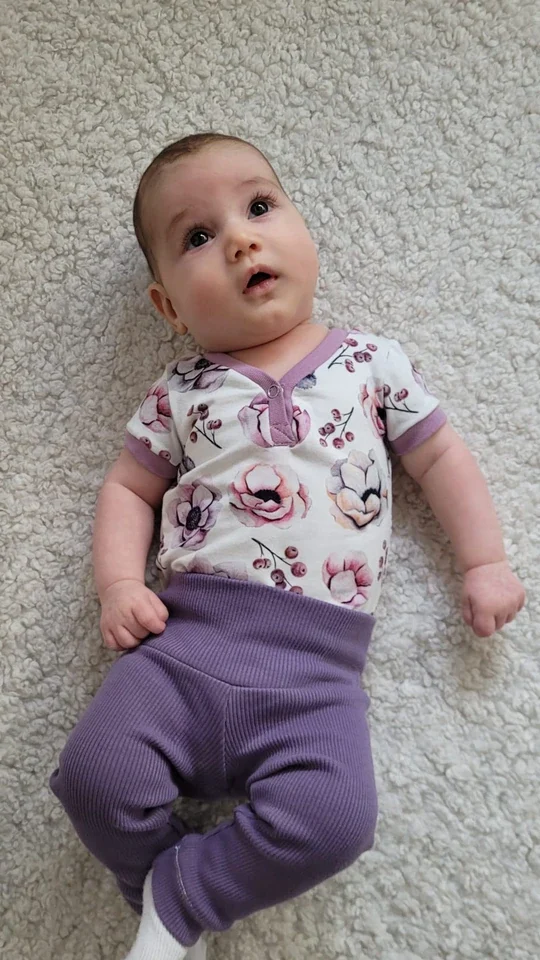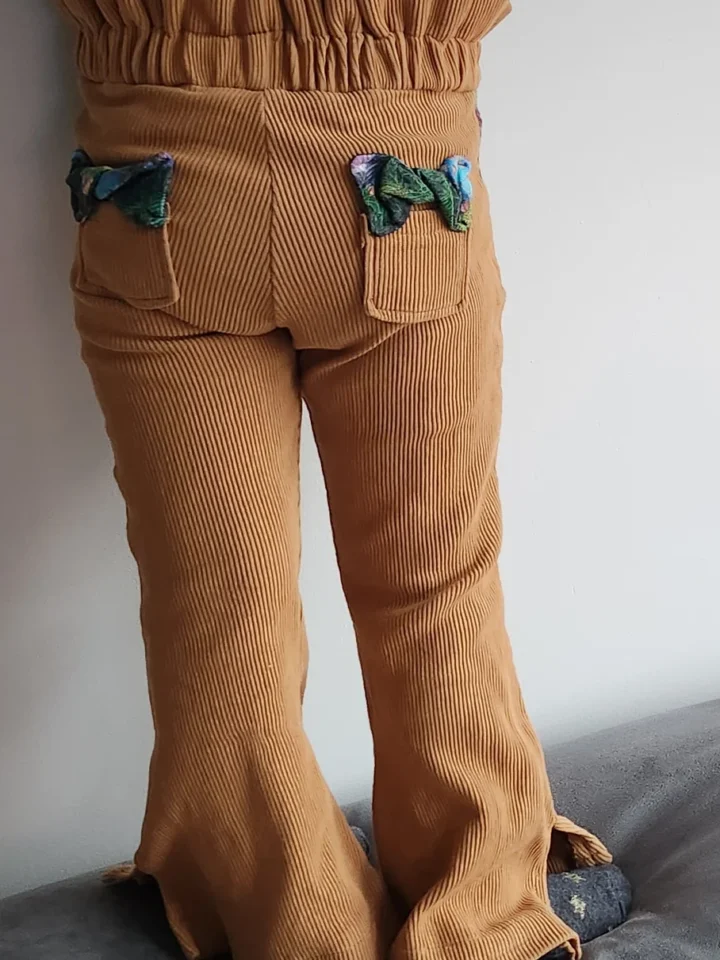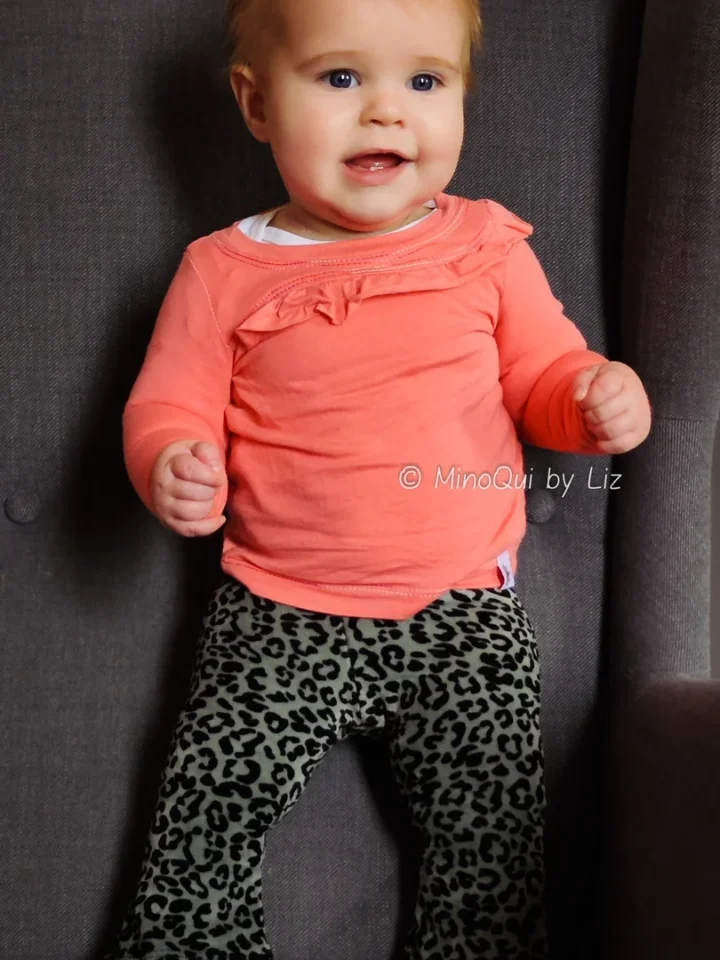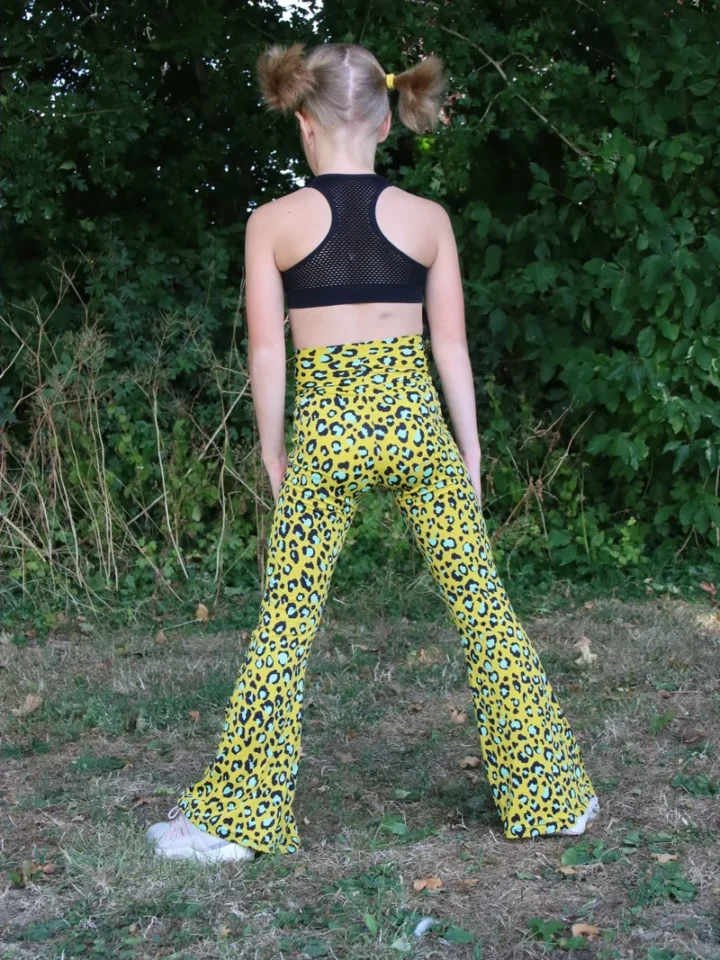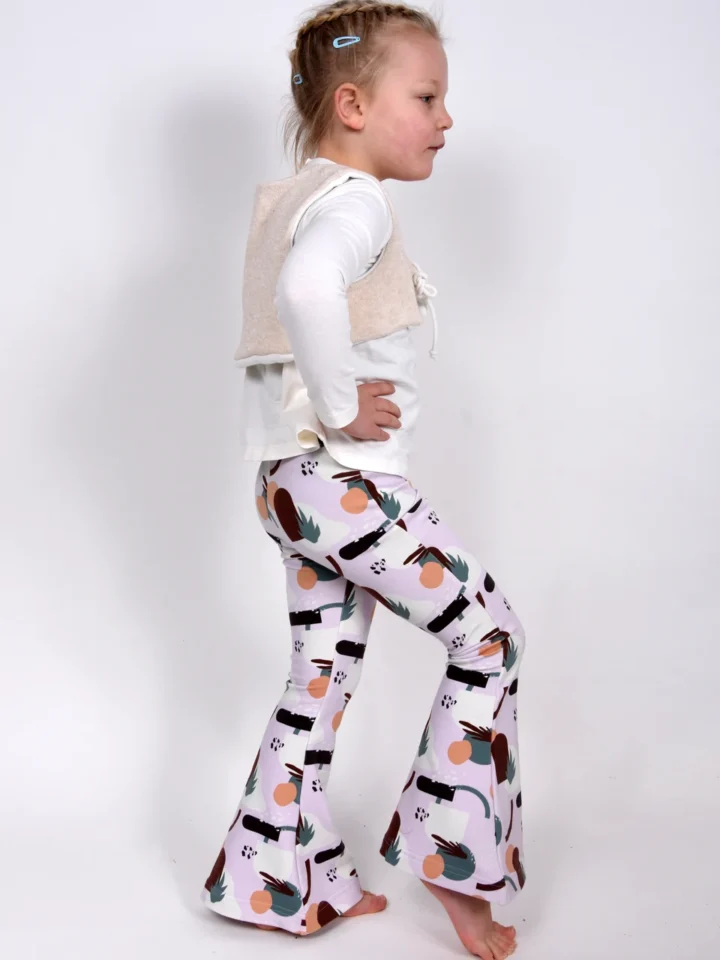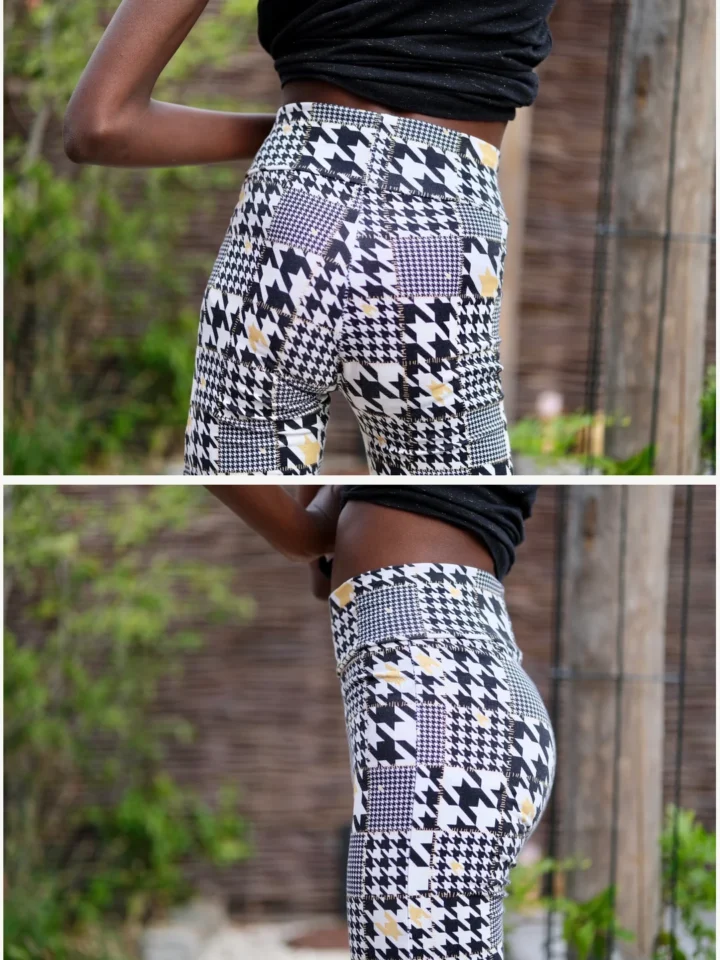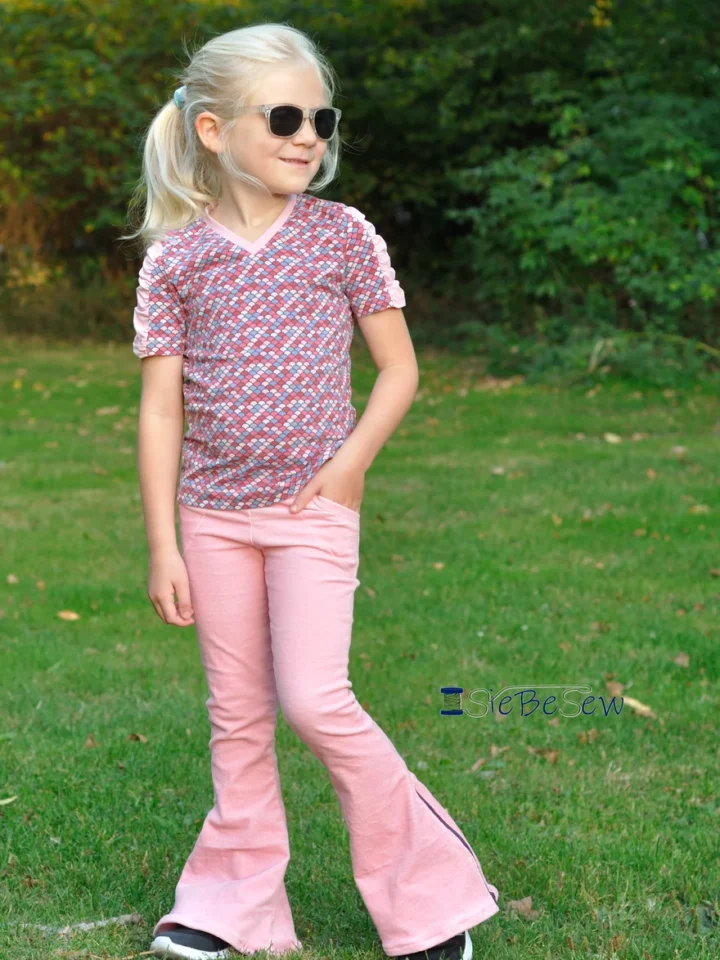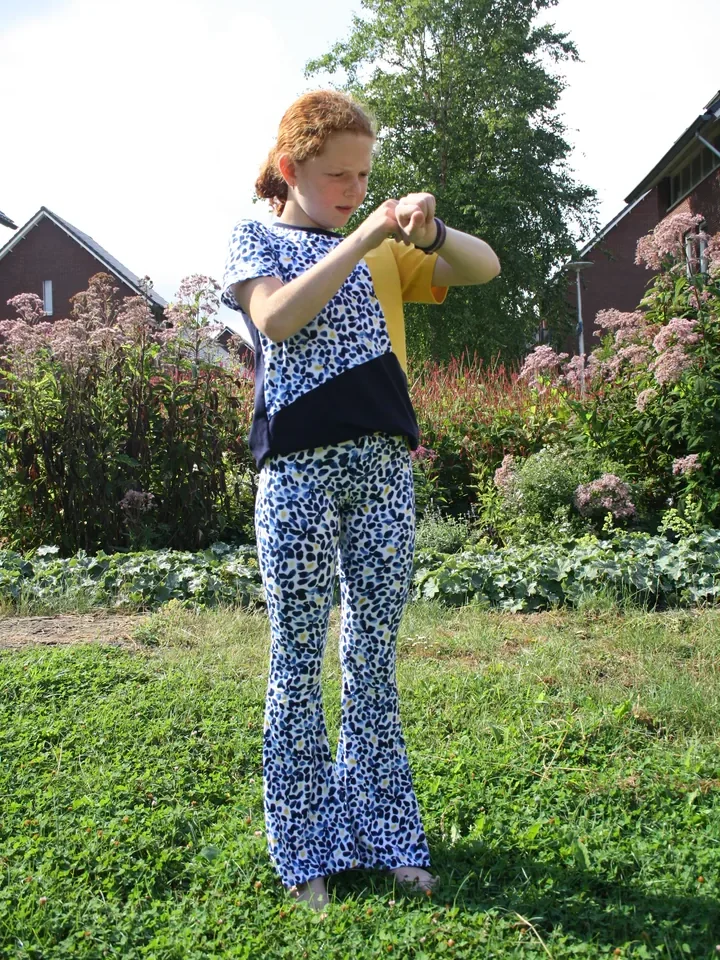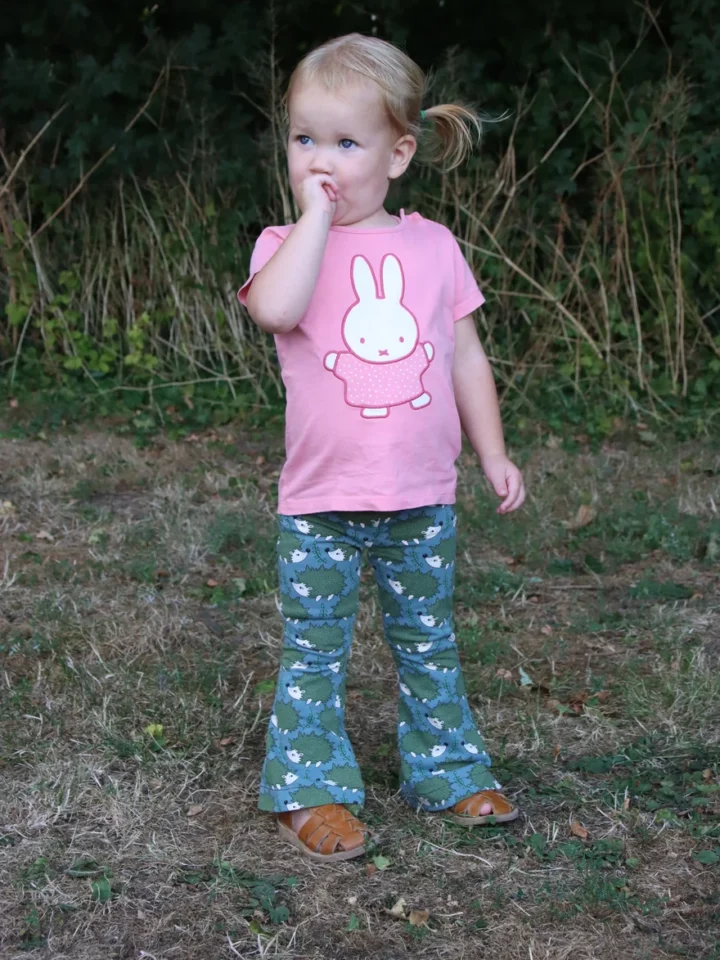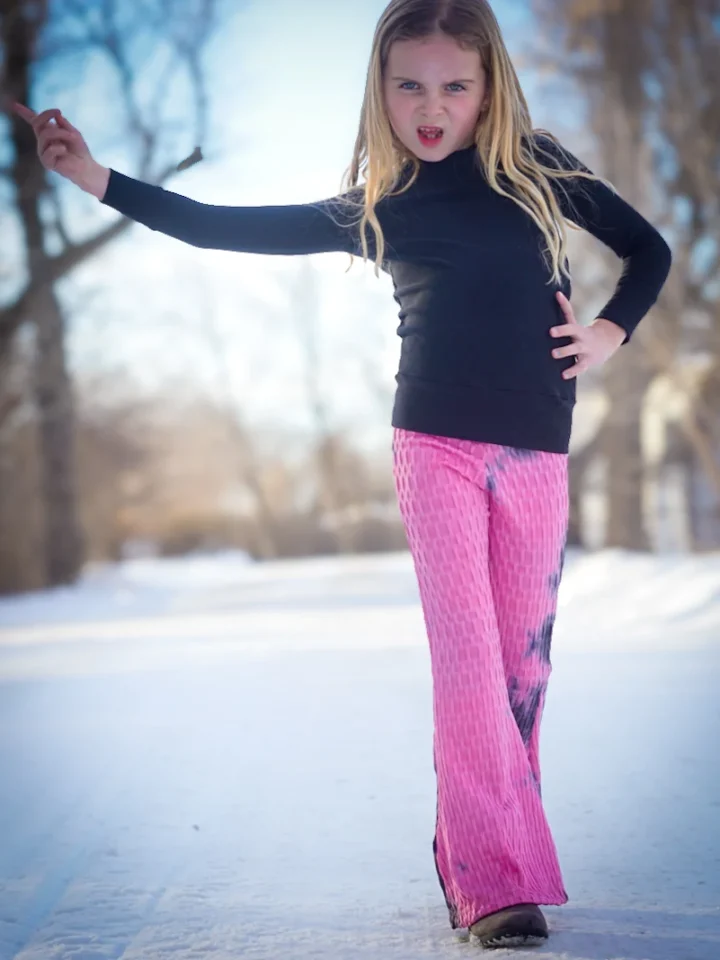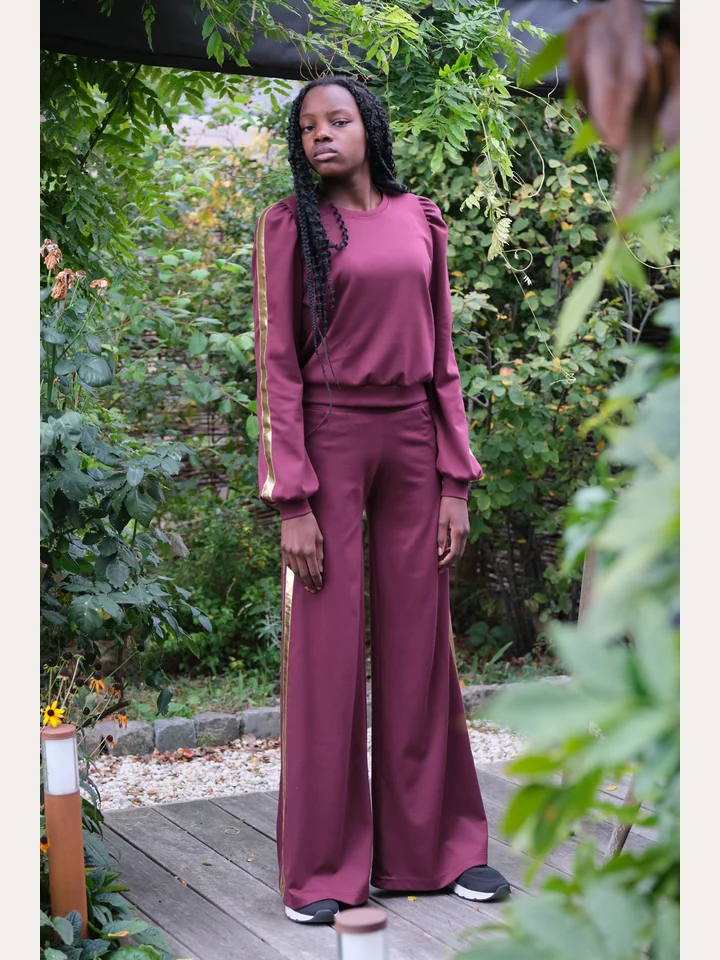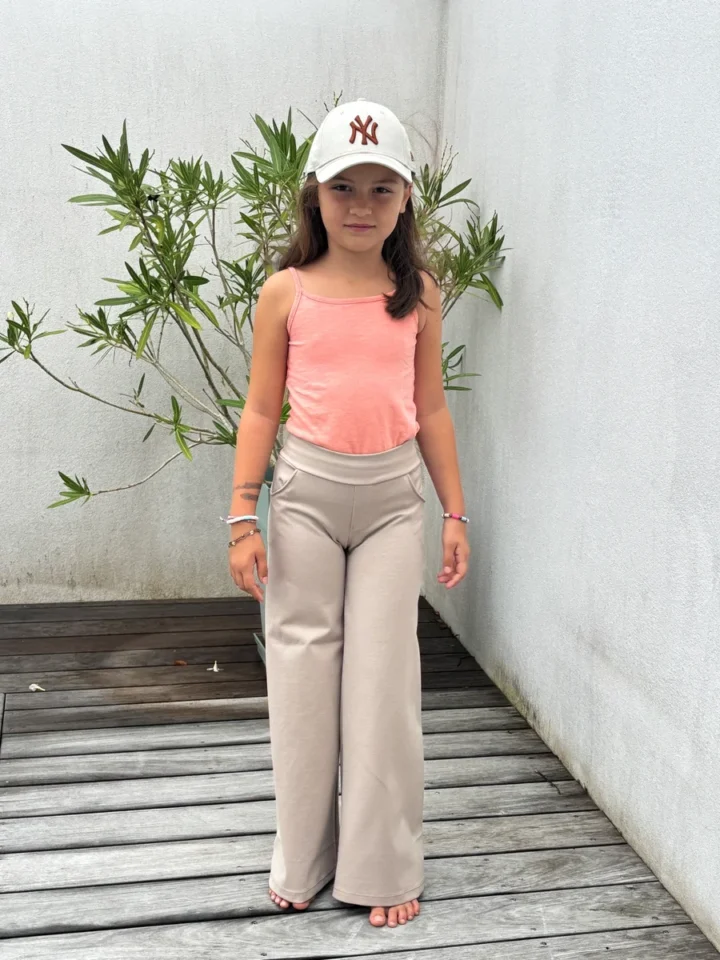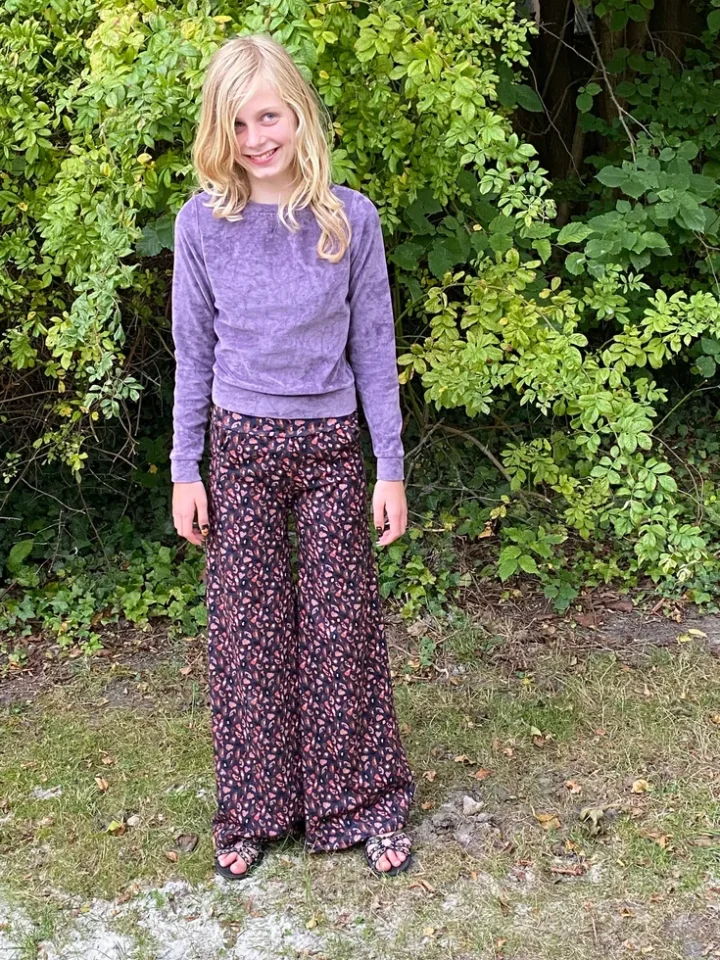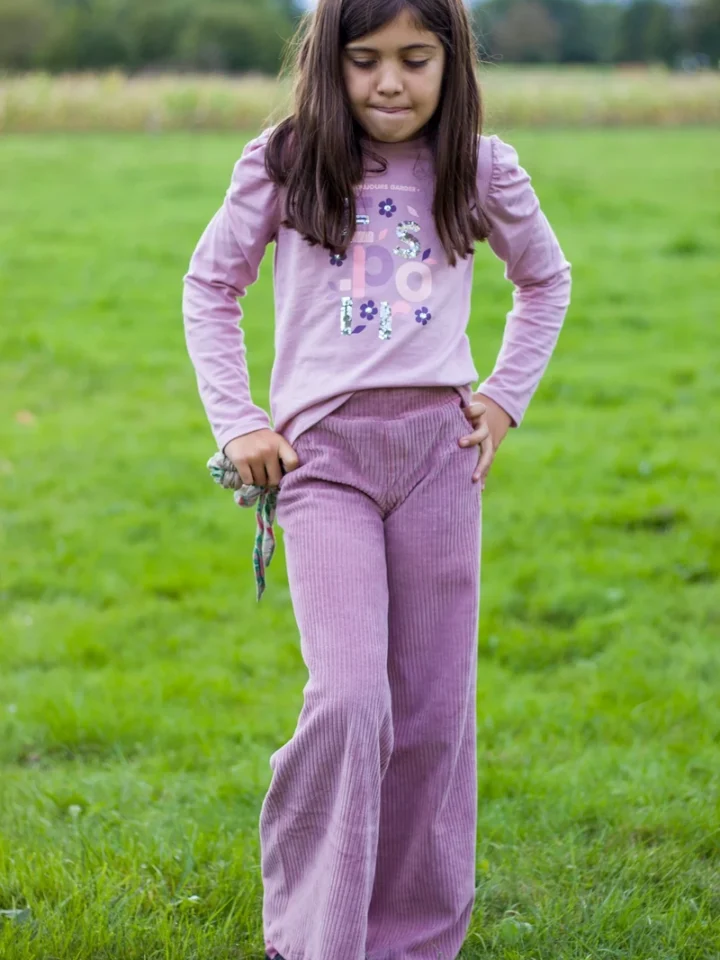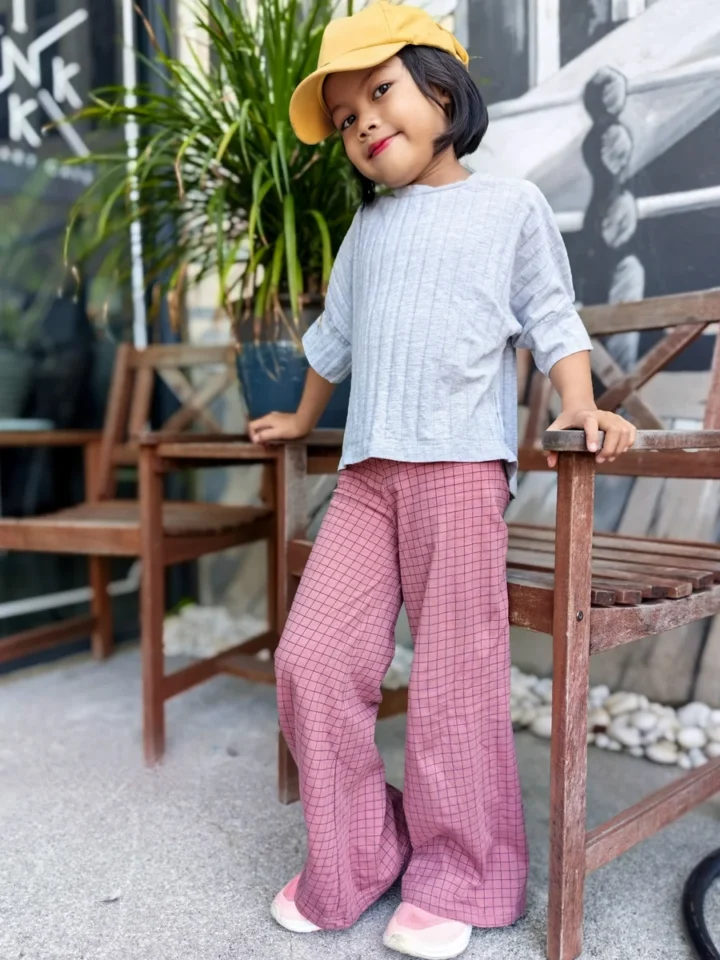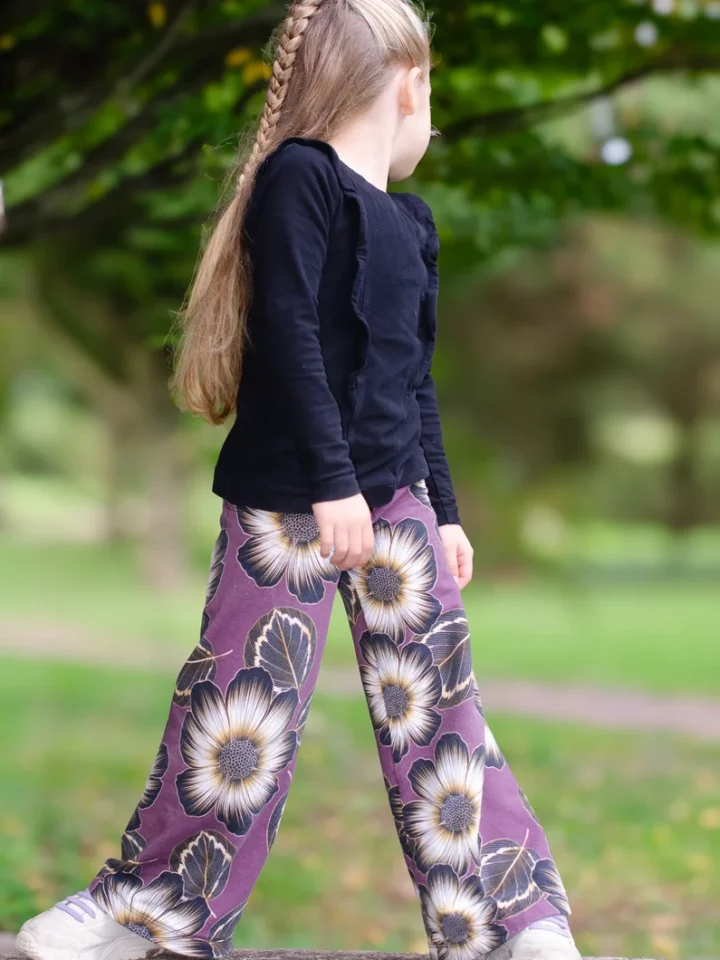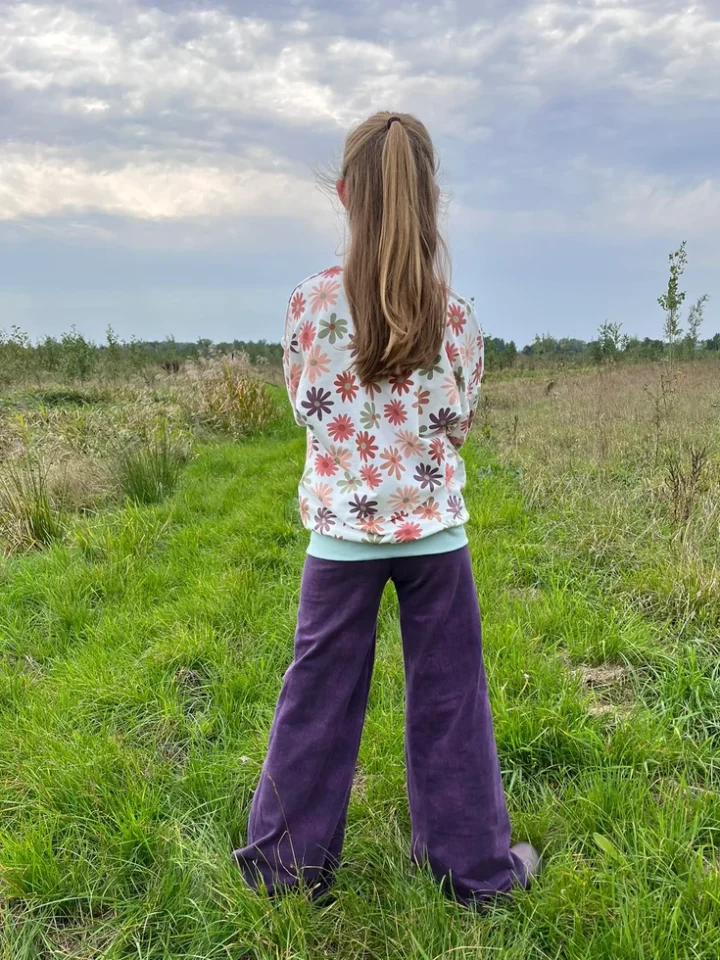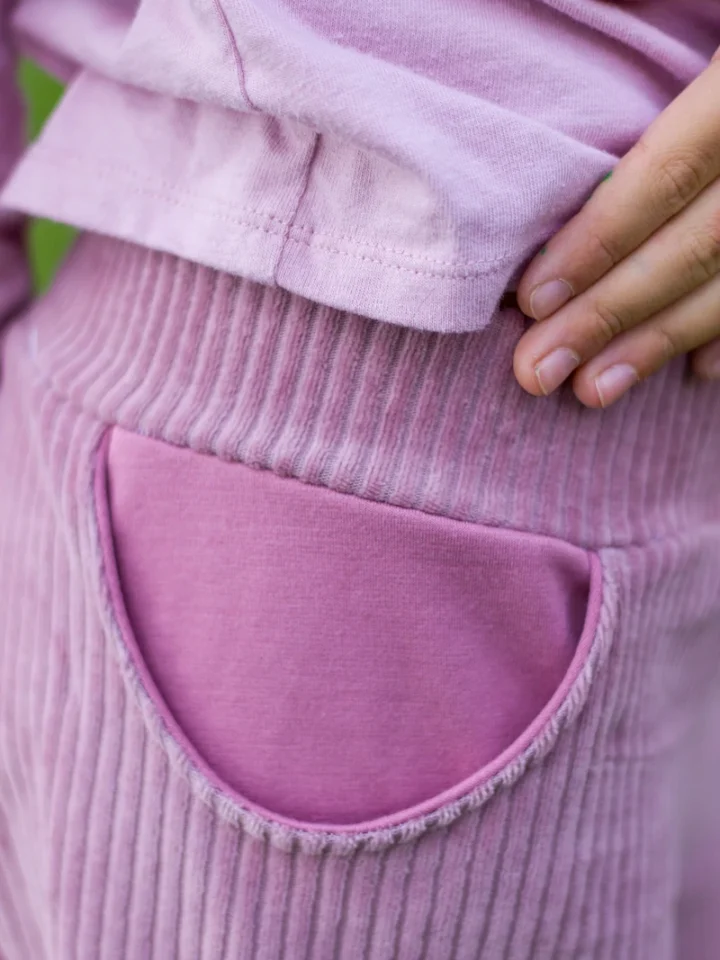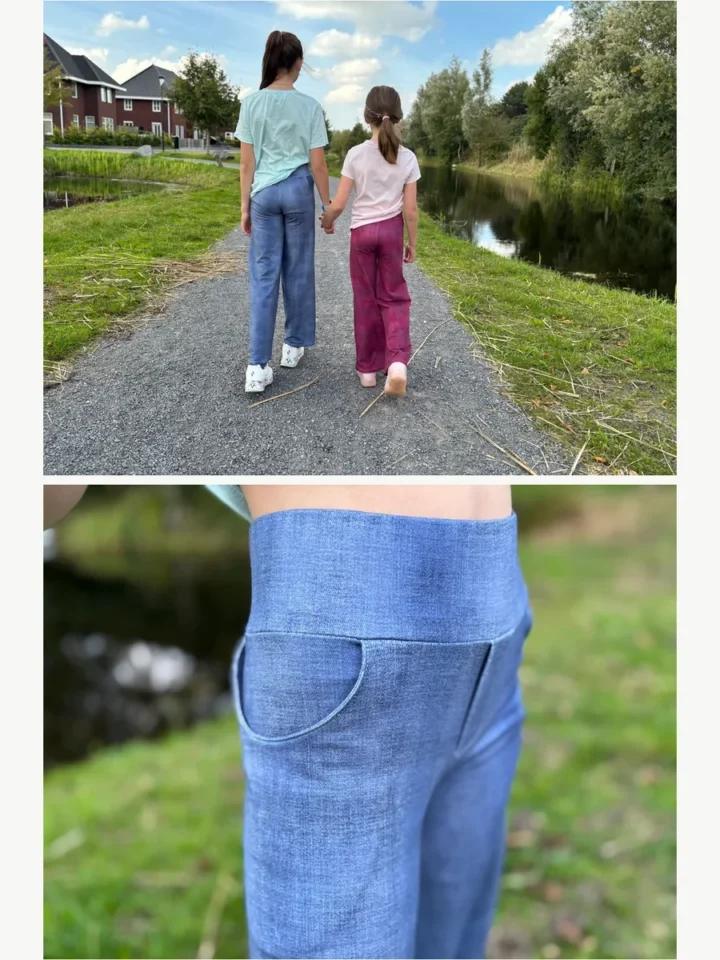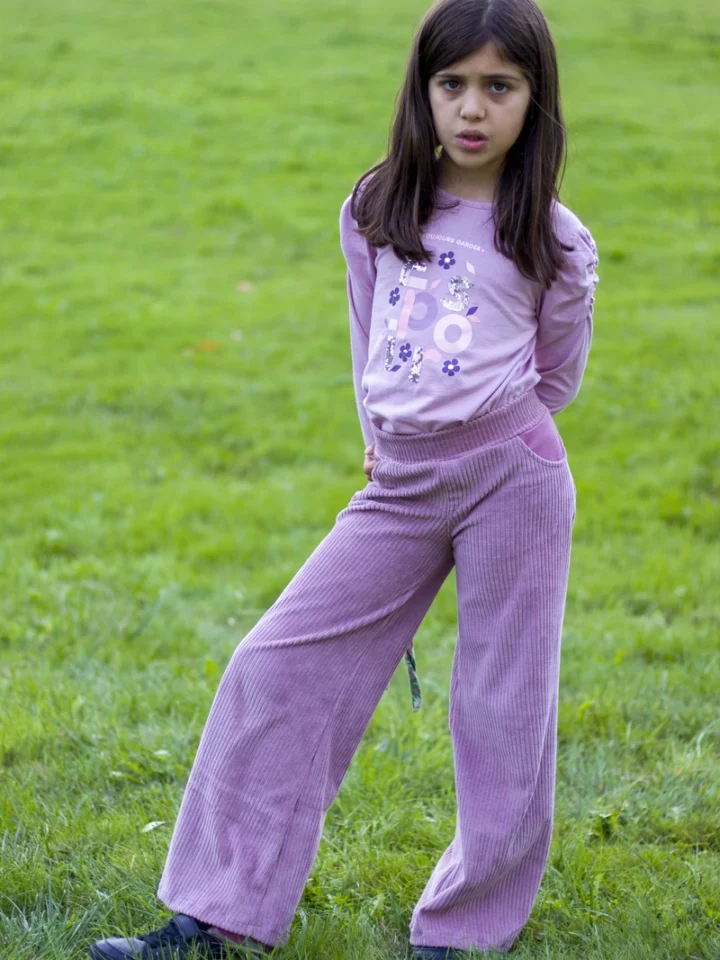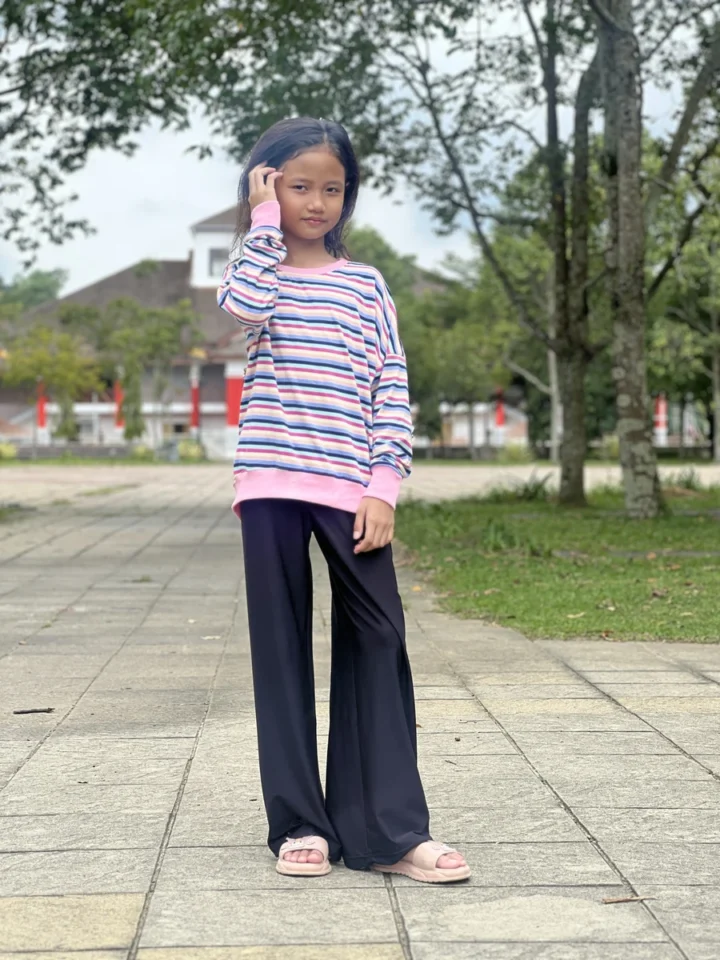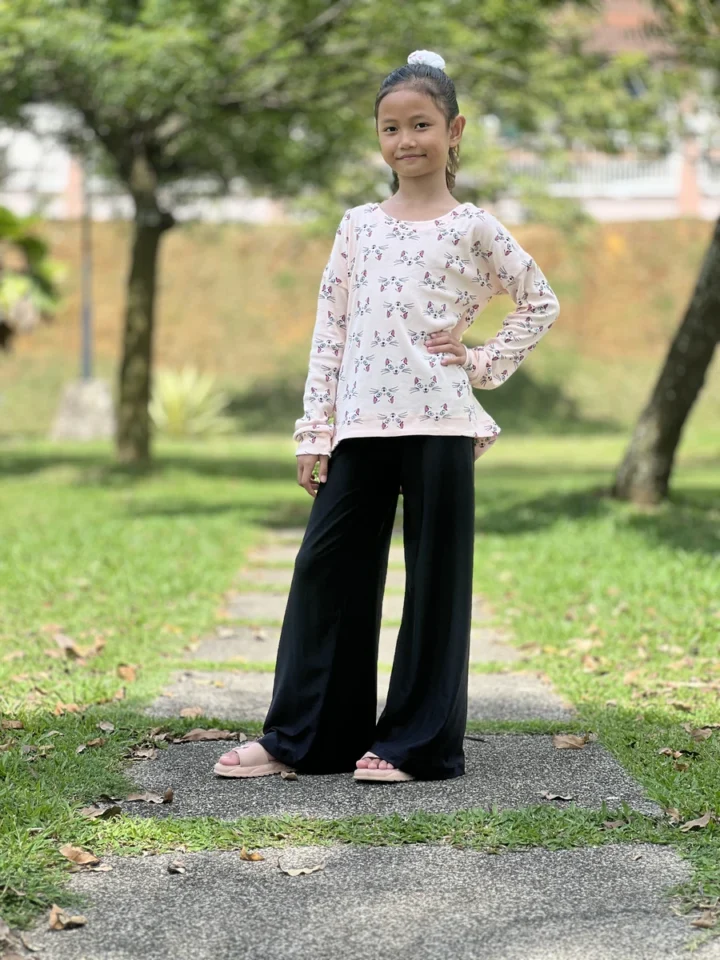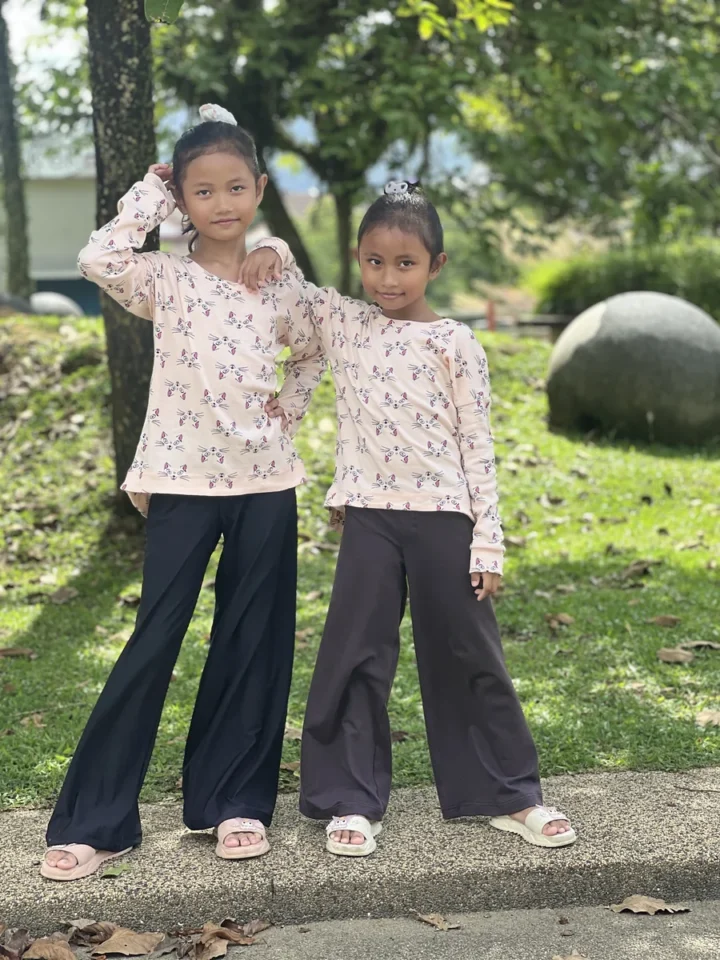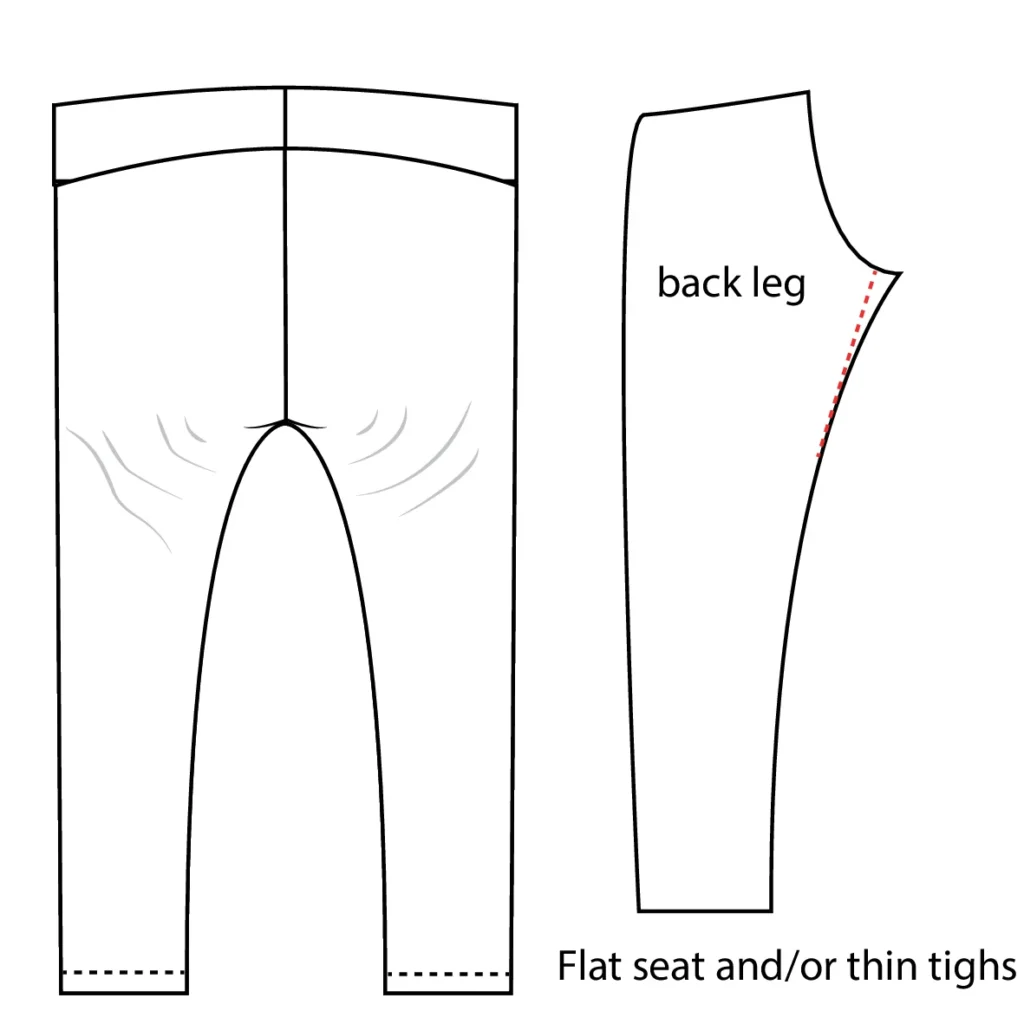
The back of a pair of pants needs both enough room over the seat and the right length through the crotch. This guide compares the flat, lower and fuller seat examples in F4U’s fitting illustrations.
Different seat shapes need different adjustments
The shape of the seat, its height and the amount of fabric needed over the upper thighs vary. Two children with the same hip circumference may not wear the same pattern in the same way. F4U diagrams distinguish flat seat, lower seat and fuller seat fitting issues.
Signs of a flatter seat
Folds and extra material beneath the bottom, sometimes running towards the hip, can suggest too much back crotch length for the wearer. The F4U guide recommends shortening the back crotch seam in small steps. First confirm the pants are not simply meant to be roomy.
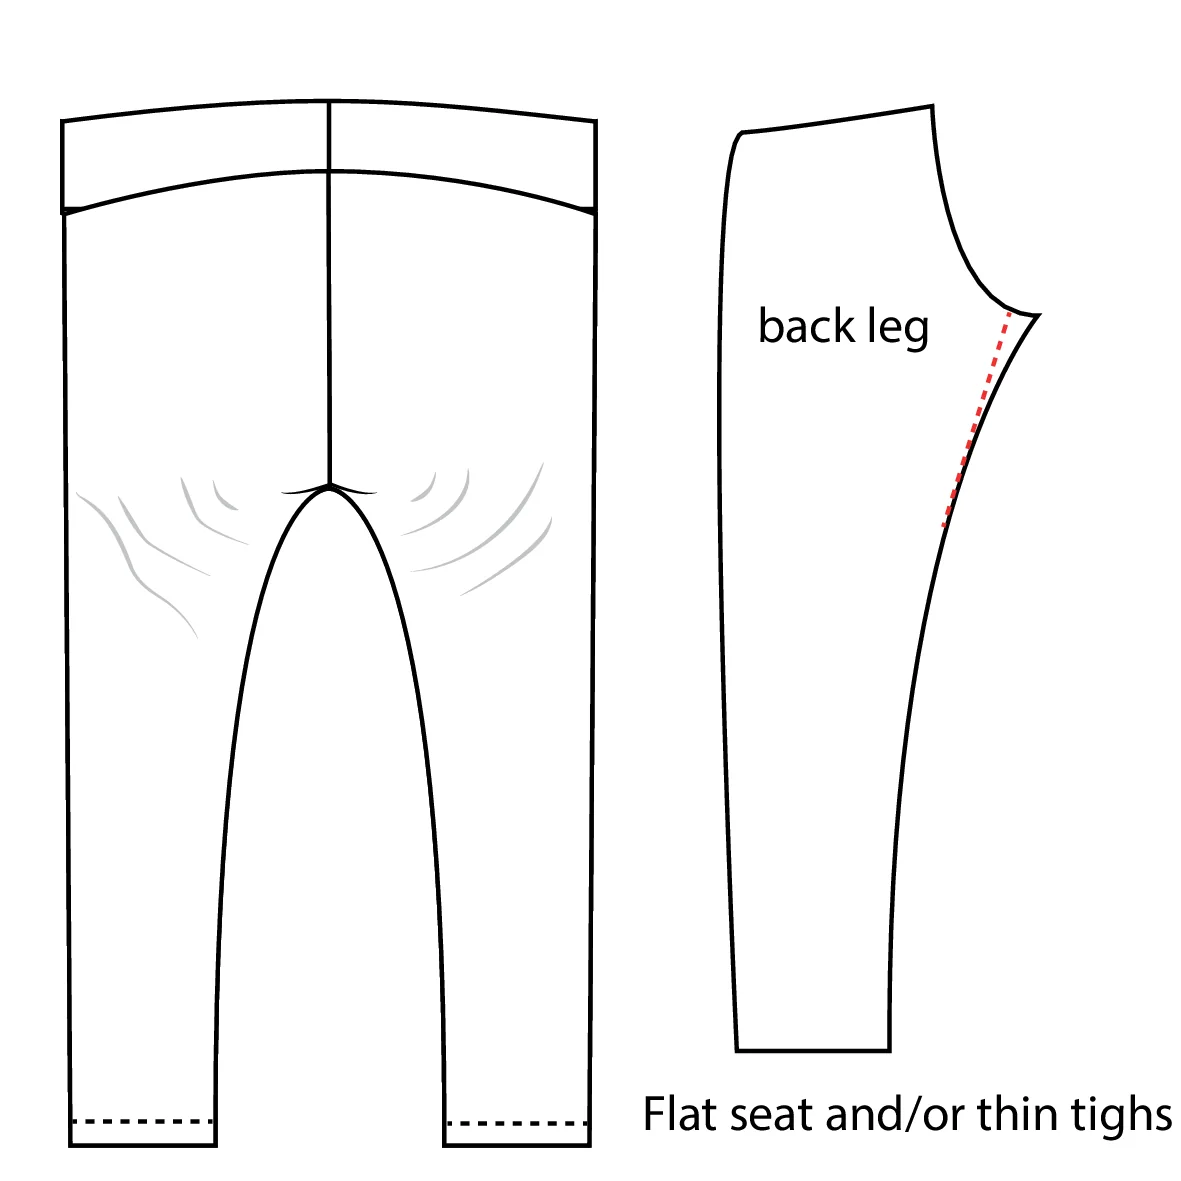
Signs of a lower seat
Horizontal tension or folding directly beneath the bottom can be related to the seat sitting lower than the draft. The original fitting illustrations show a different solution: carefully reshaping the lower back crotch curve to create room in the appropriate location. This is not identical to removing extra back length.
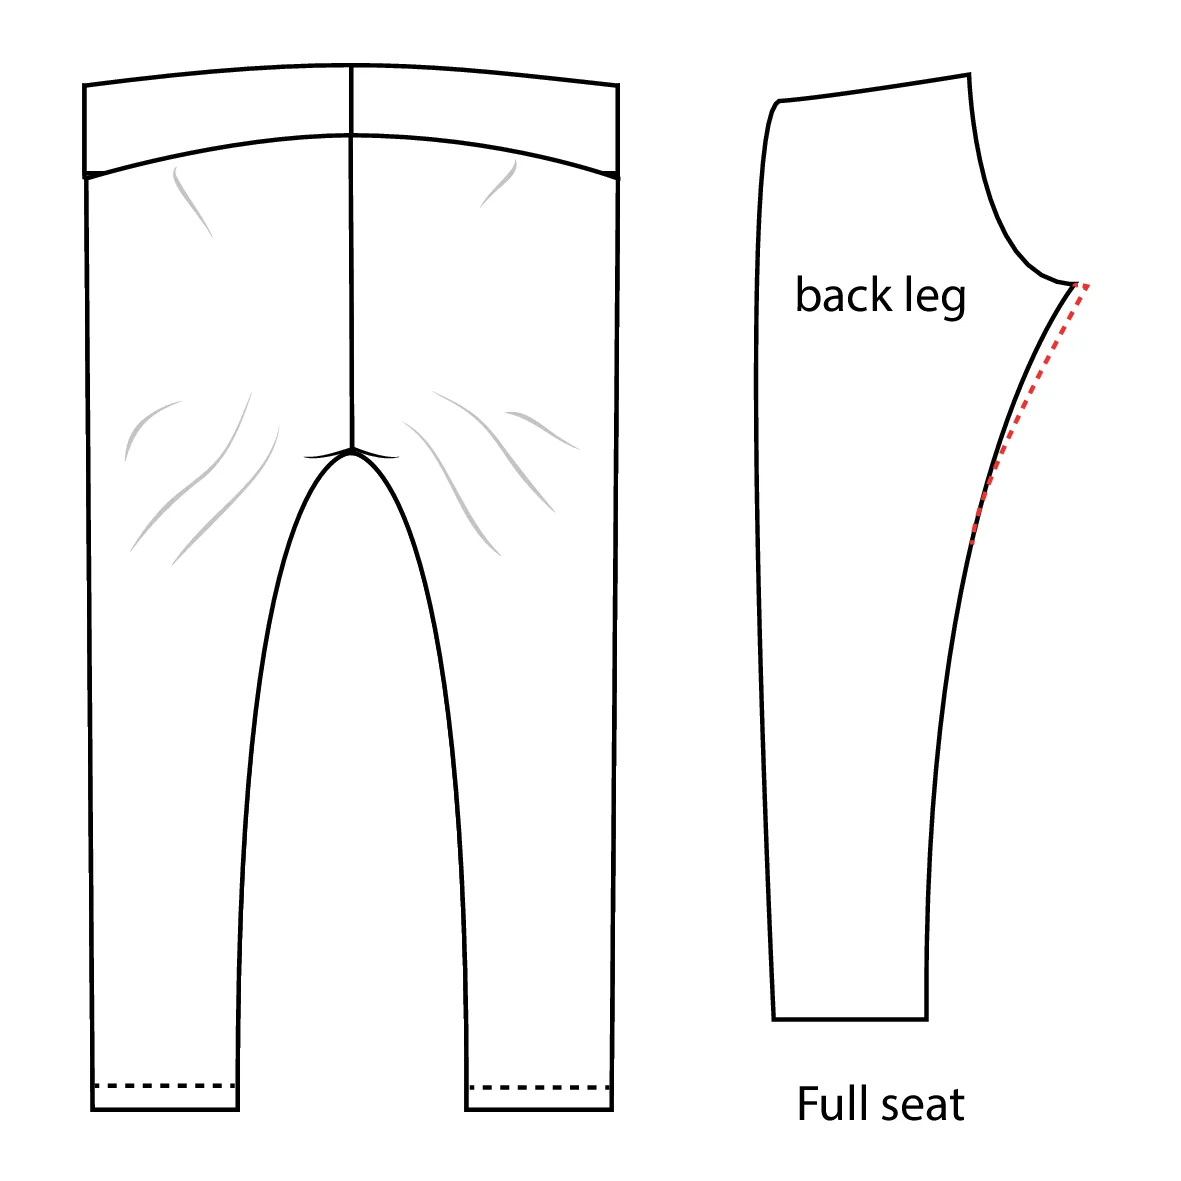
Signs of a fuller seat
A fuller seat may cause diagonal lines aimed at the back crotch and pull the back waistband downward. The F4U diagrams suggest adding back crotch length and, where needed, carefully deepening the curve. First check the hip measurement and whether the back waist is being held at the intended height.
Try changes in the right order
Compare the hip and waist first, then the rise and seat curve. Test the modification on a trial garment and adjust one area at a time. If fullness is needed, avoid simply enlarging the whole pant leg: room should be added where the body requires it.
Keep the geometry balanced
After the fitting adjustment, redraw the back seam and smooth its transition to the inseam and waistband. Check seam lengths on the sewing lines, maintain grainline and keep the garment comfortable when sitting.
One wrinkle is not one diagnosis
Folds can be caused by fabric, stance, inseam balance or deliberate design ease. Use the diagrams as starting points, not a rigid diagnostic chart.
Compare seat volume independently of thigh volume
The original Cherielle sketches distinguish a flatter seat with possibly slim thighs from a fuller seat. Use these as prompts for a fitting test, not as measurements to copy. Keep the waist and crotch comfort under review after every change, and preserve the intended style of the garment.
Explore more F4U sewing tips
Taking measurements, stretch and recovery and Getting Started can help you prepare. Explore the Gaia Flared Leggings and Rivara Wide Leg Pants for the intended silhouettes.