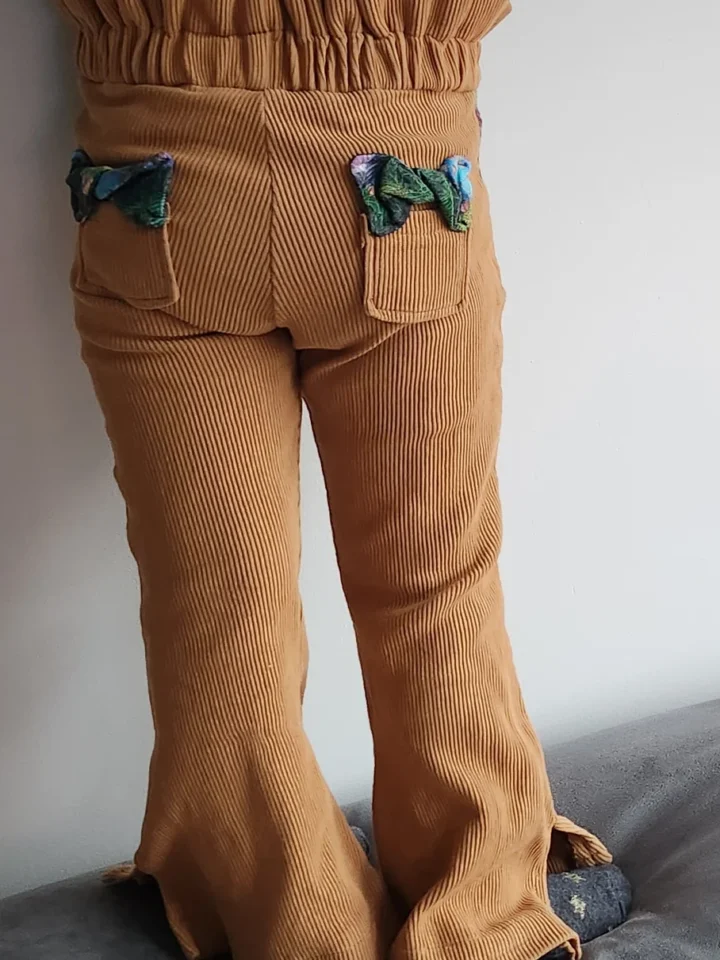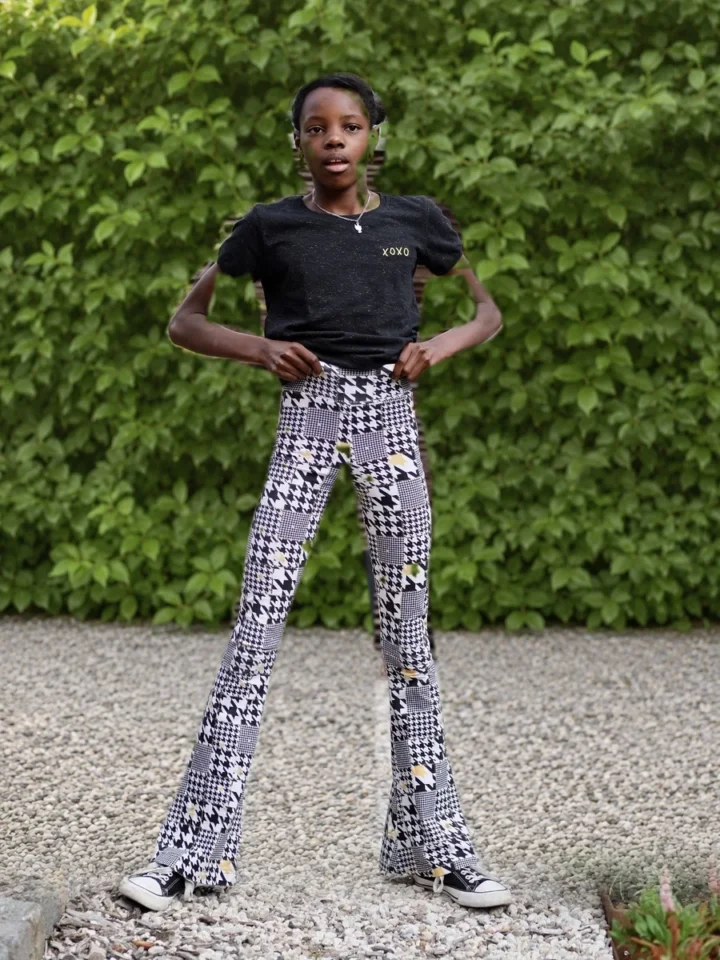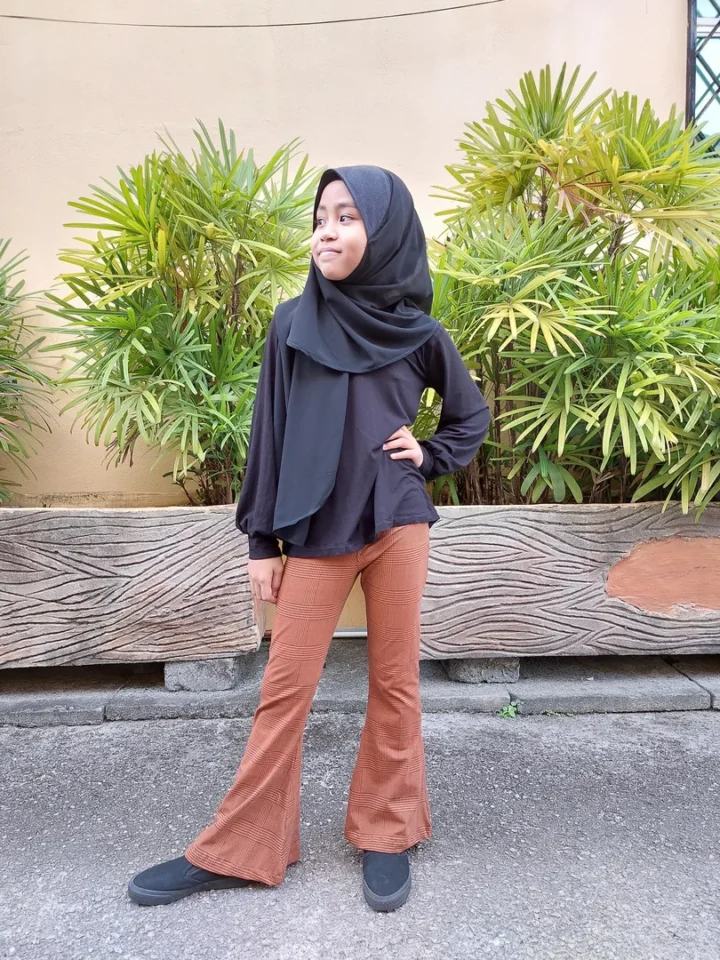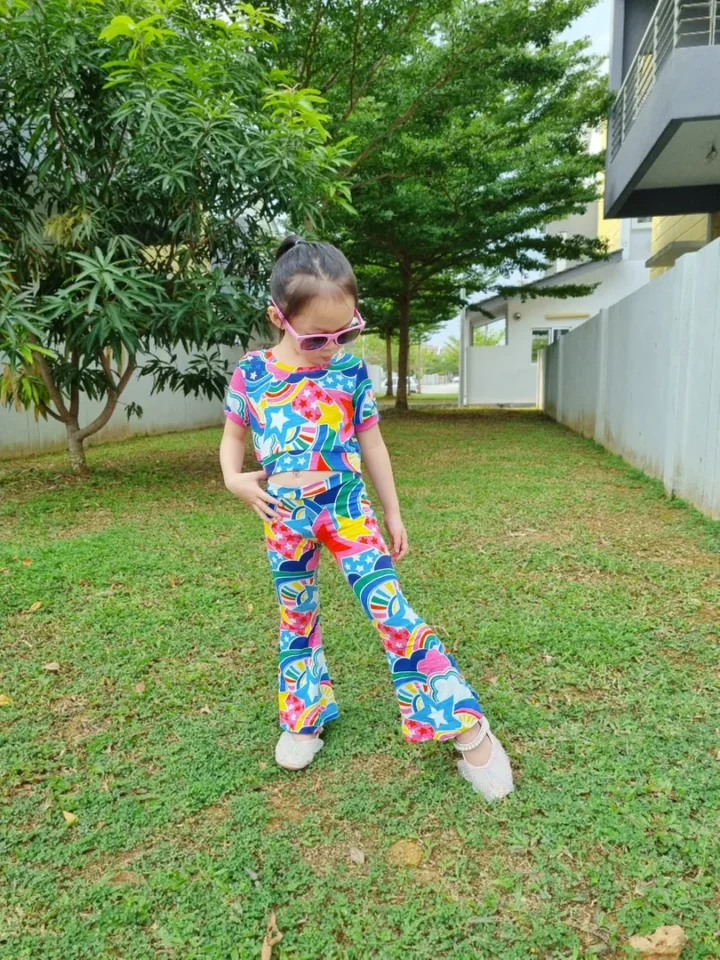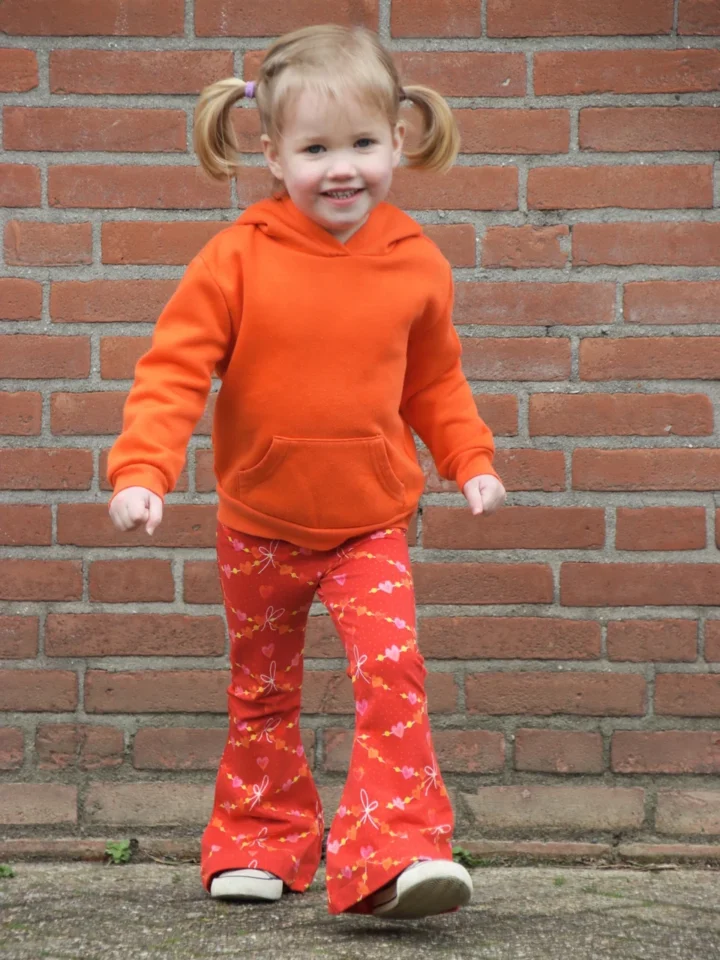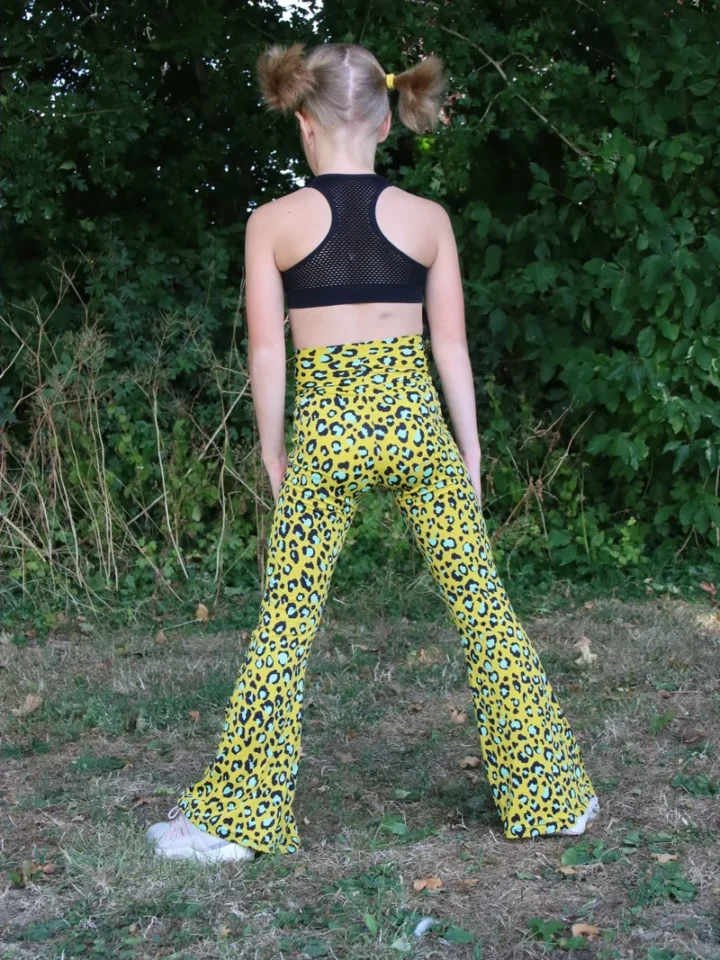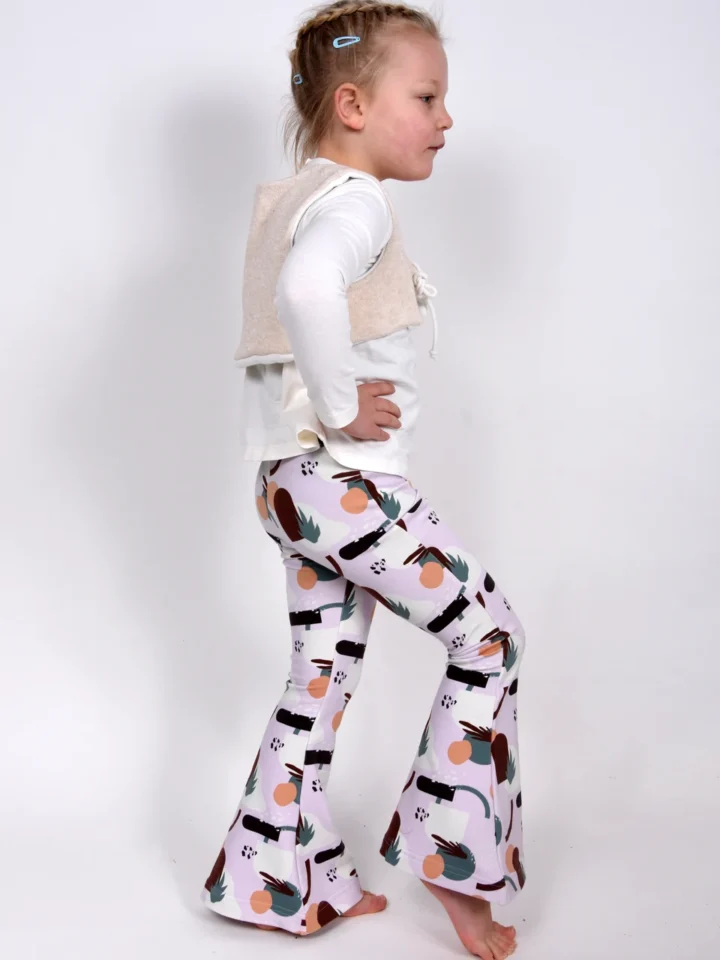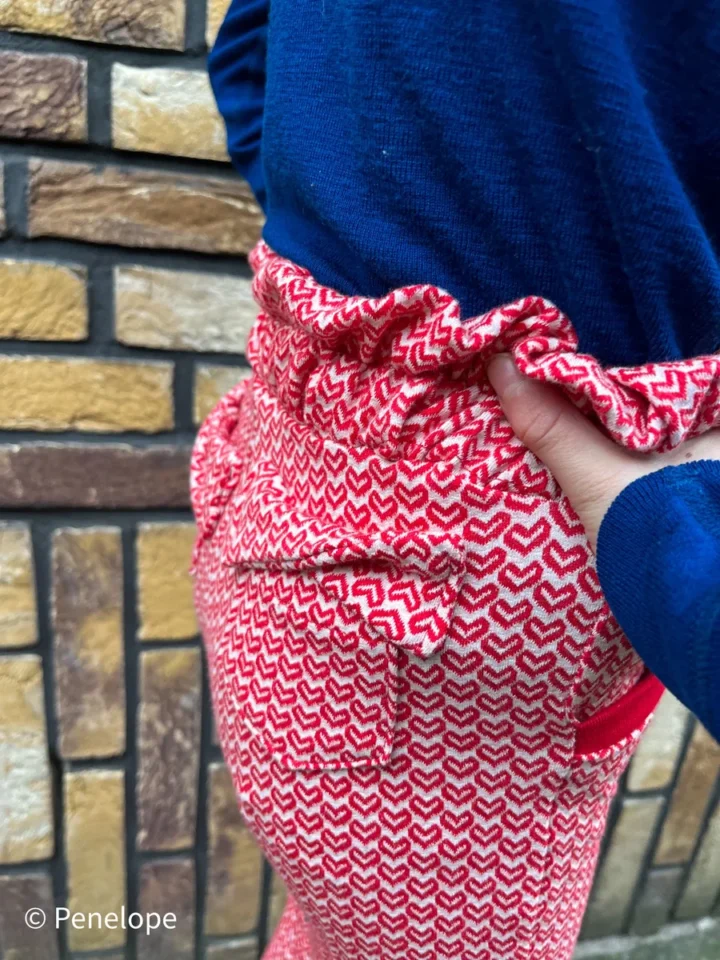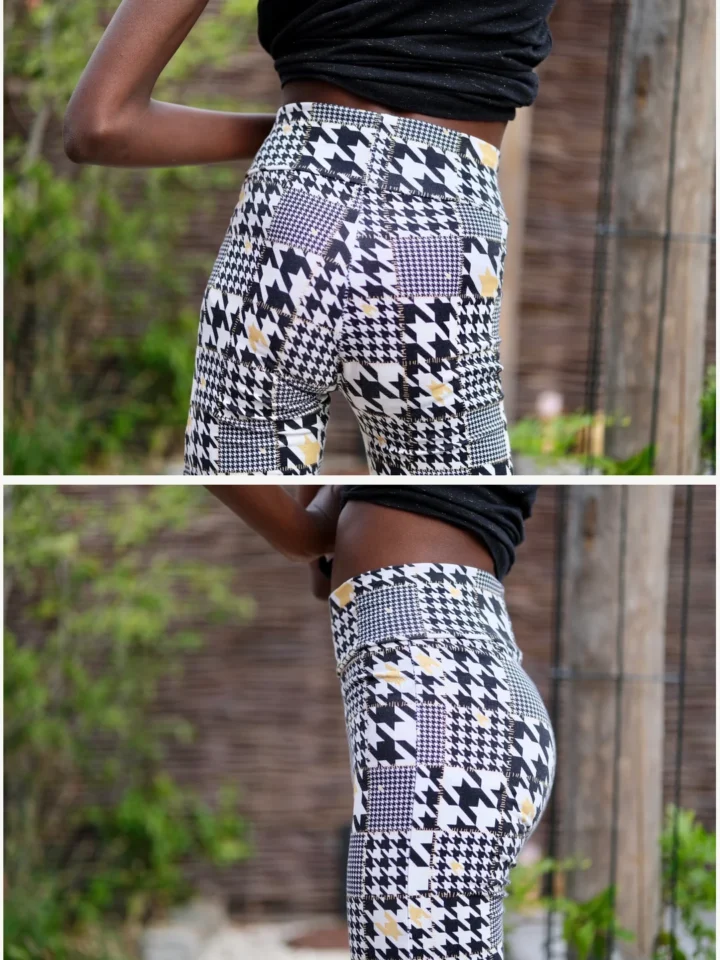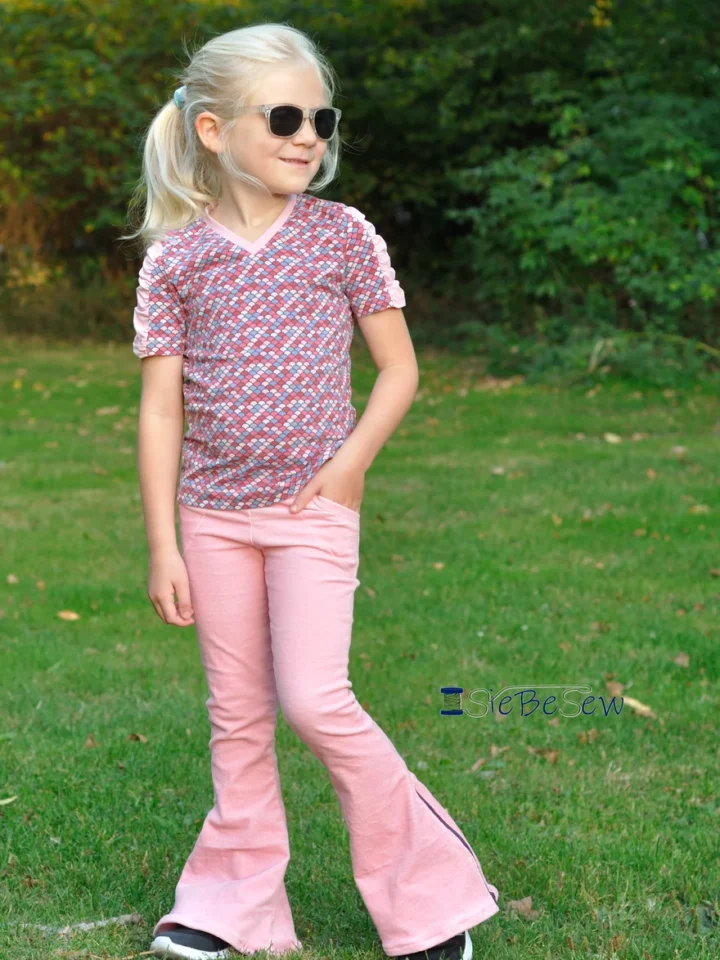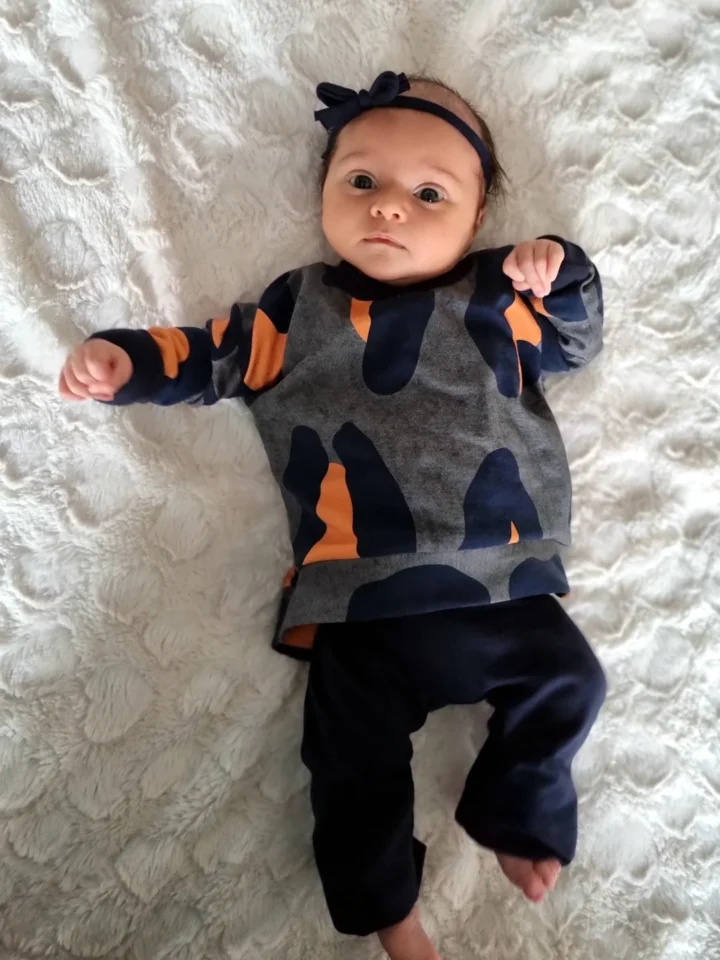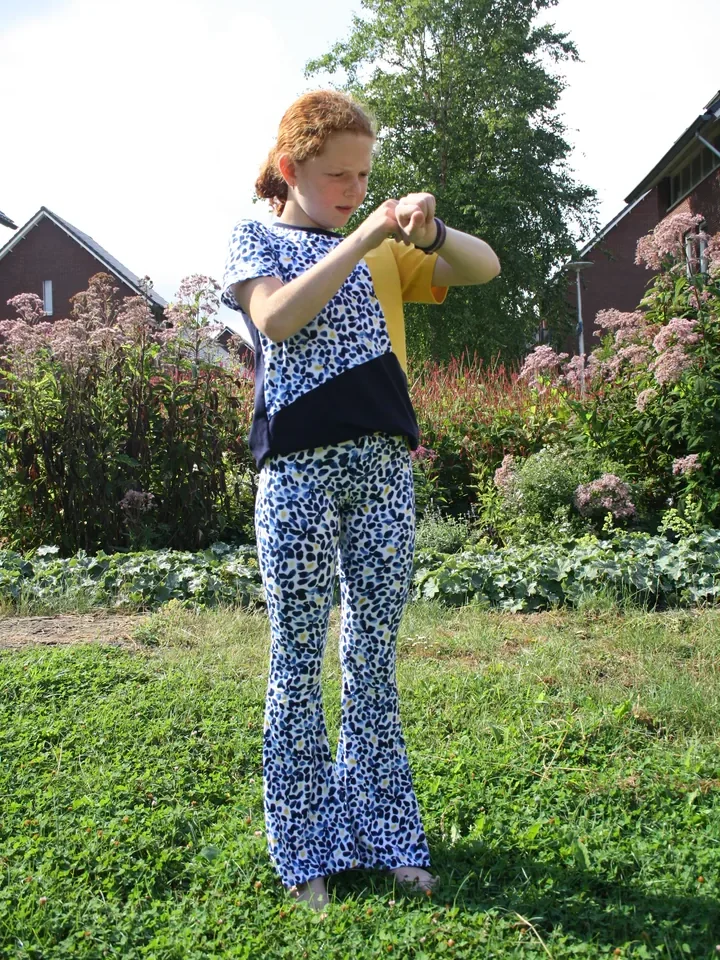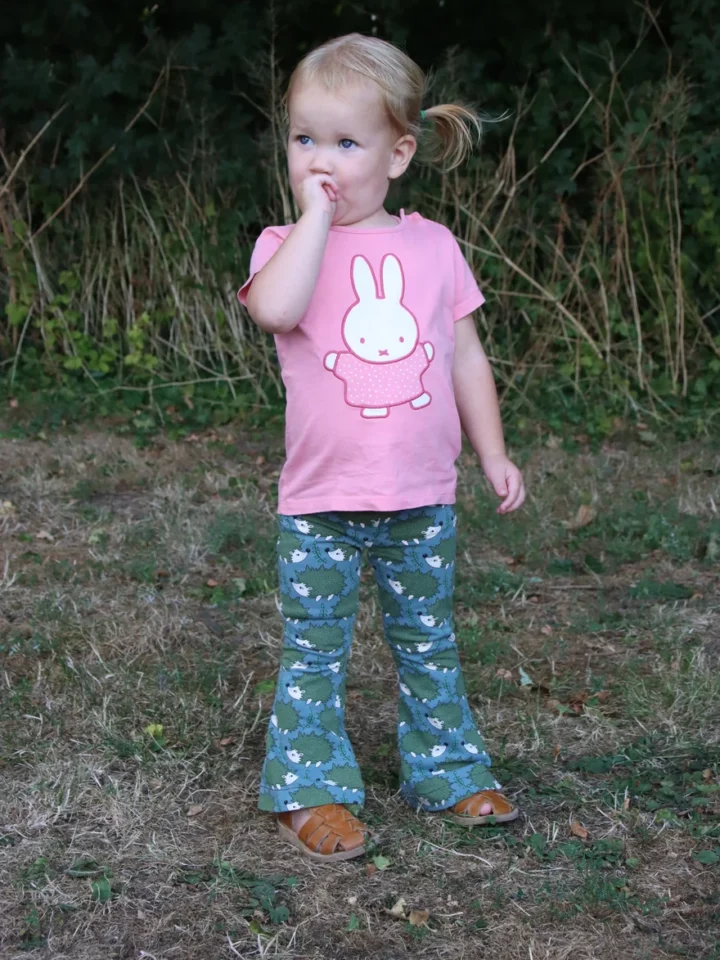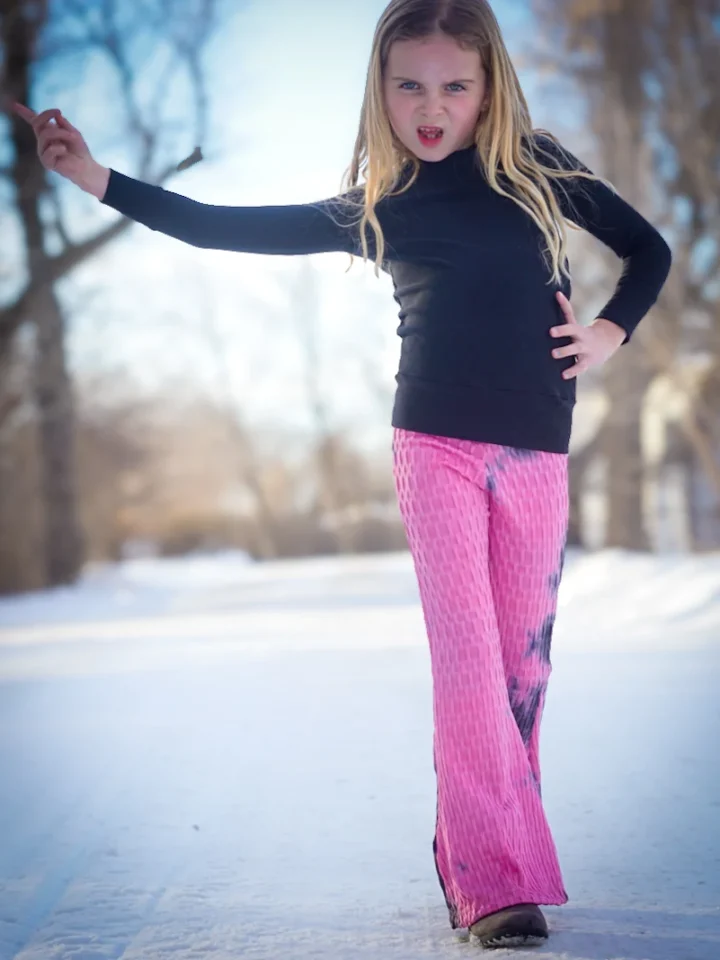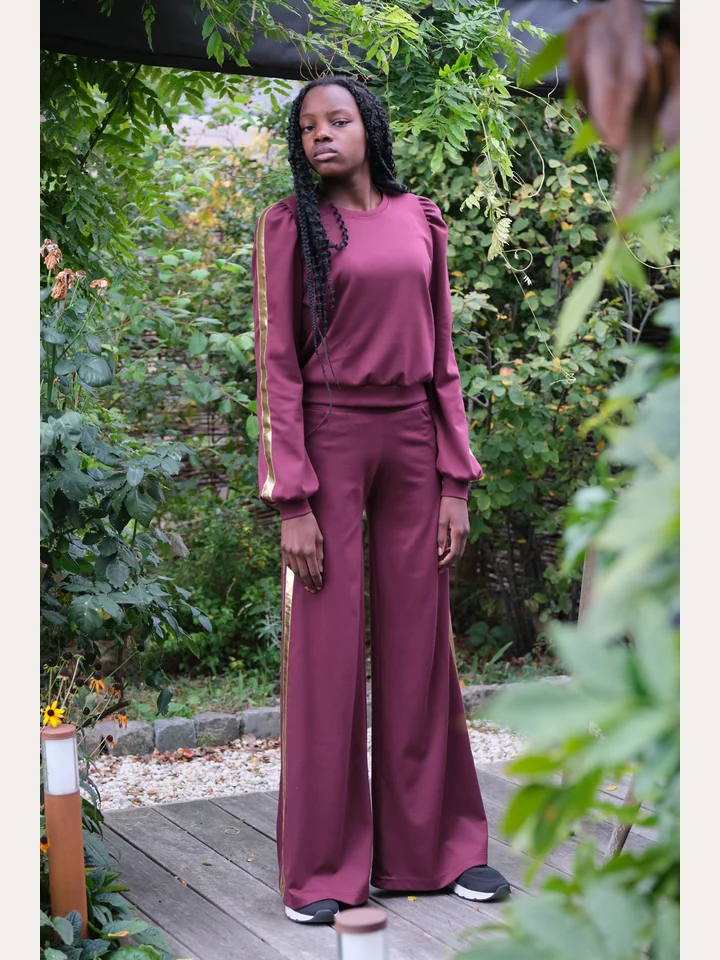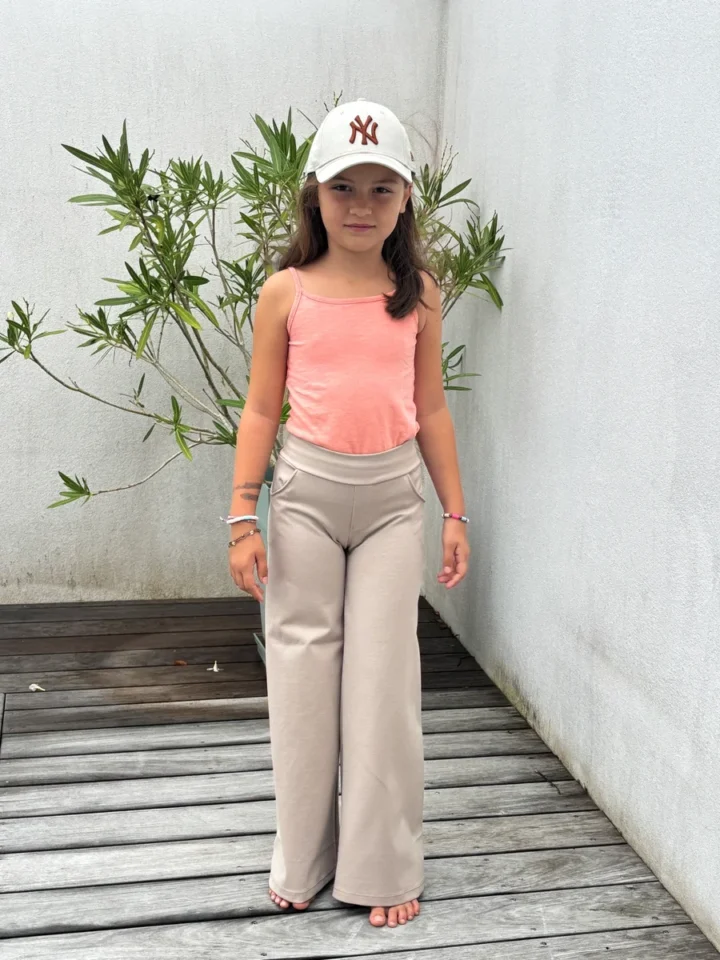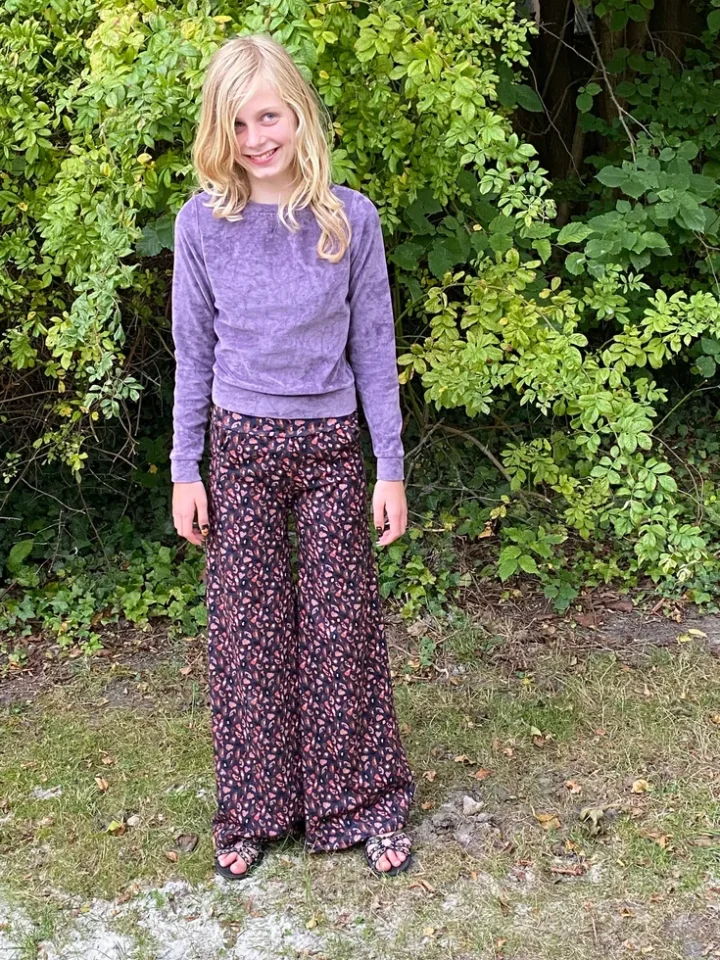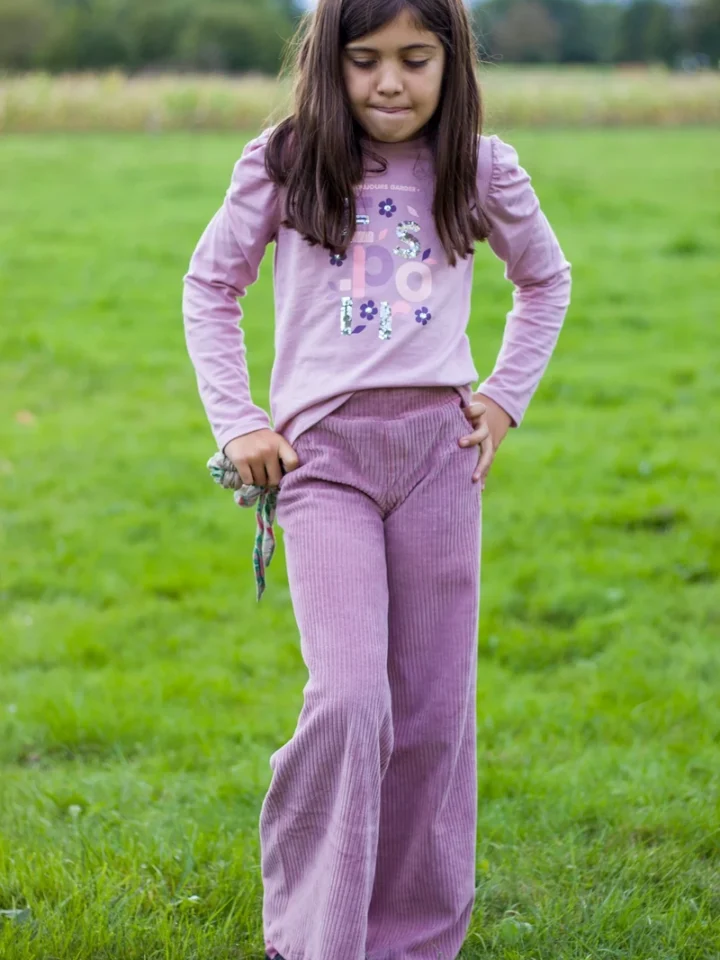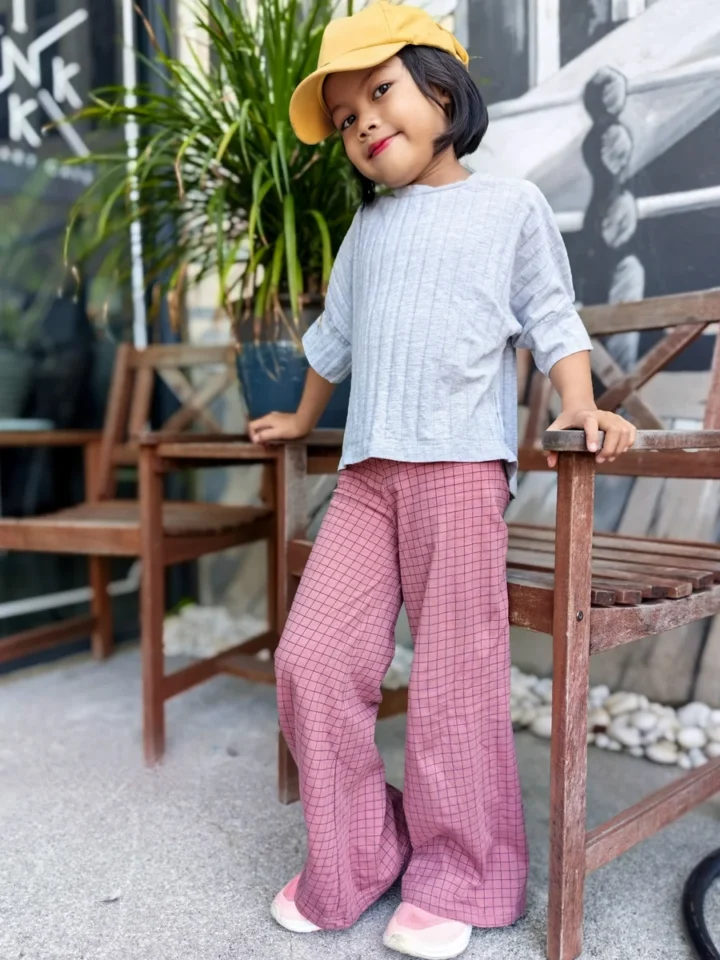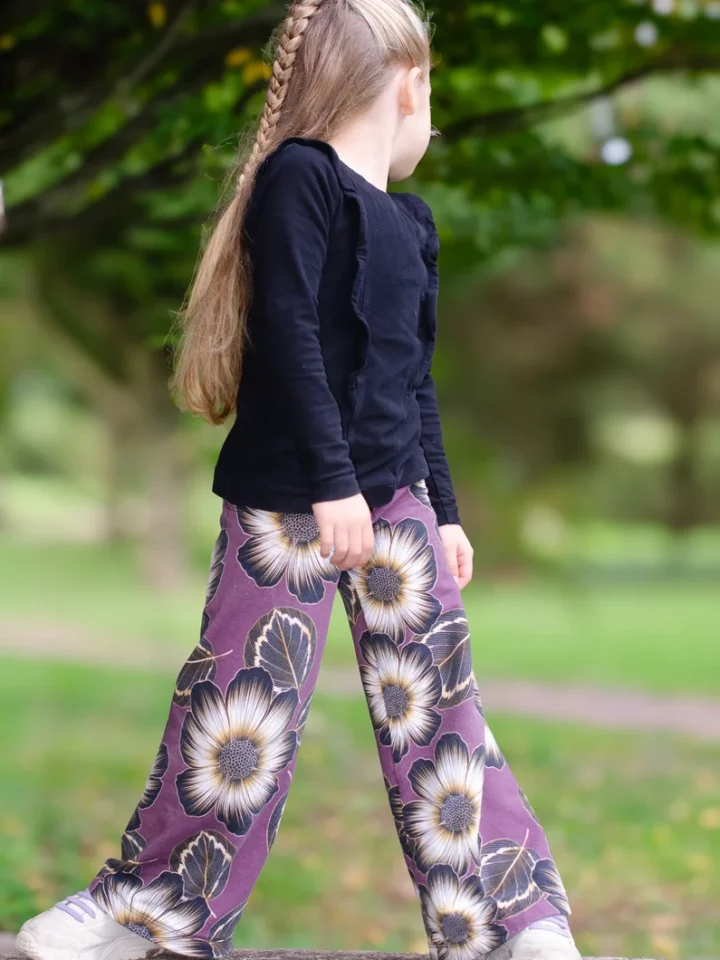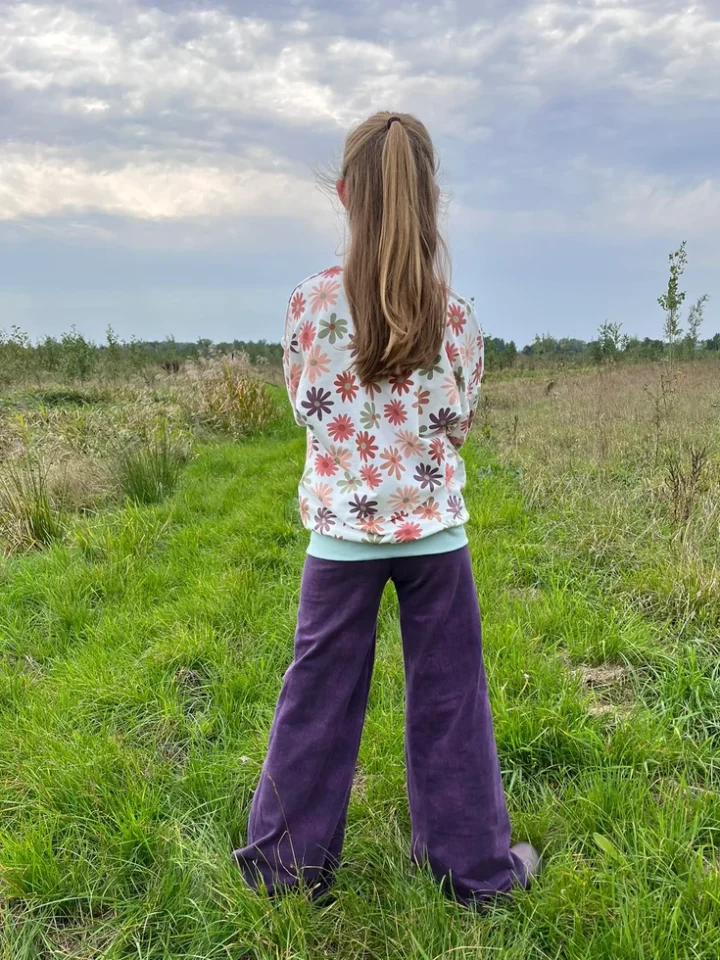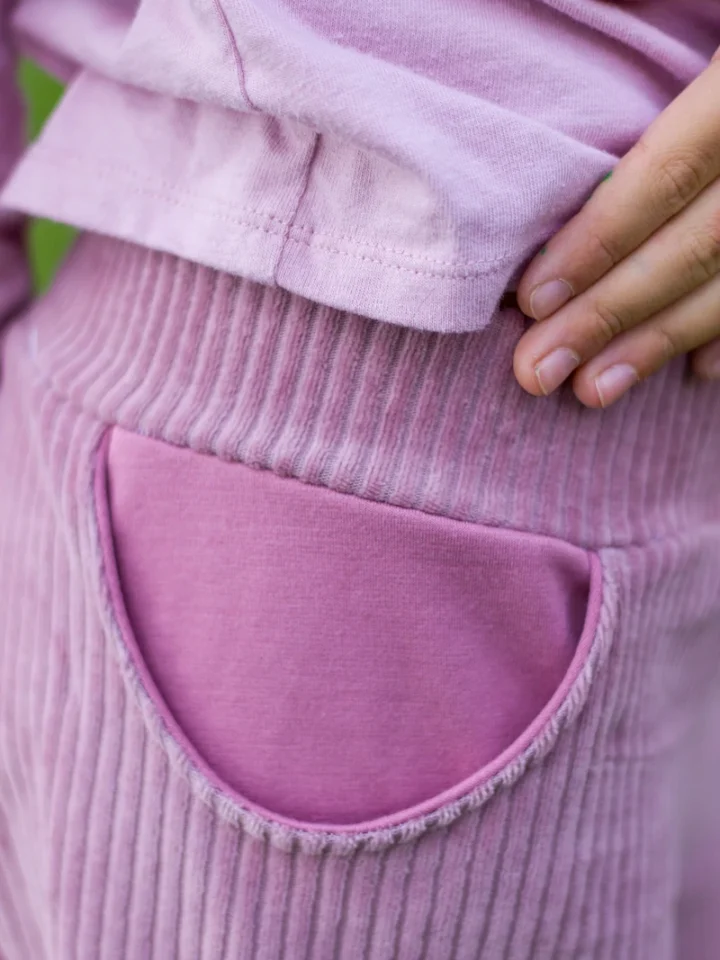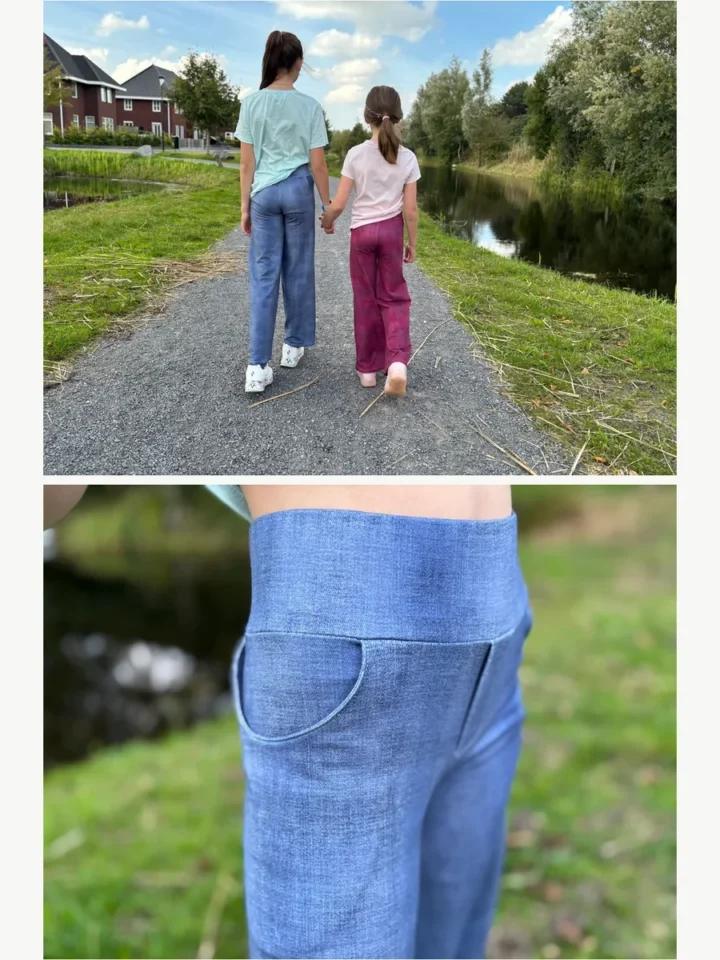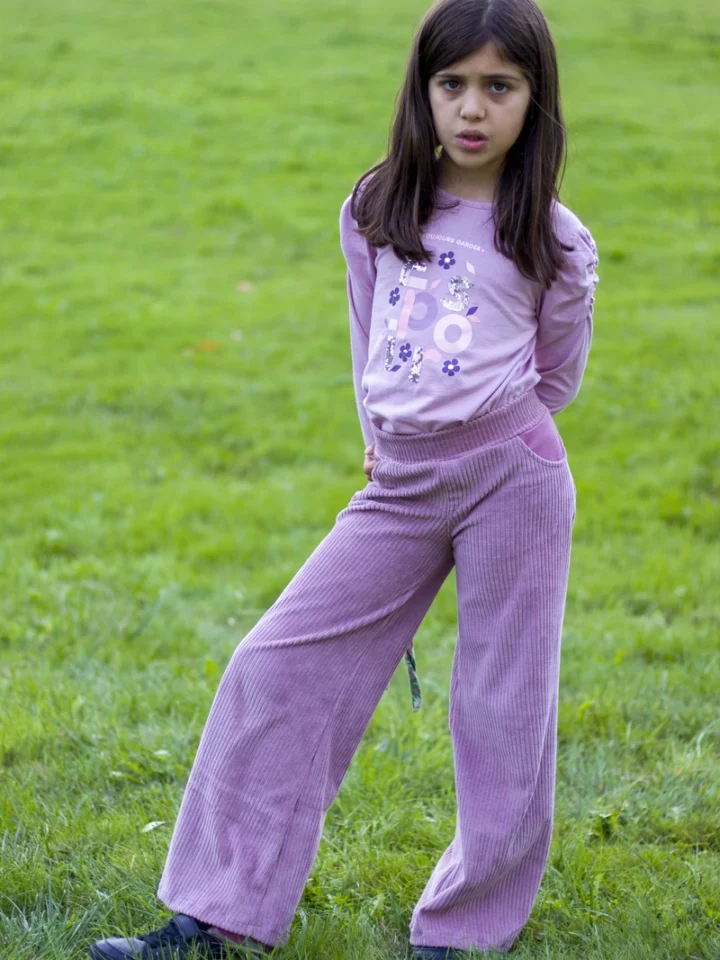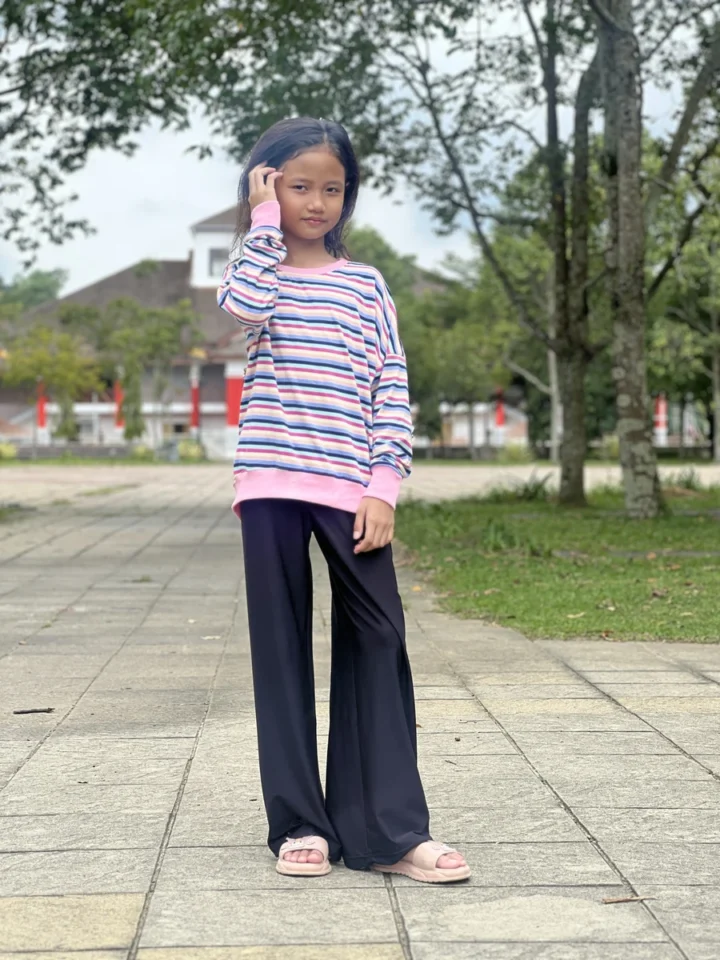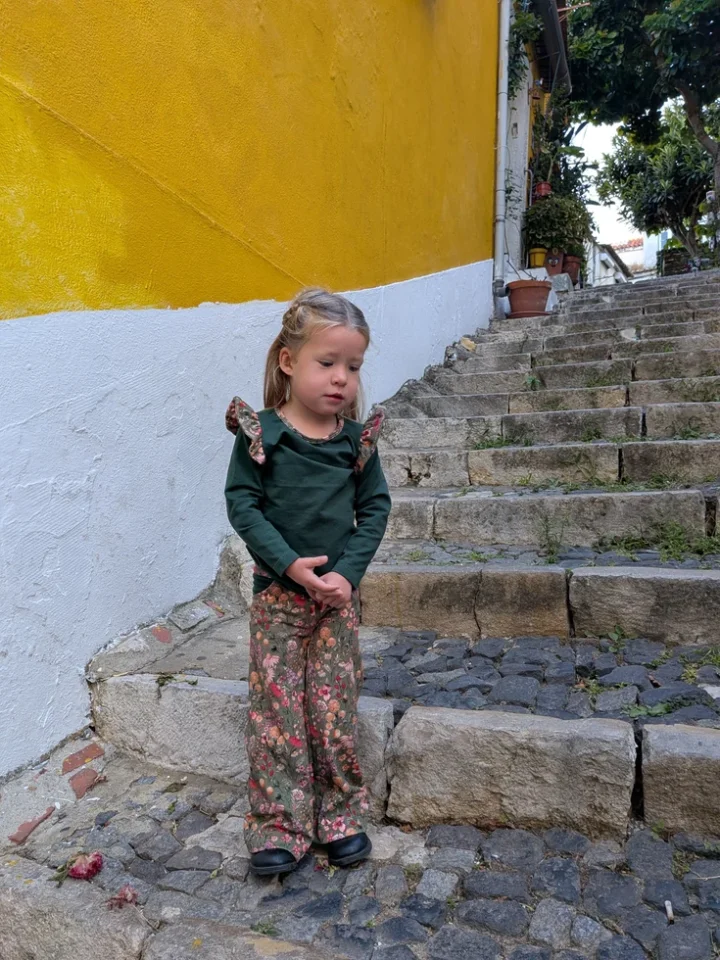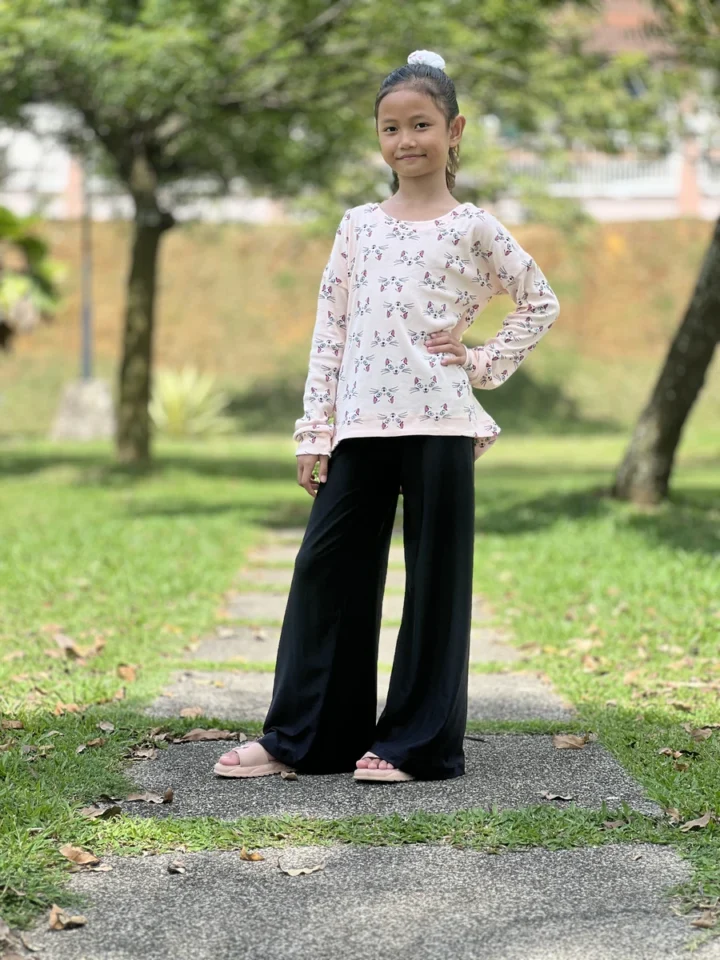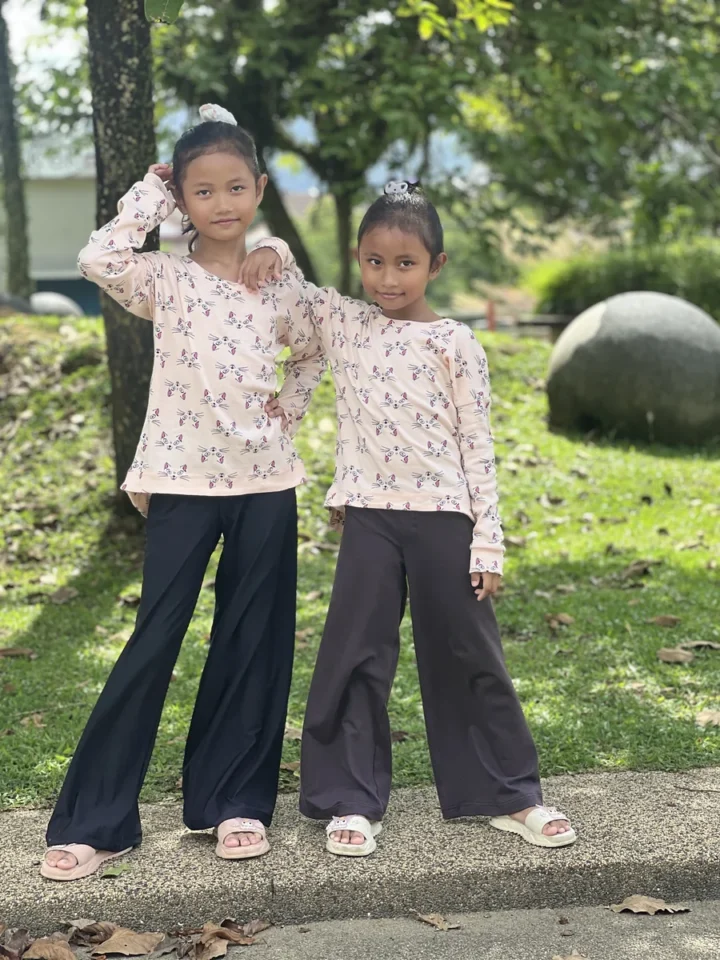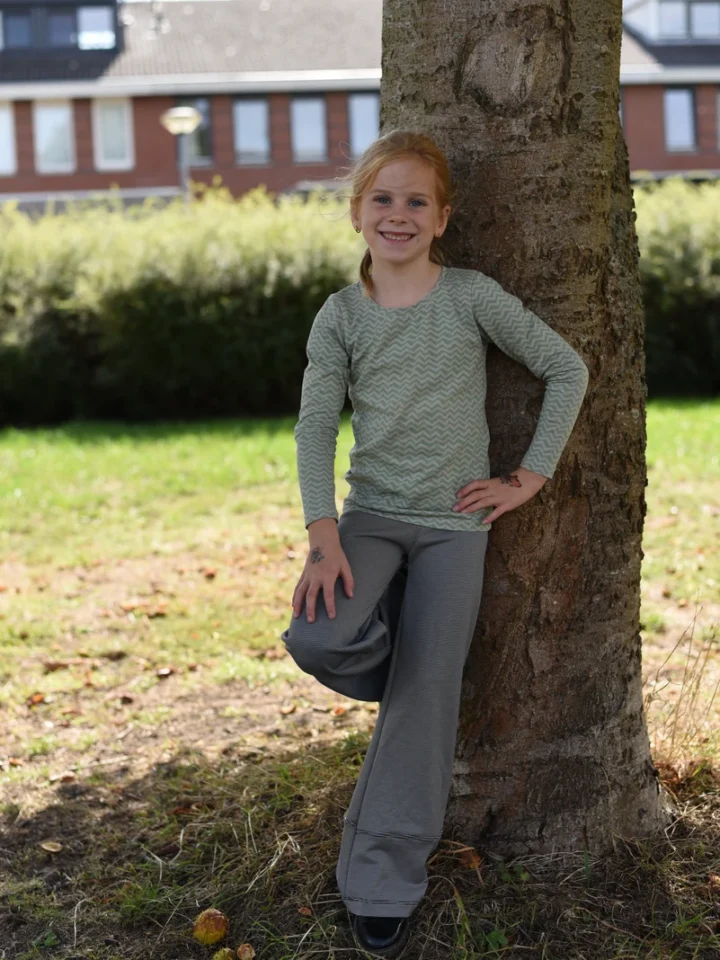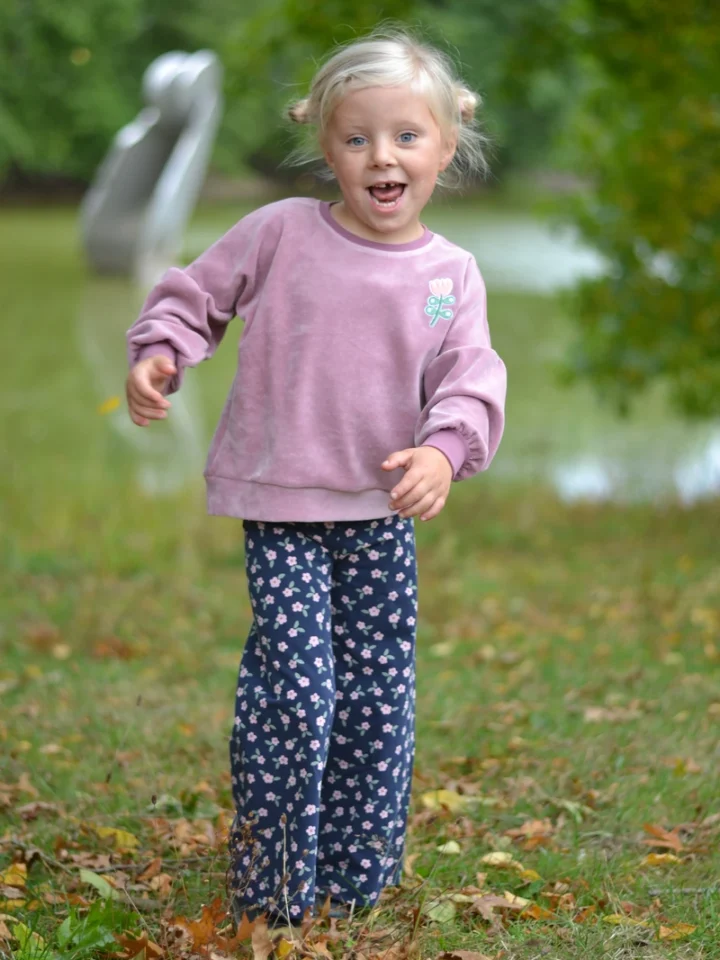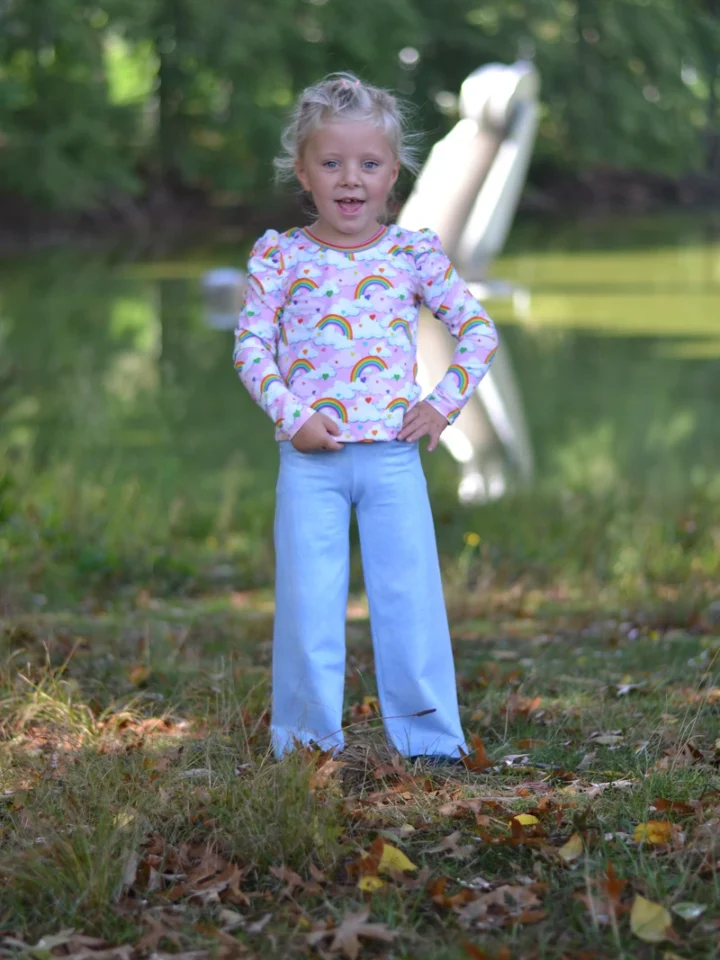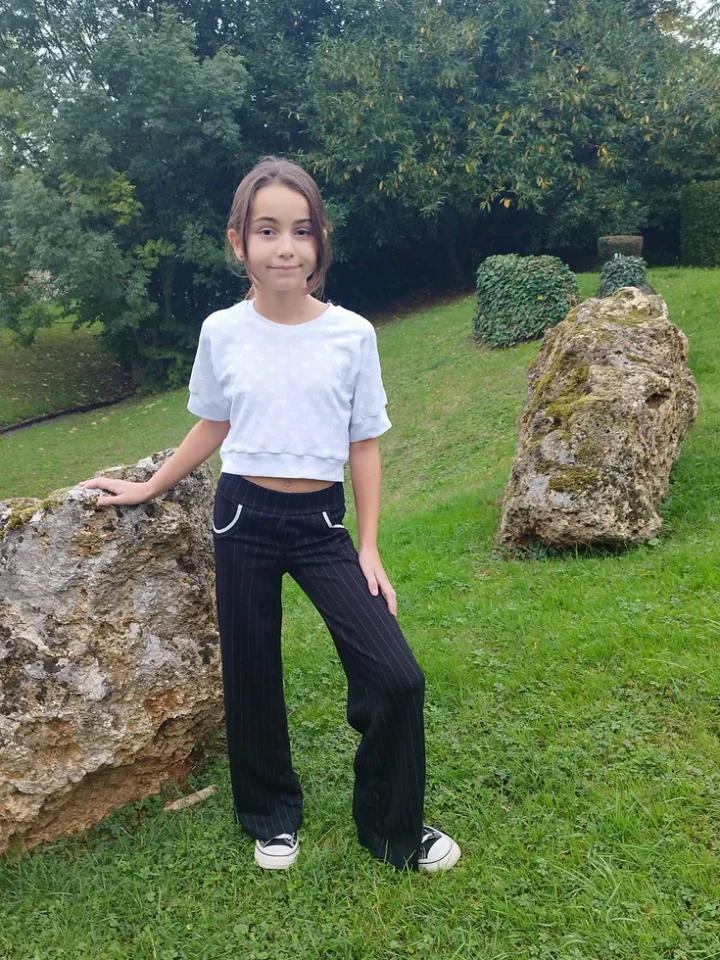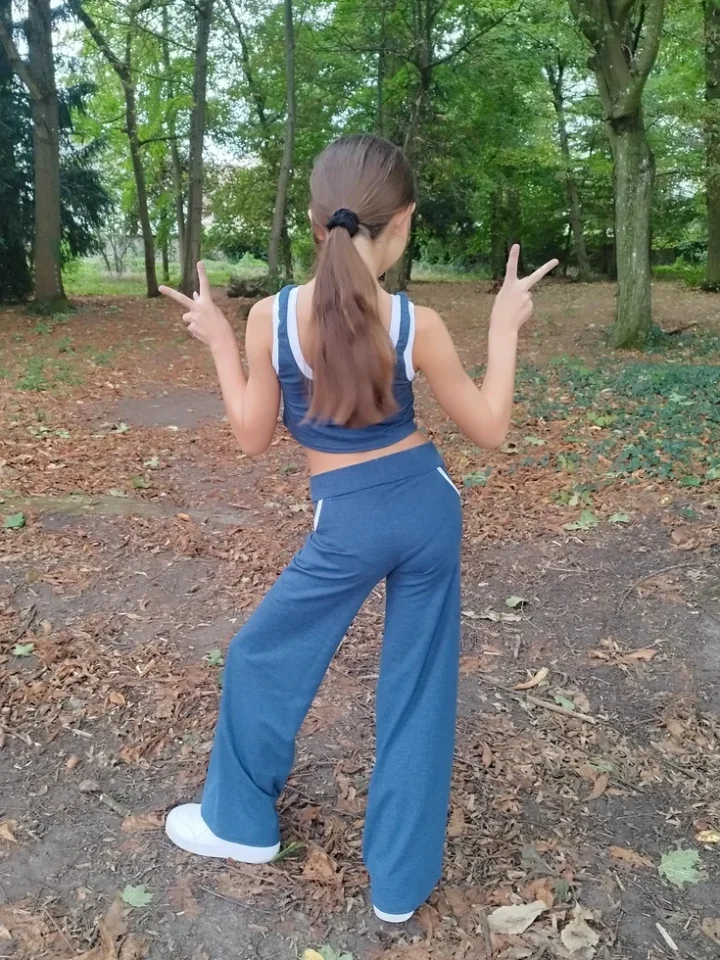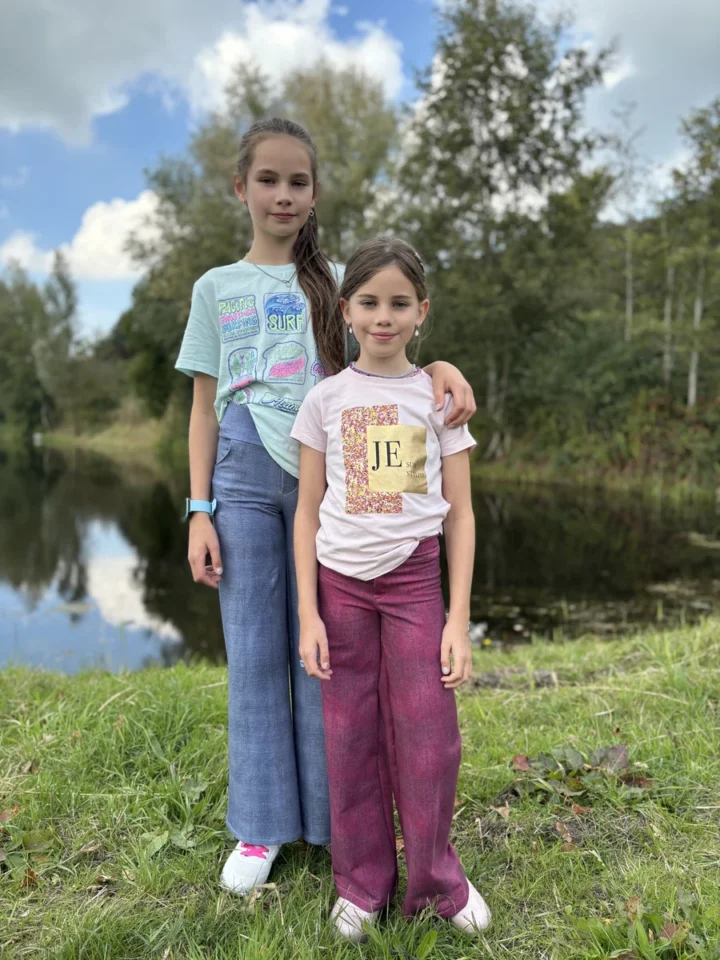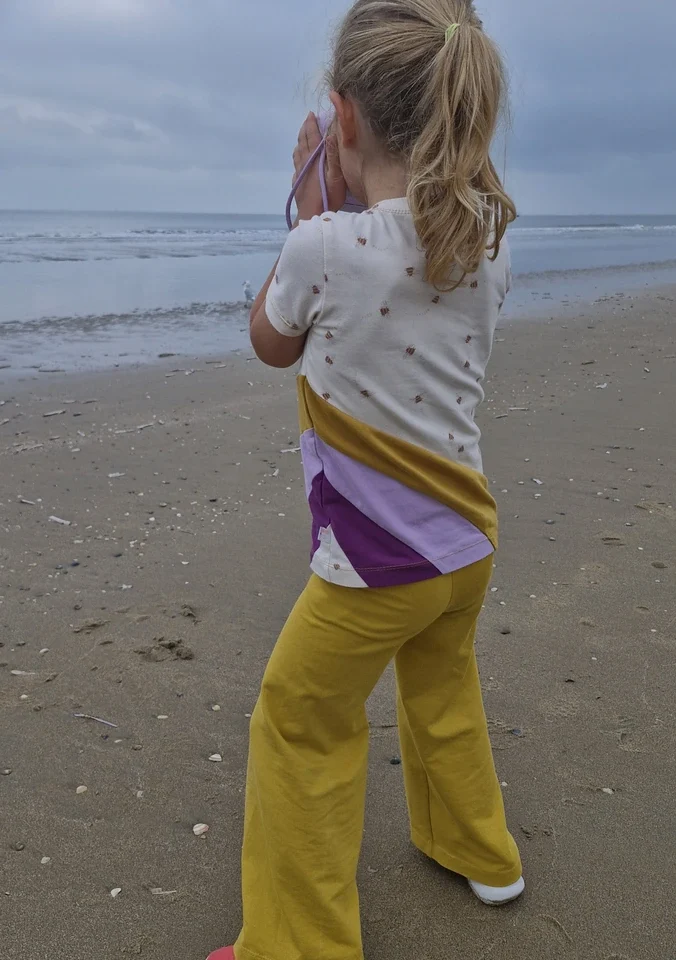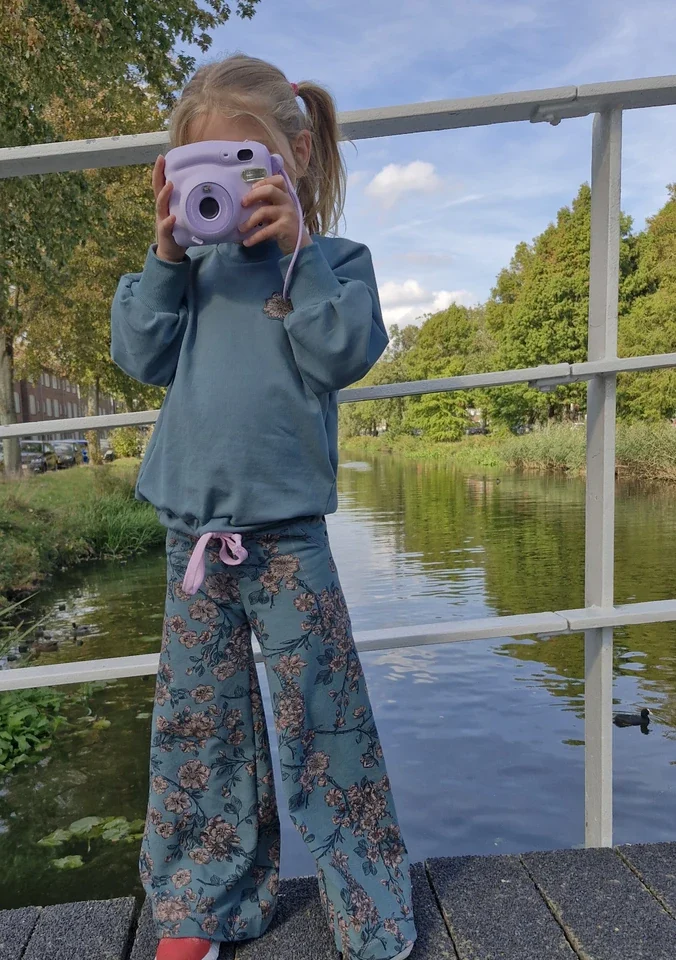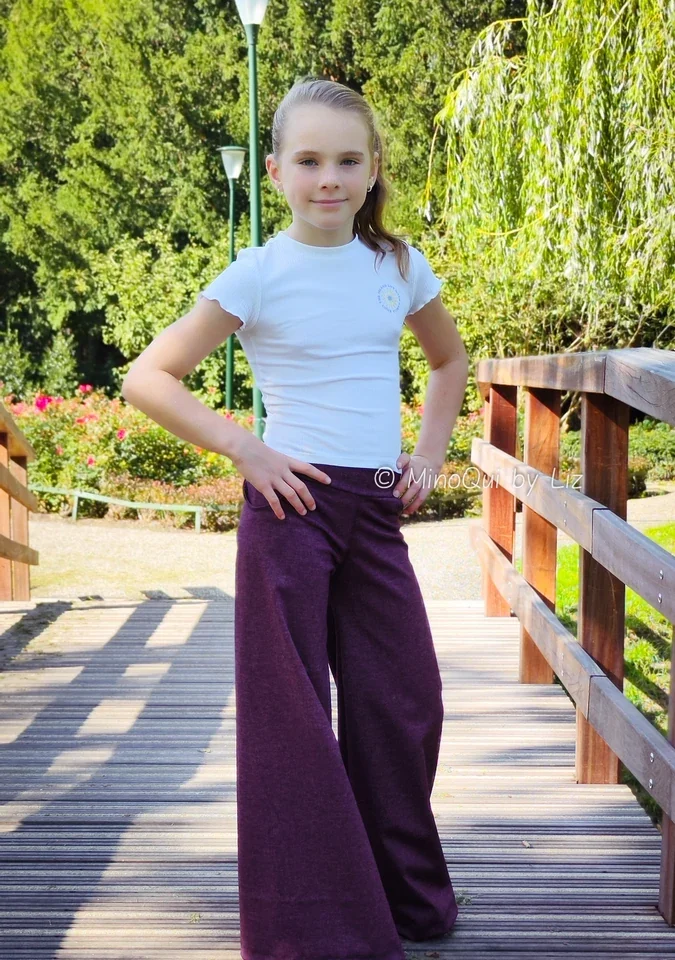
A child can need one size at the hips, another at the waist and a different leg length. Keep the hip size as the starting point for these F4U pants, then adjust the waist and length independently.
Why children often fall between sizes
A child can match one chart size at the hips and another at the waist or inseam. This is normal; the purpose of a multi-size sewing pattern is to help you adapt it. Choose a base size using the body measurement the pattern tells you to prioritize.
Choose the hip size first for Gaia and Rivara
Both Gaia and Rivara identify hip circumference as their base measurement. Start there, then compare the separate waist and inseam figures. Do not select a much longer size just because the child is tall: that may change the curve and rise unnecessarily.
Adjust the waist
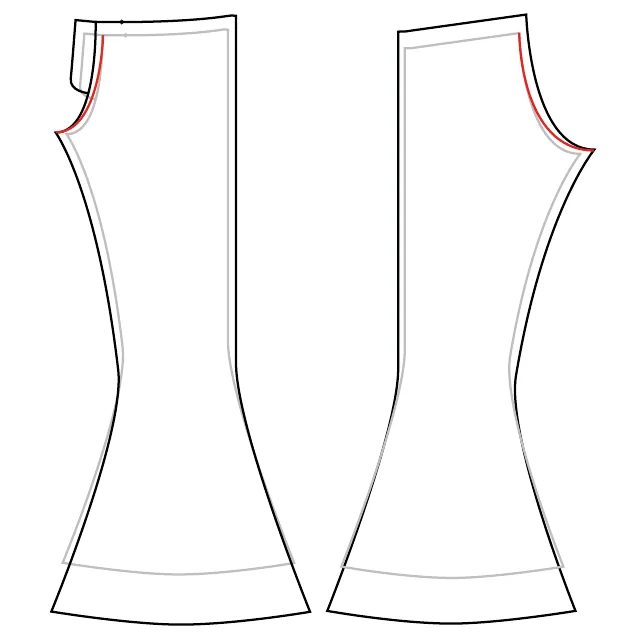
Use the waist size corresponding to the actual waist measurement, then blend smoothly from the selected hip line towards that waist. Use the intended waistband piece or rectangle measurements for the selected waist size and check that it still matches the adjusted pant top.
Adjust the inseam
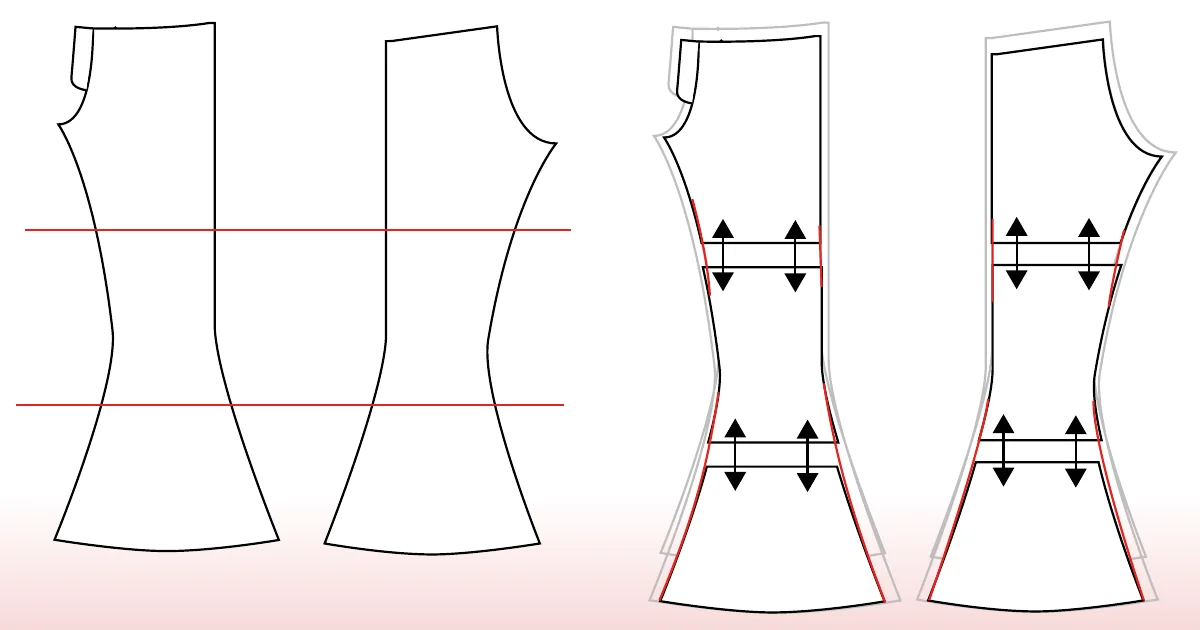
Use the child’s measured inseam to determine leg length. Extend or shorten the leg through the lengthen/shorten area or a planned alteration across the leg rather than changing the crotch curve just to gain centimetres. Check both front and back legs and account for hemming.
Why quick grading is not always the best route
The F4U instructions show a quick blending method but warn that it can distort the crotch seam when the hip and length sizes are far apart. For bigger size differences, preserve the hip-size crotch shape and make a separate length adjustment.
Check fabric and ease
For stretchy pants, the same size may fit differently in a very firm knit versus a highly elastic knit. Measure natural stretch and recovery, compare with the pattern’s required minimum, and use a small fitting sample if uncertain.
Make a clean final pattern
After blending, smooth the side seams, check inseams and waistband length, and transfer all notches. Print the necessary sizes in layers and trace rather than cutting away your only copy.
Explore more F4U sewing tips
Taking measurements, stretch and recovery and Getting Started can help you prepare. Explore the Gaia Flared Leggings and Rivara Wide Leg Pants for the intended silhouettes.