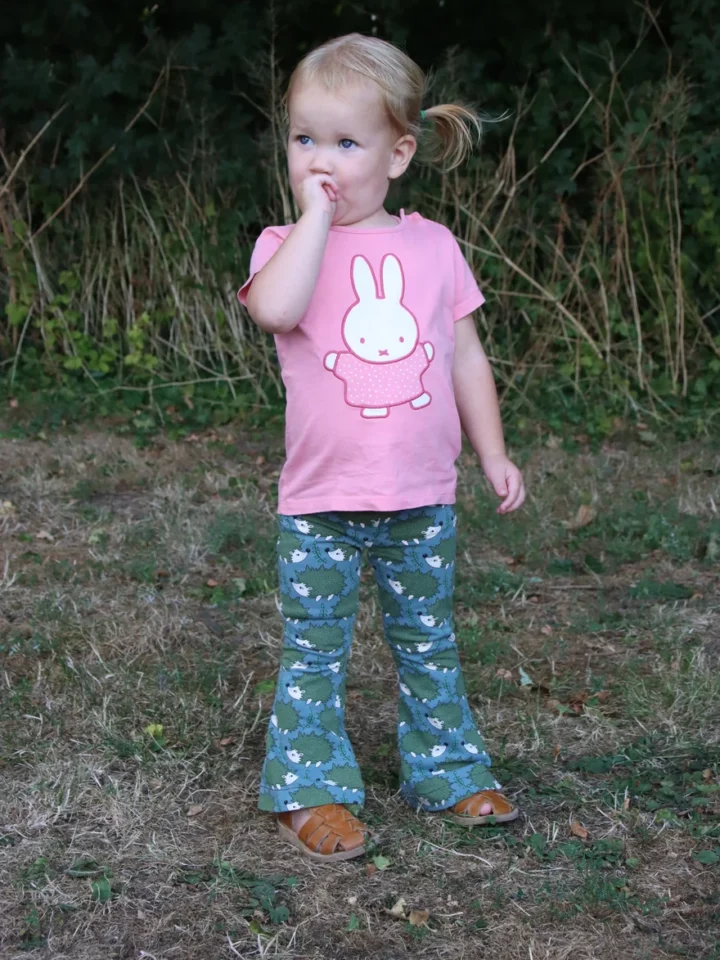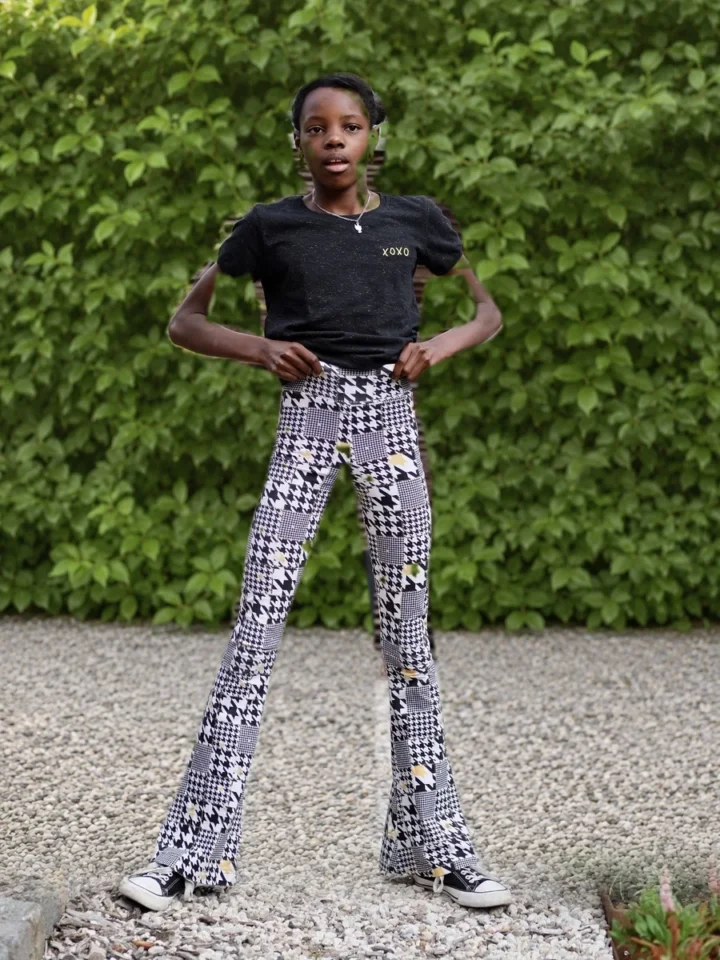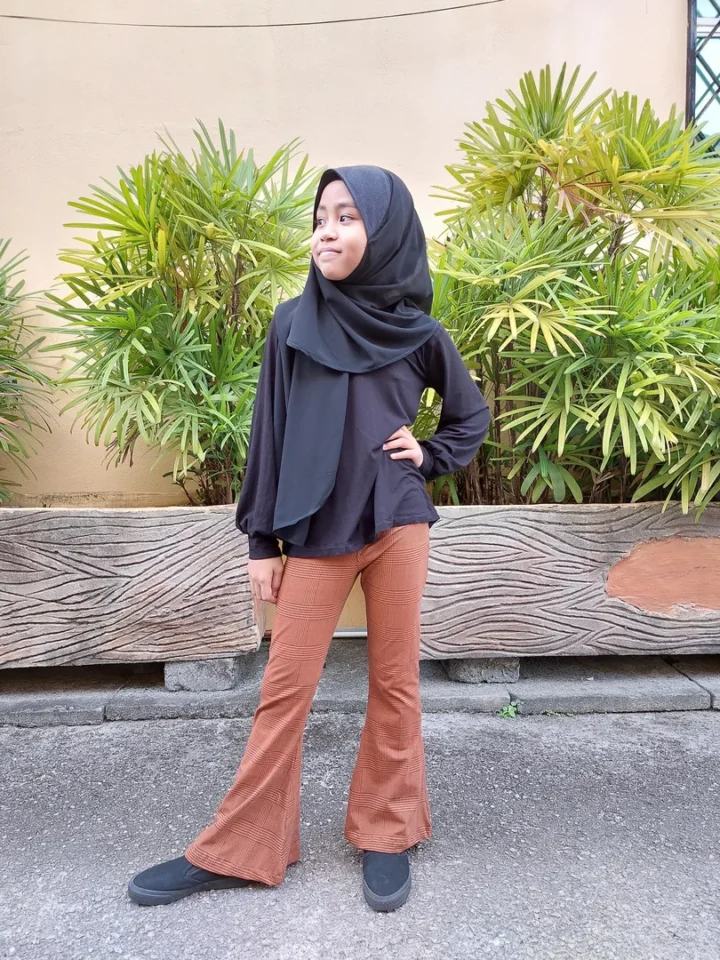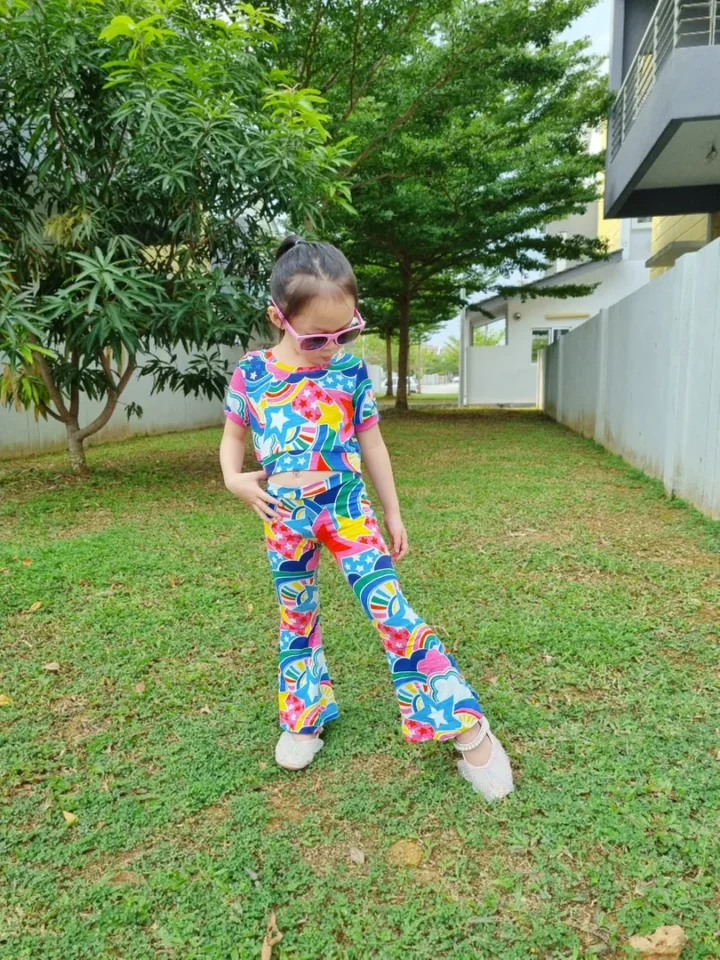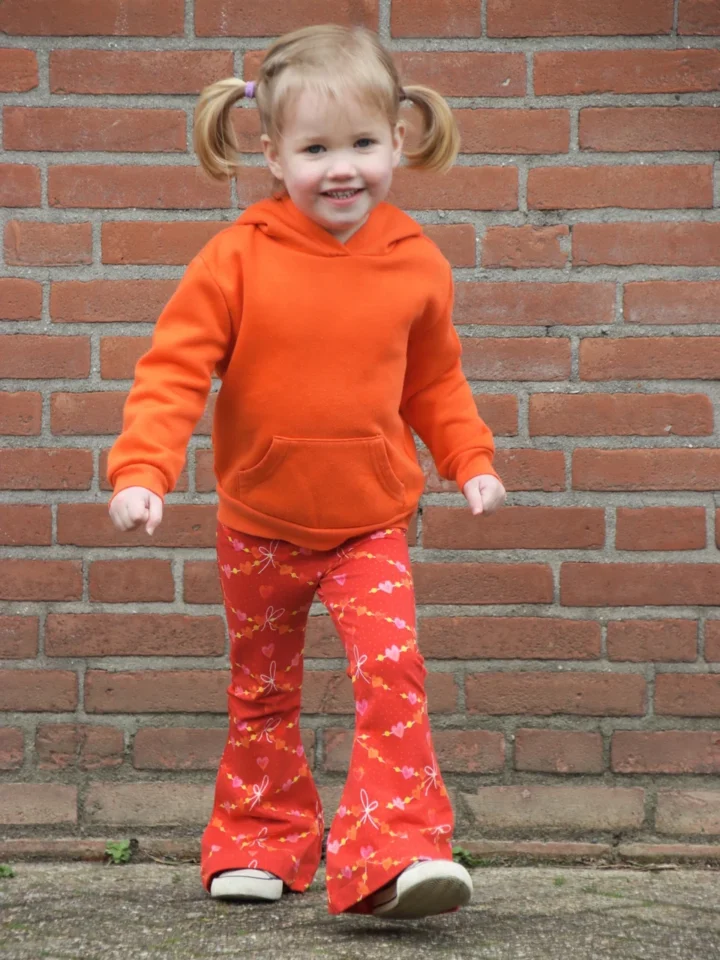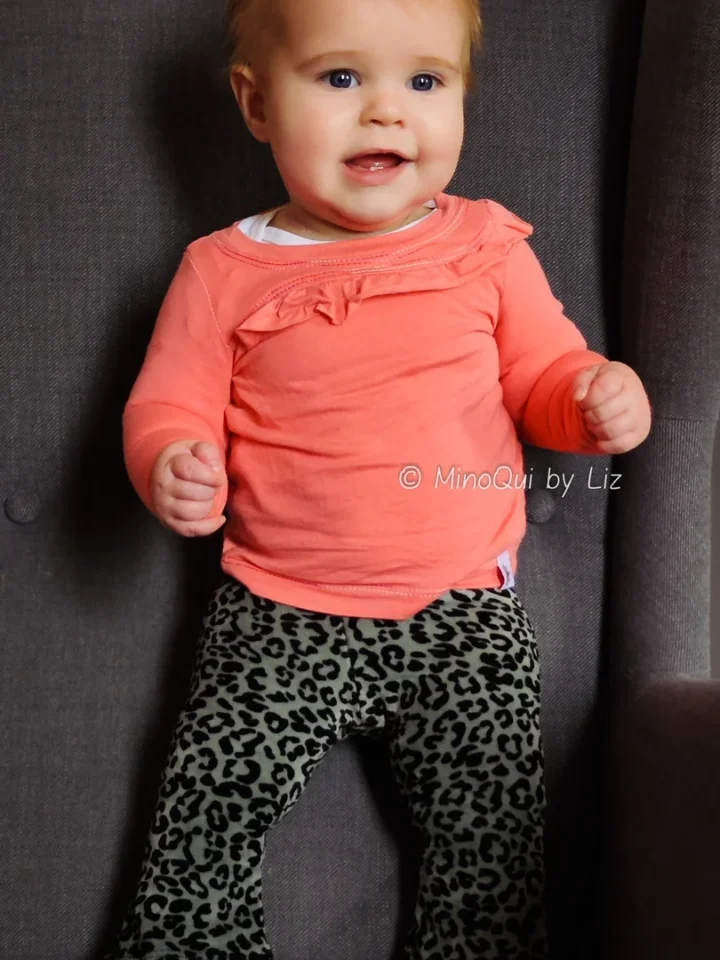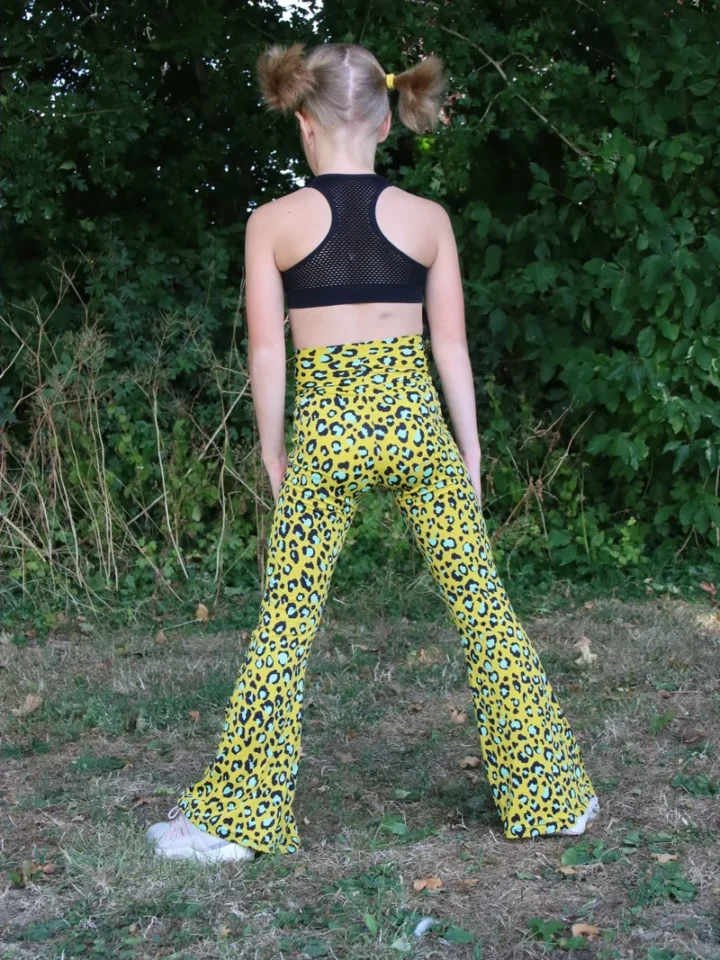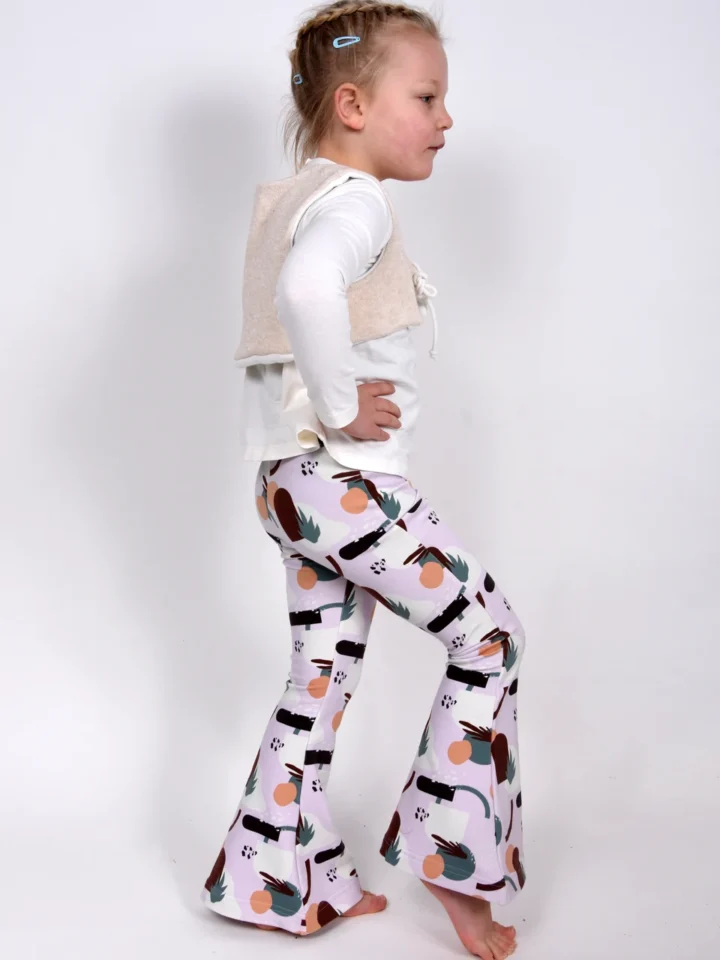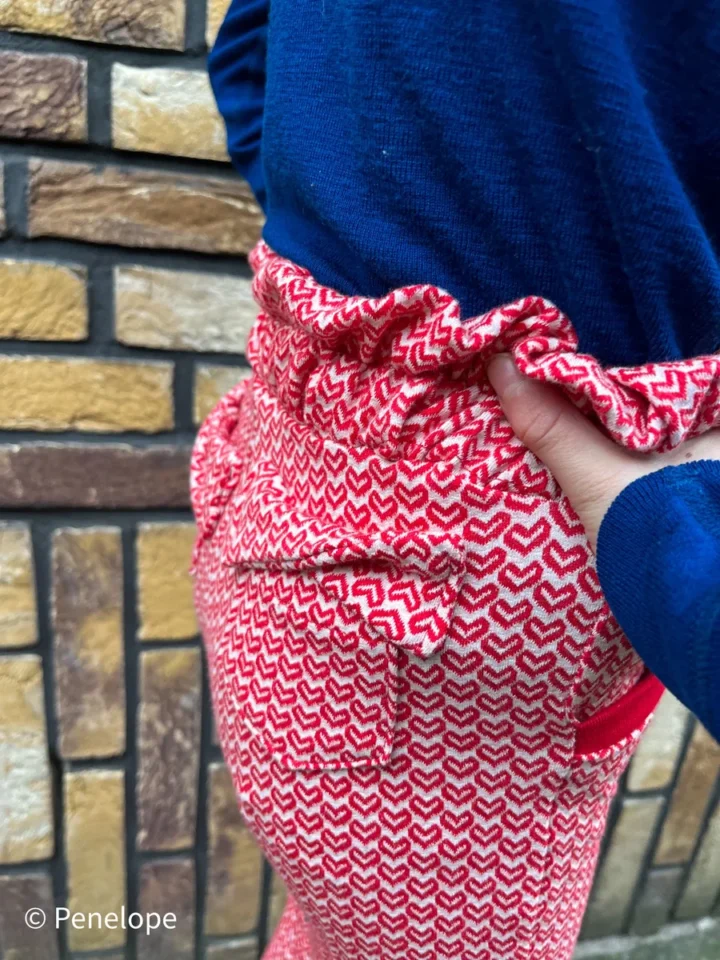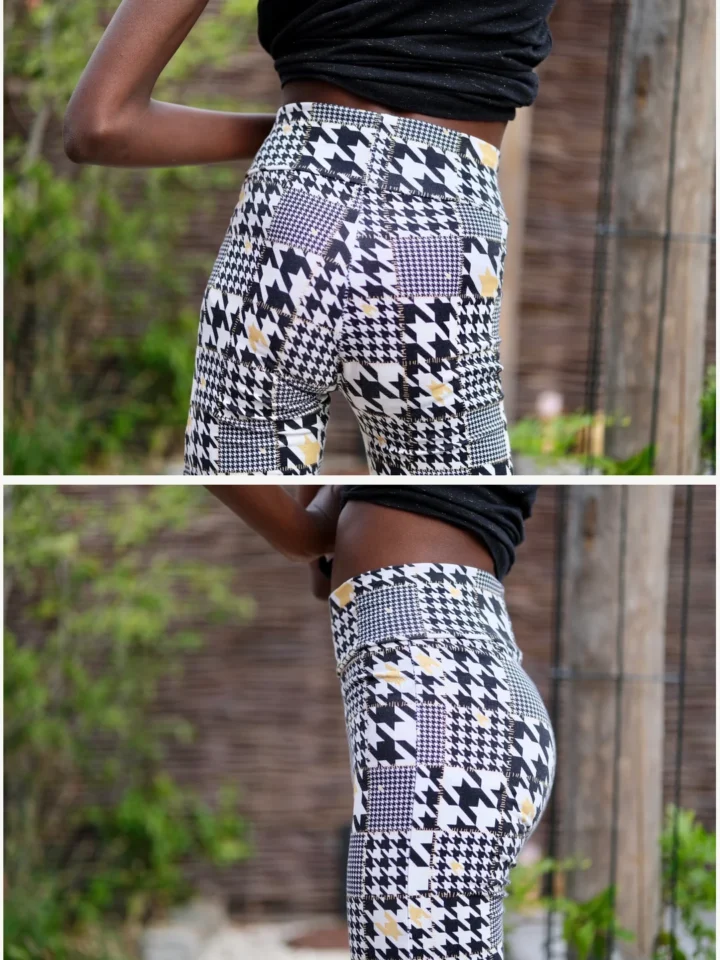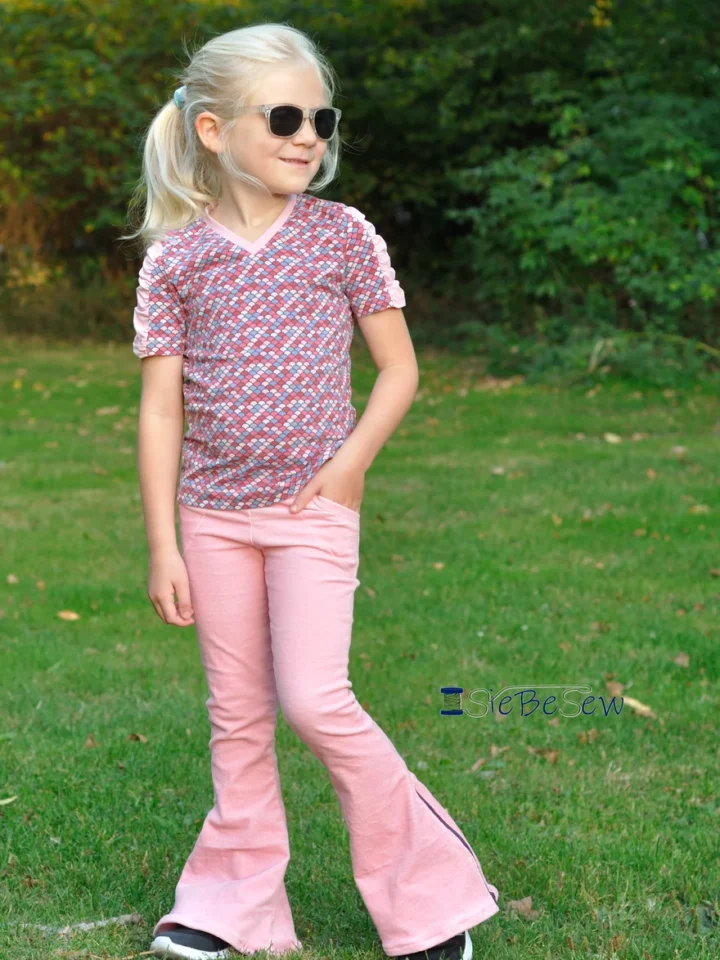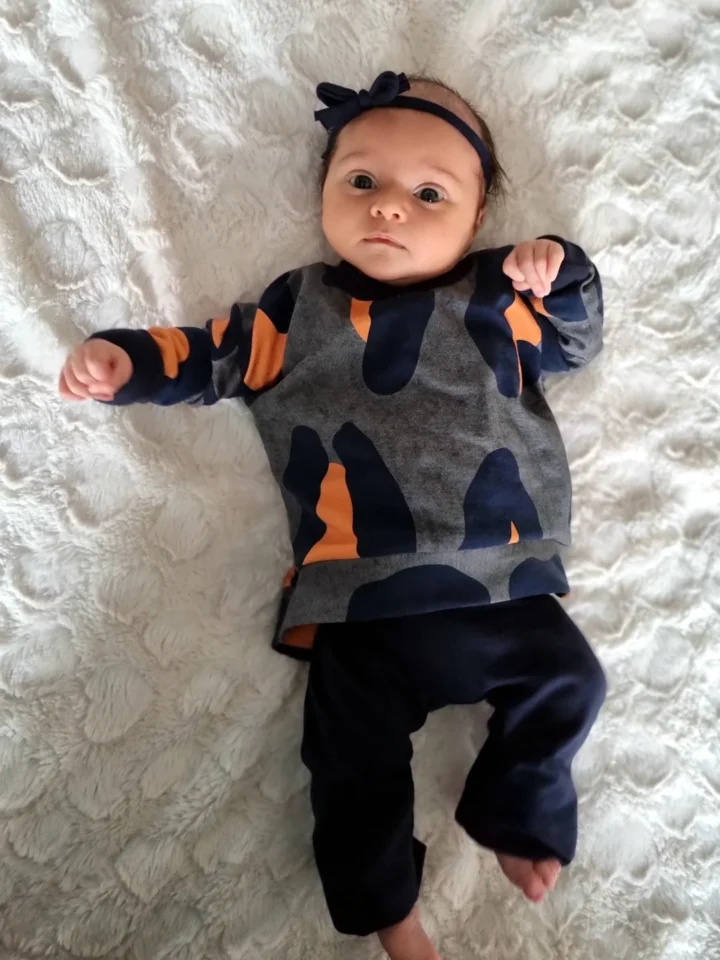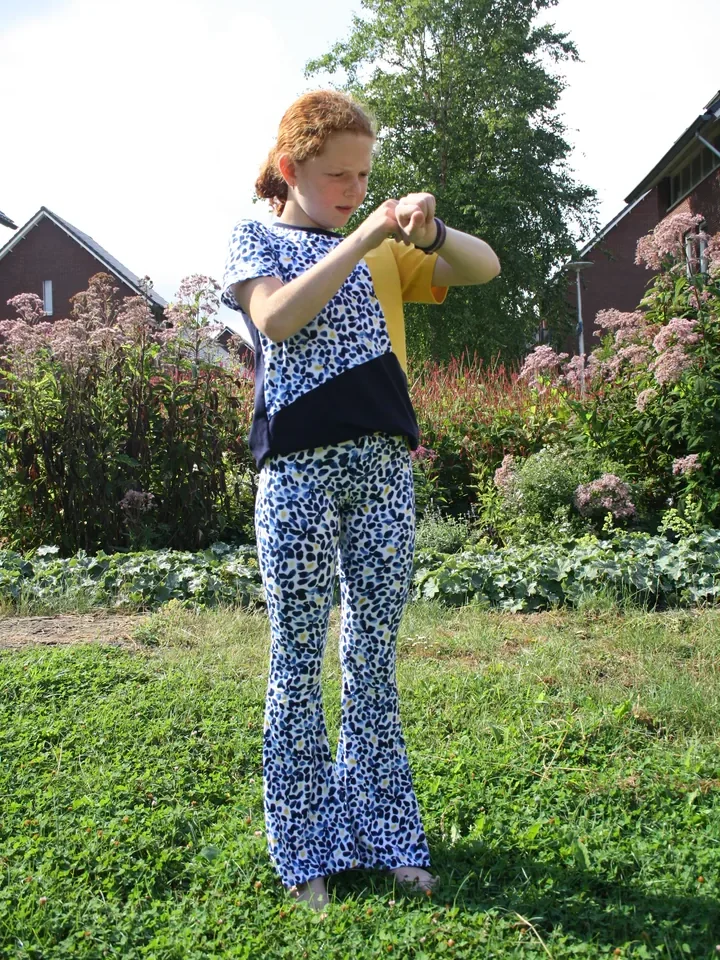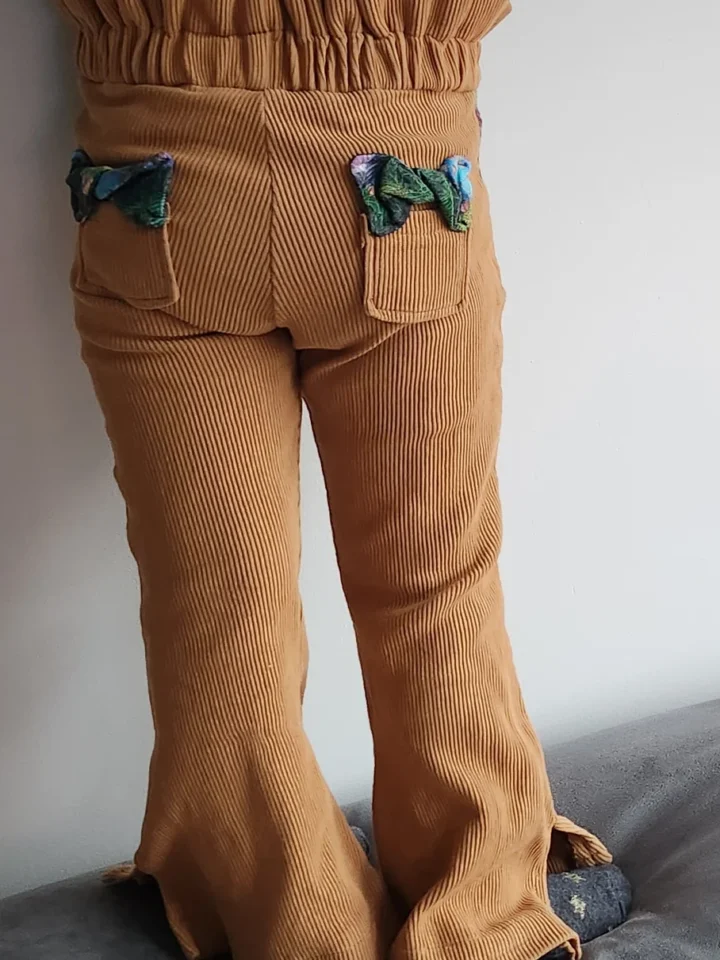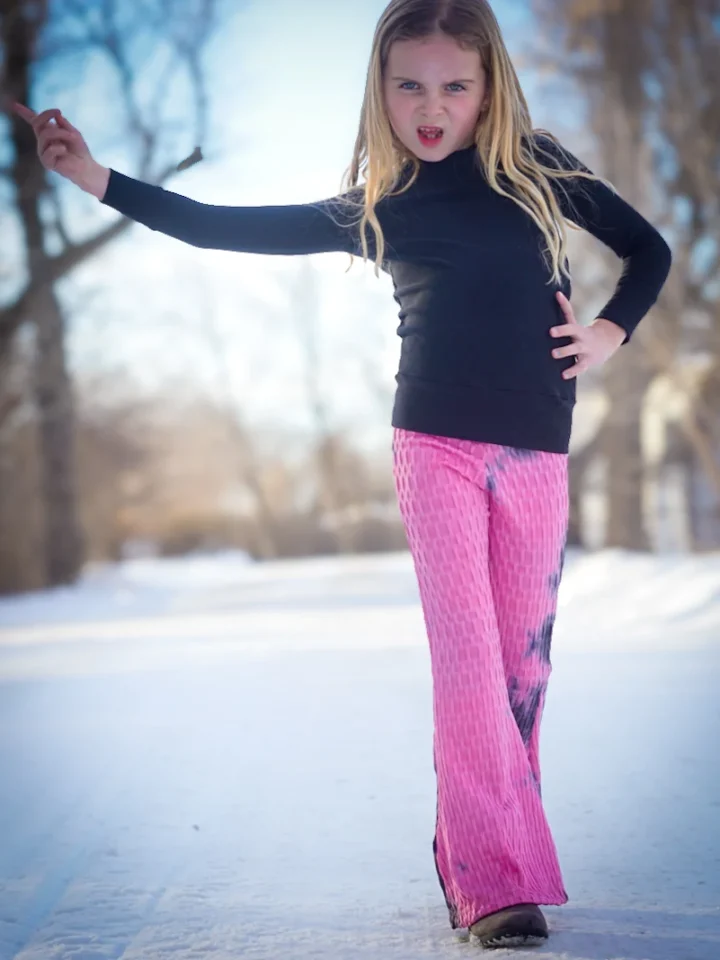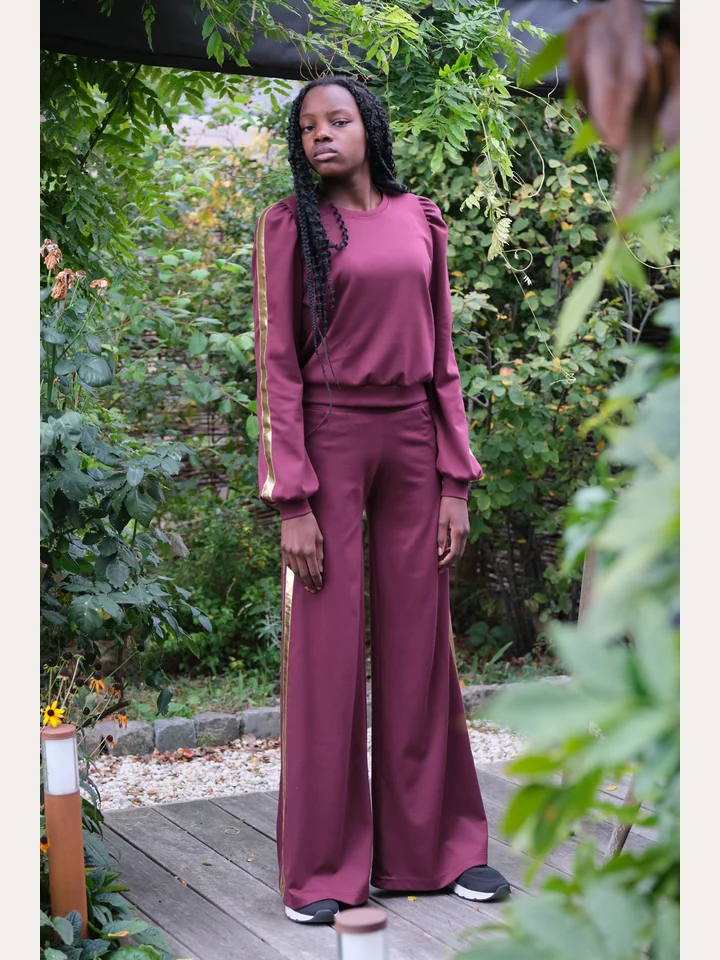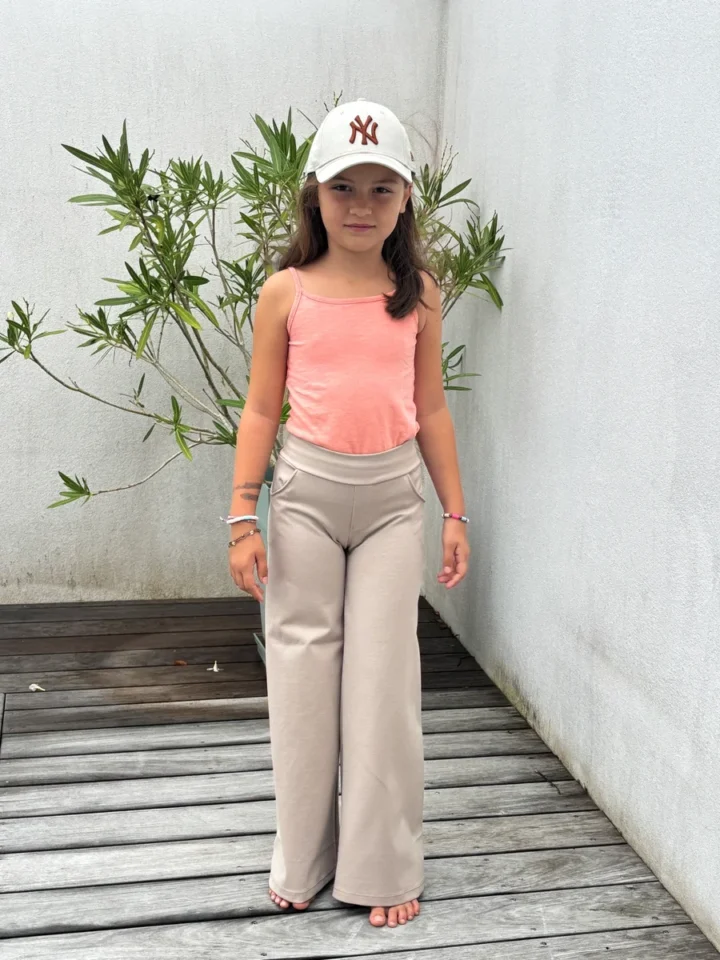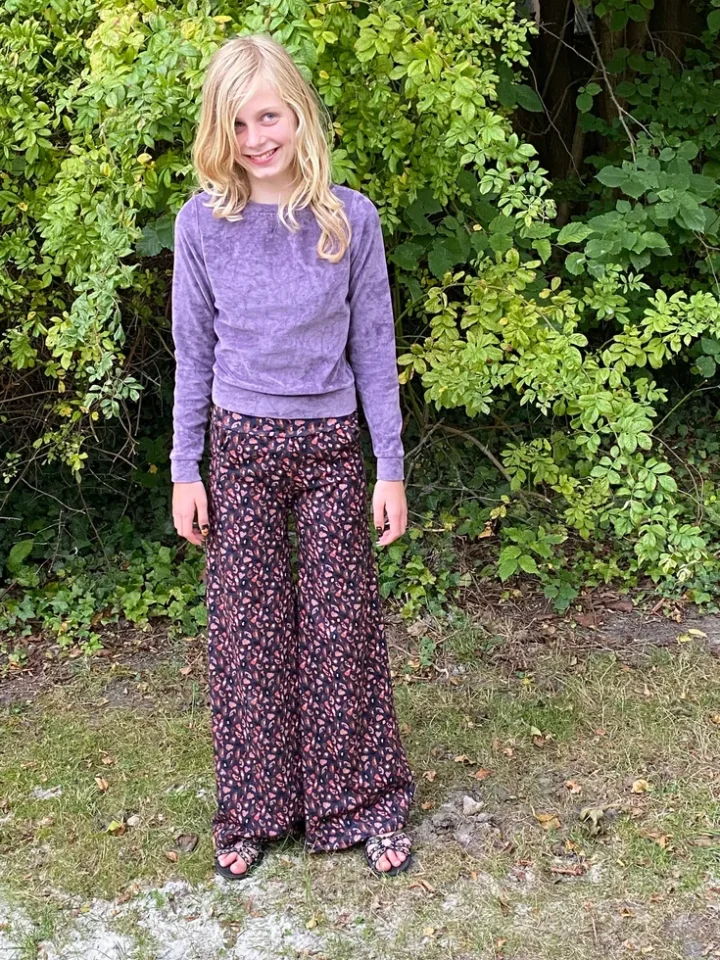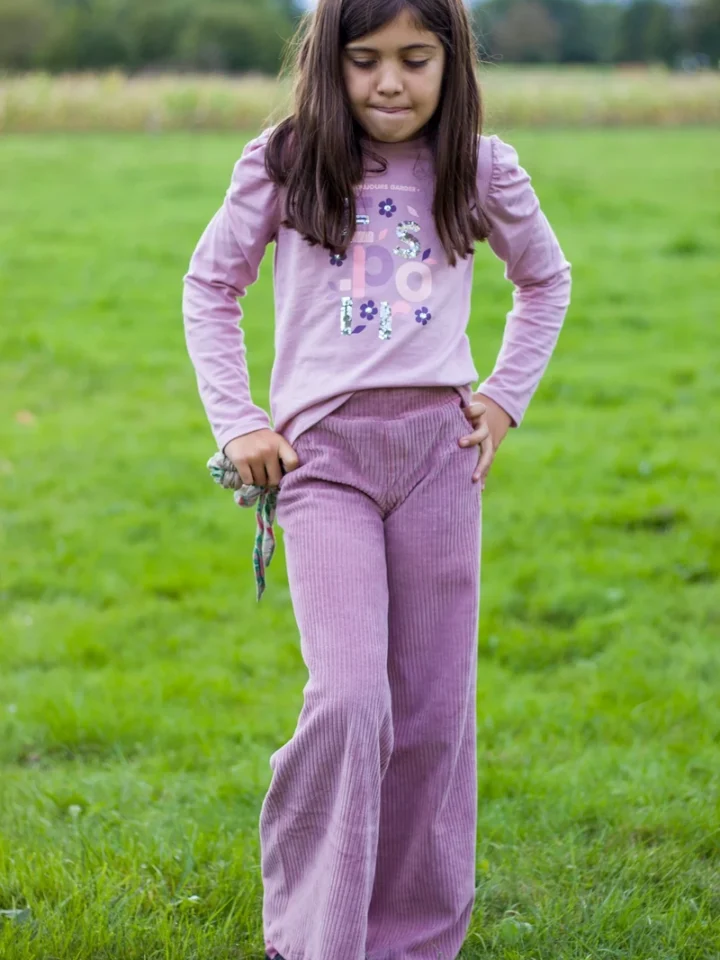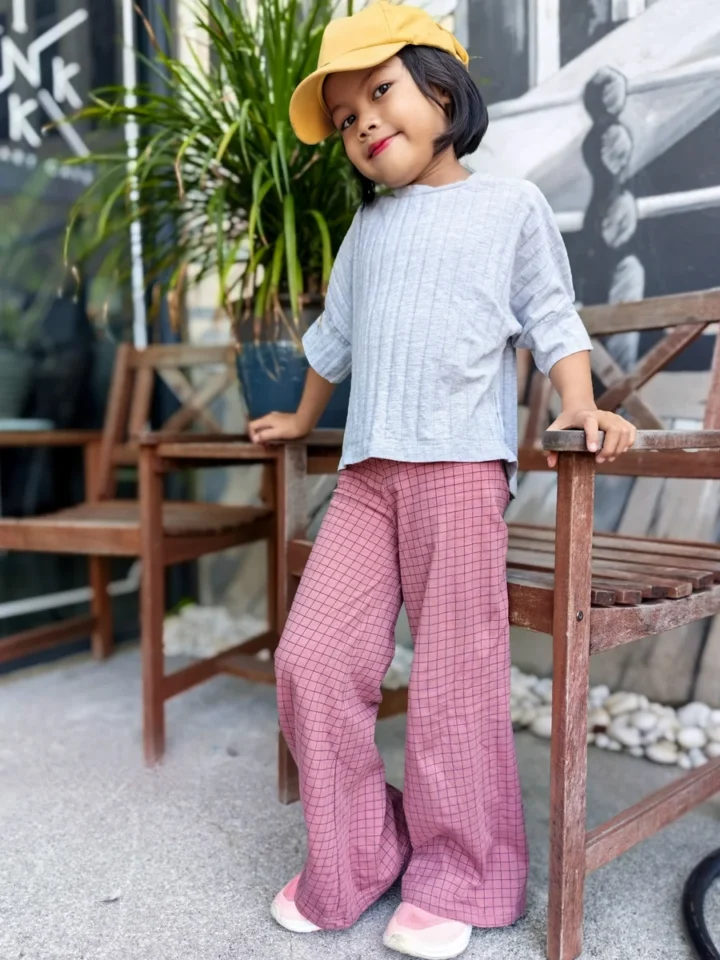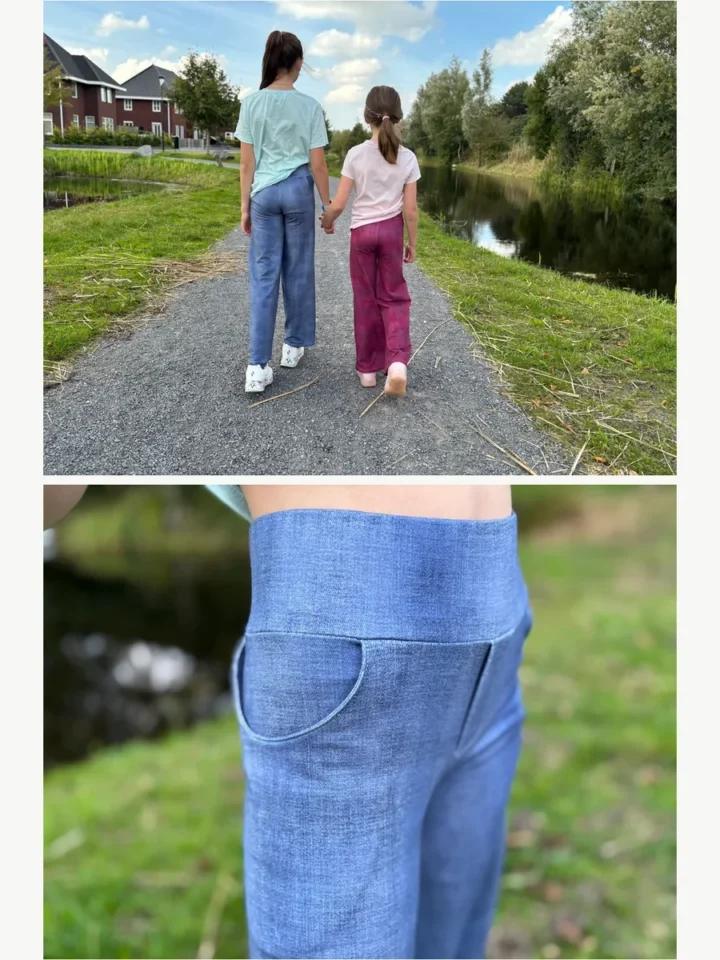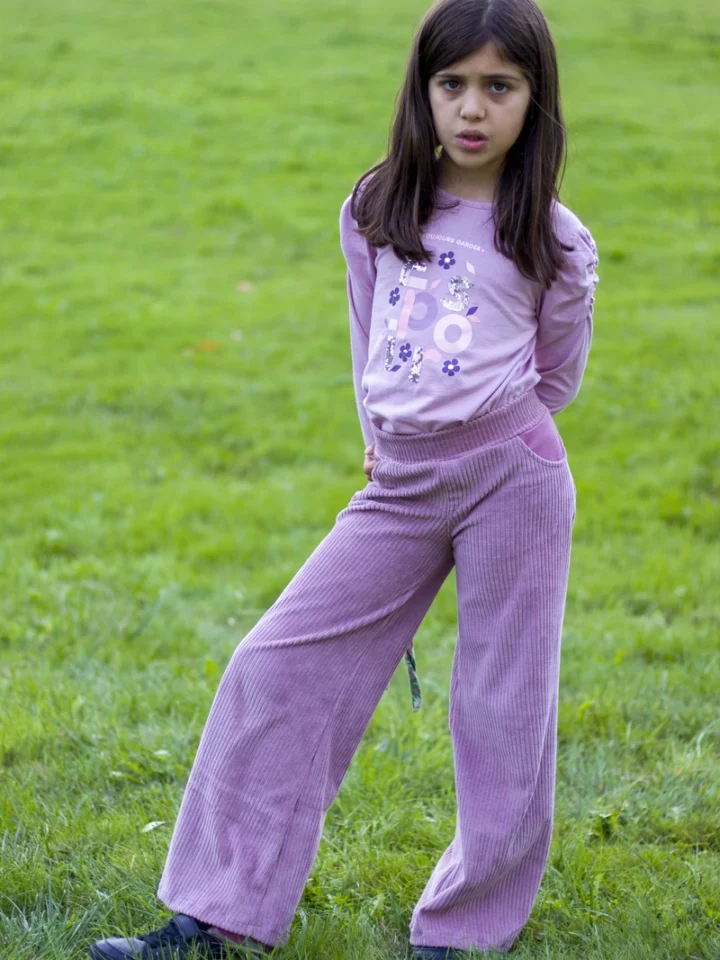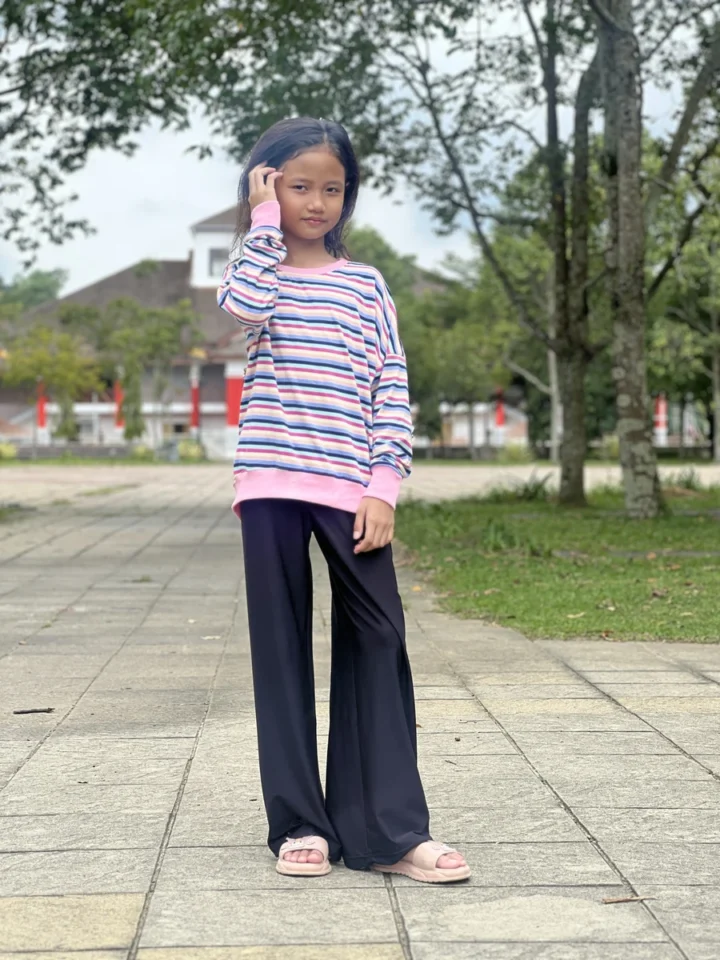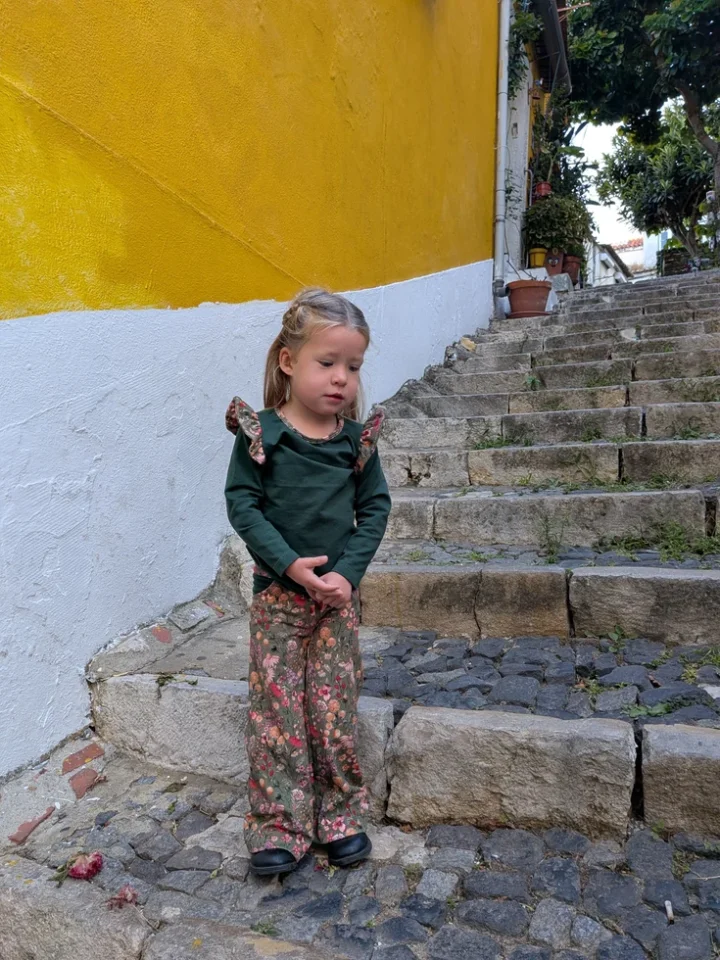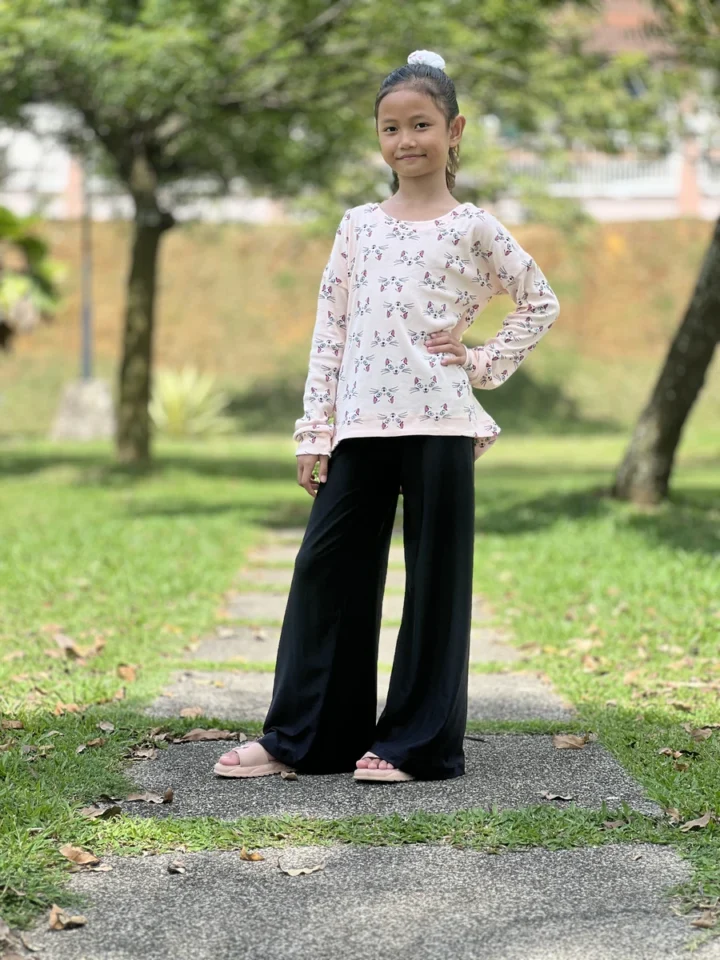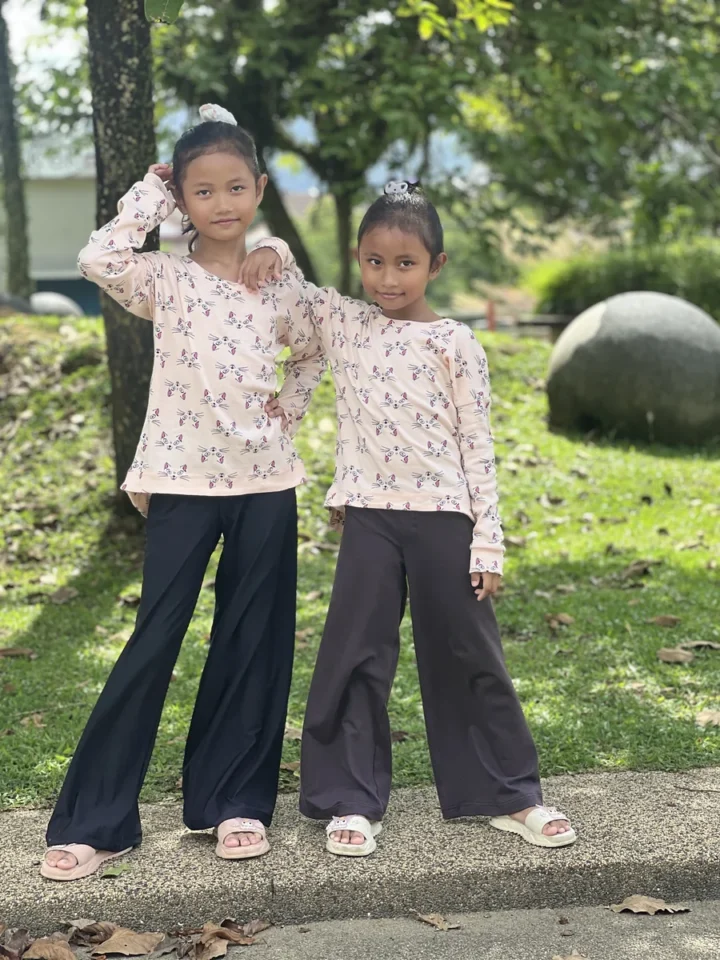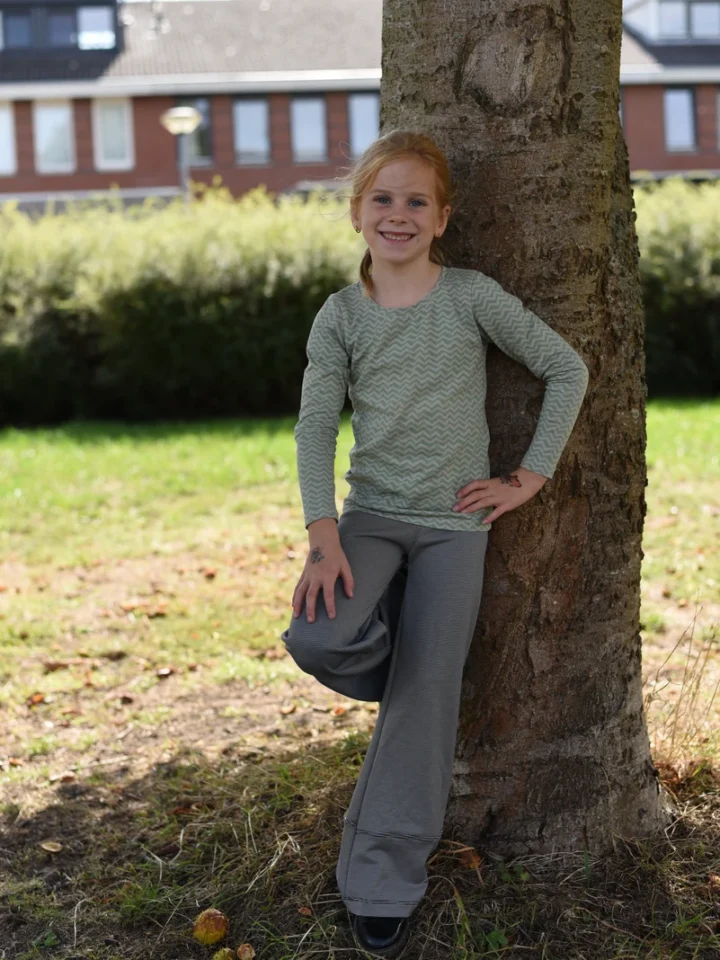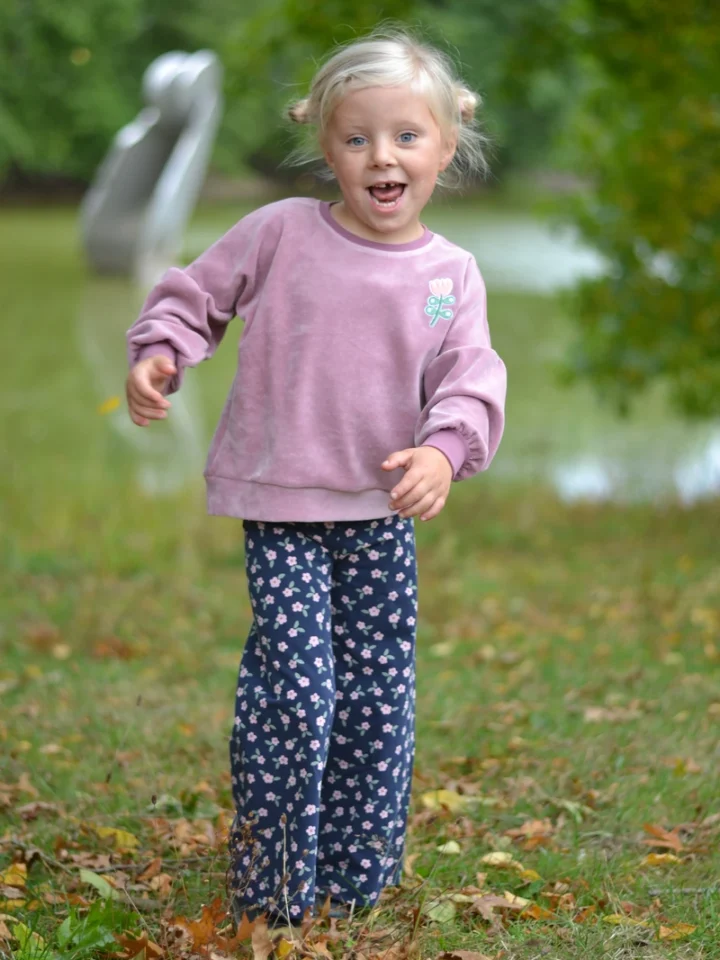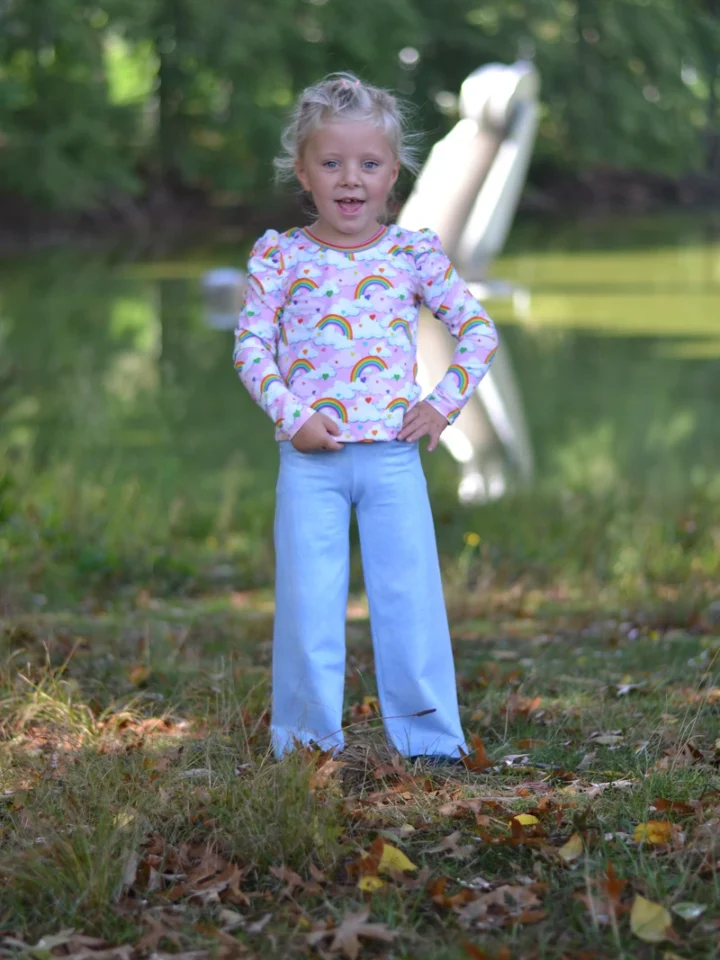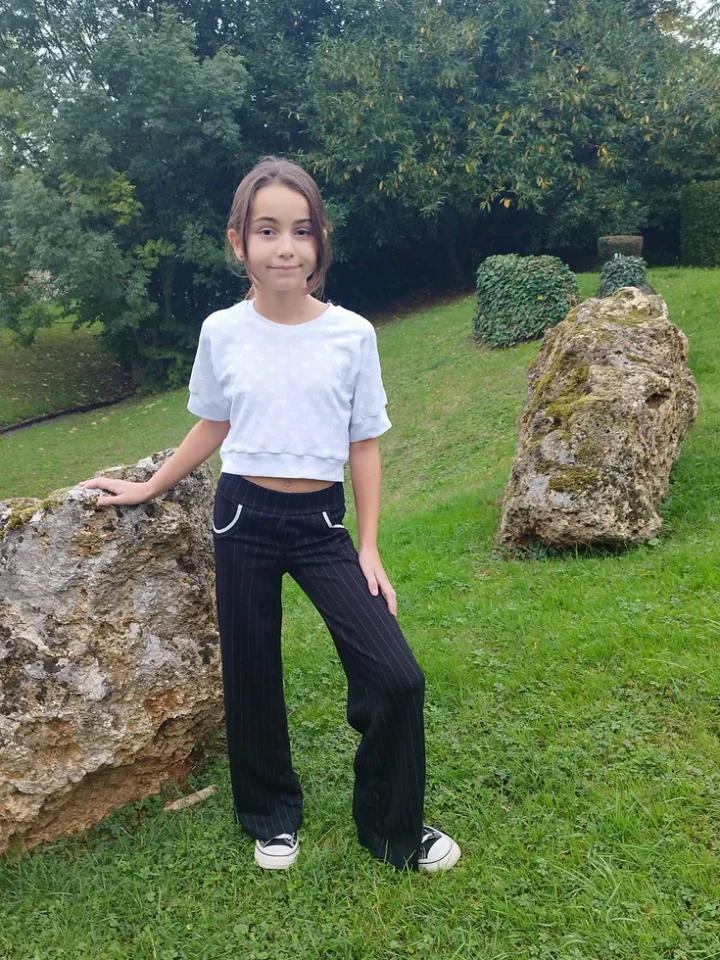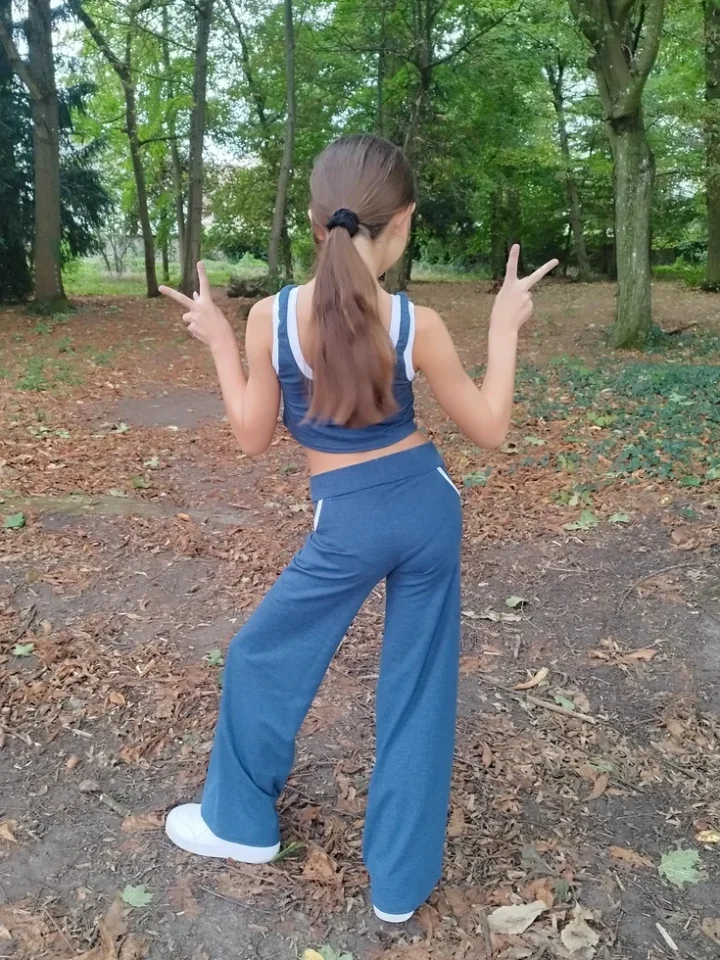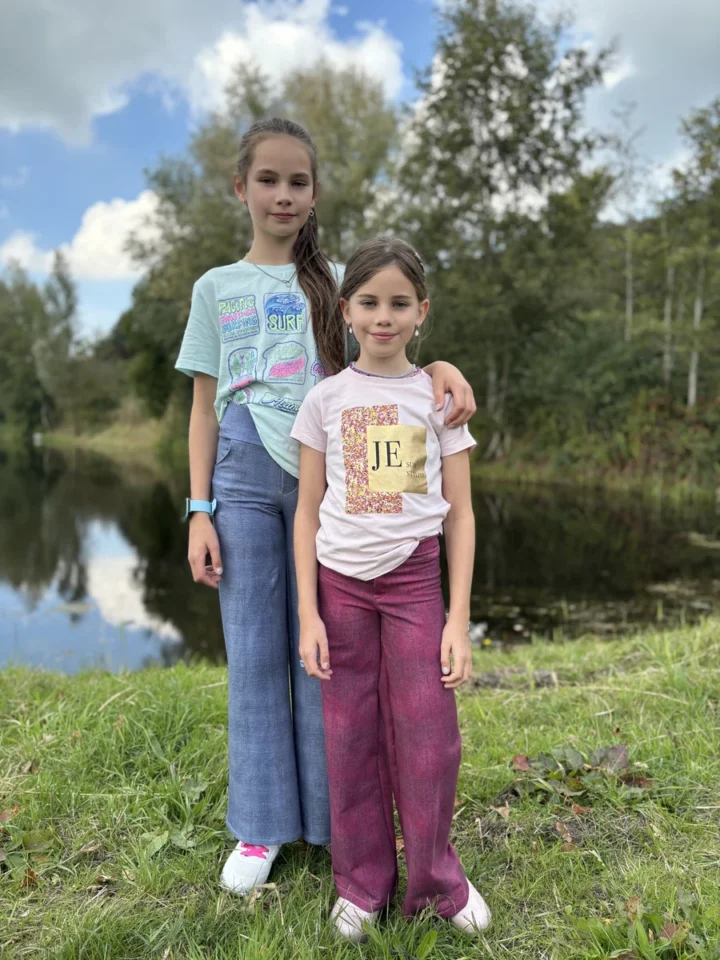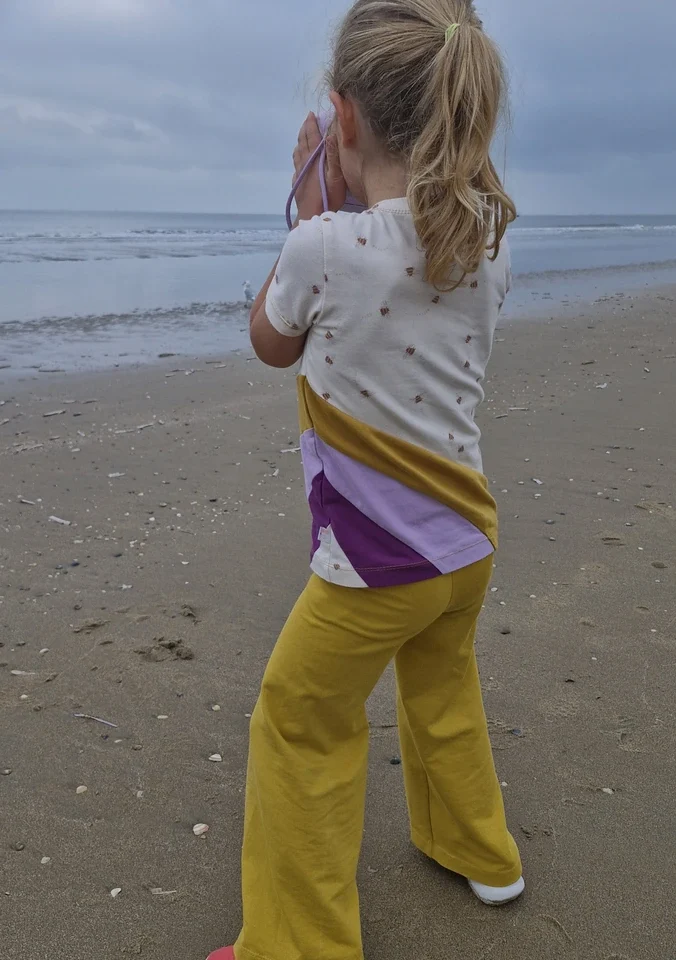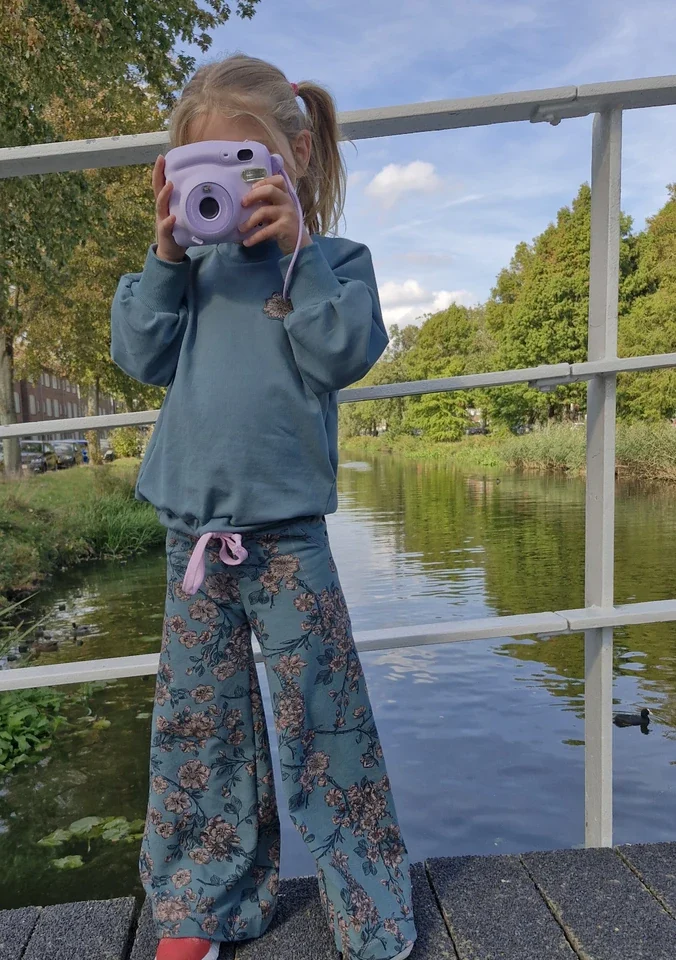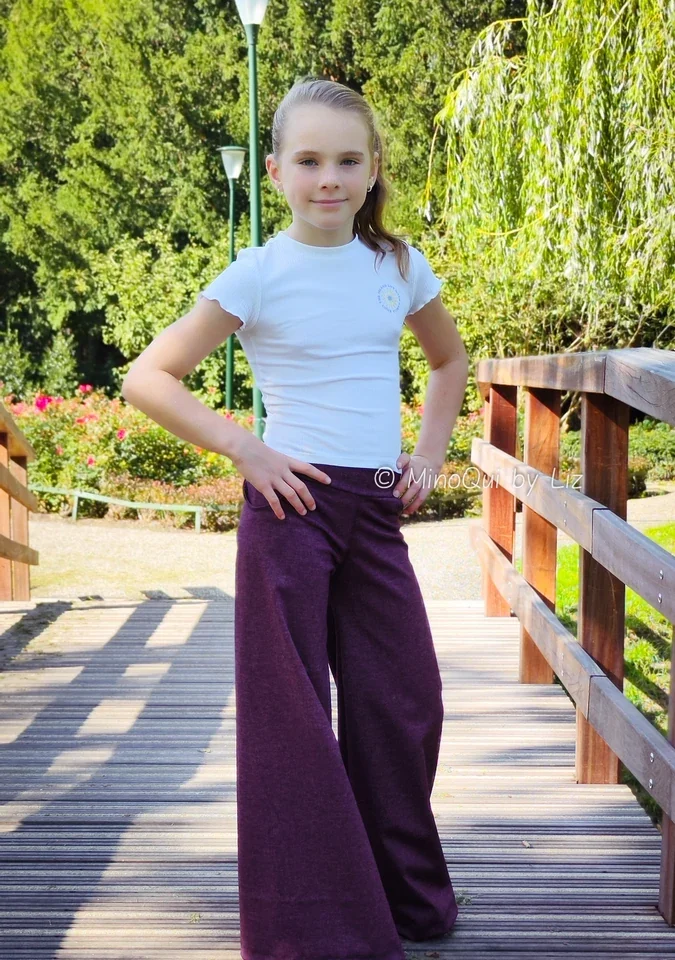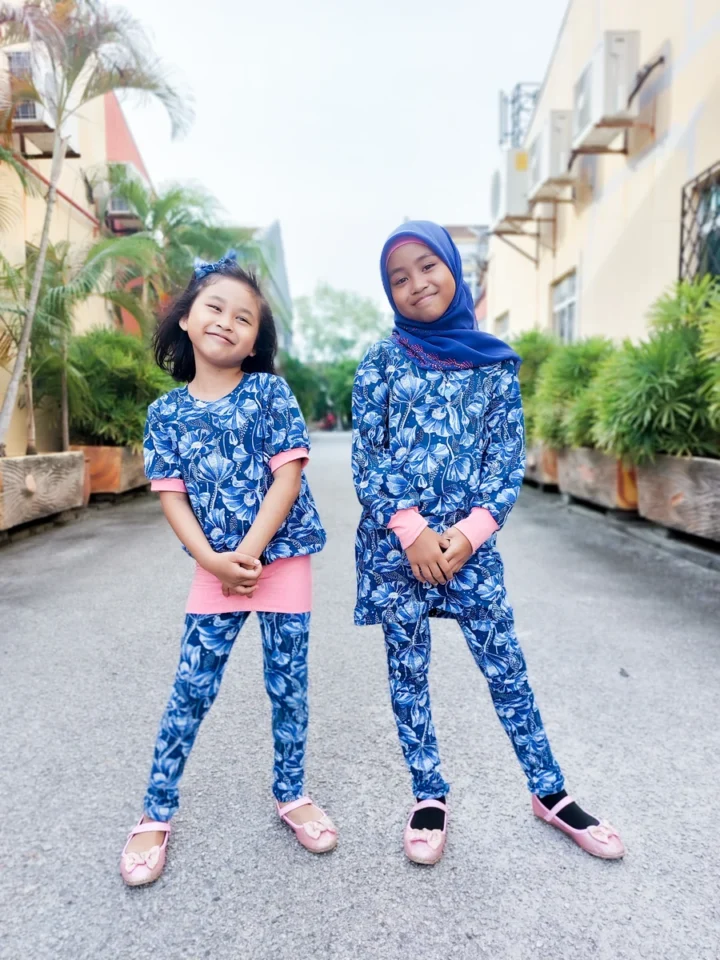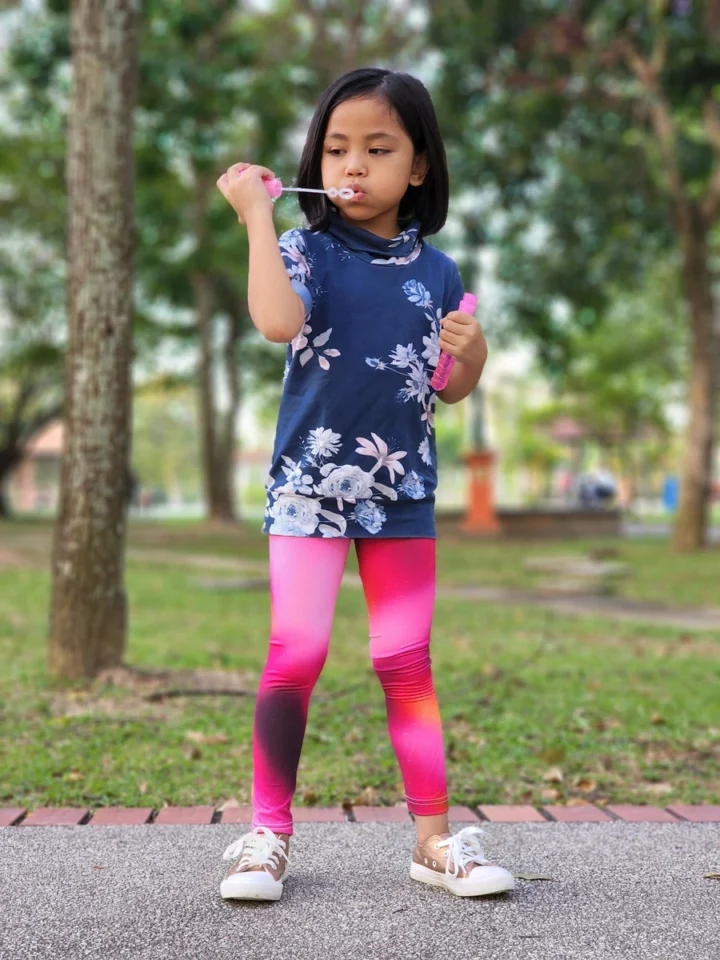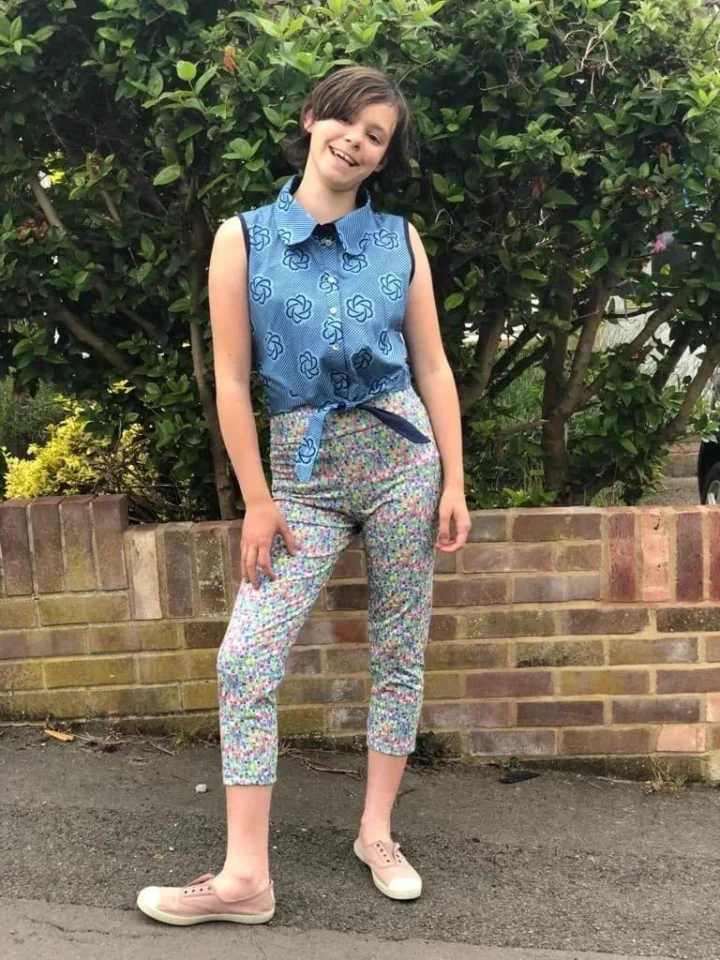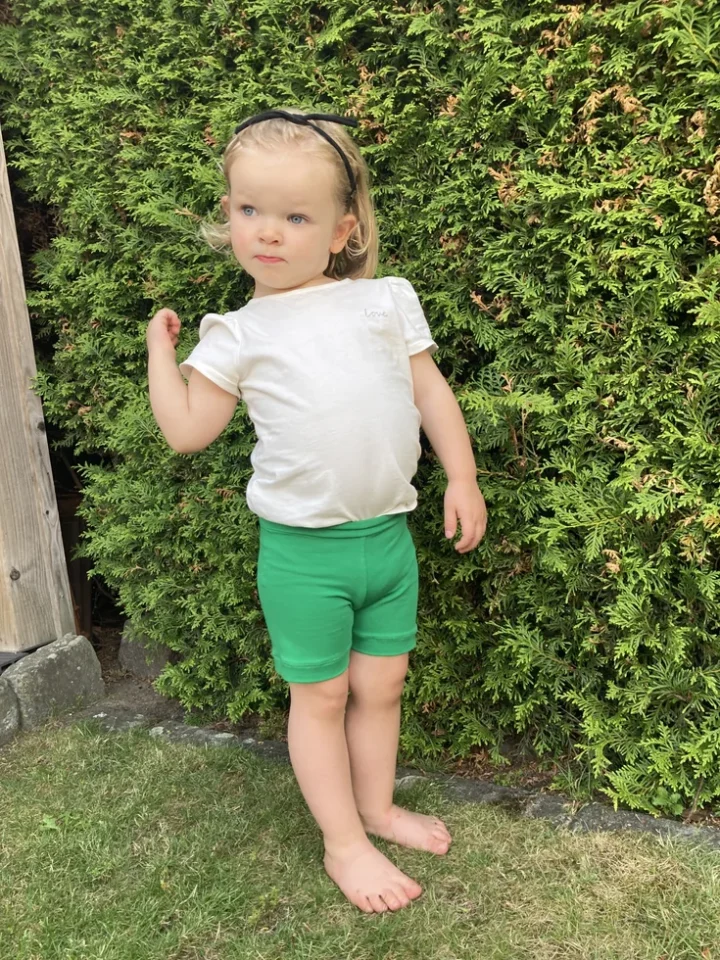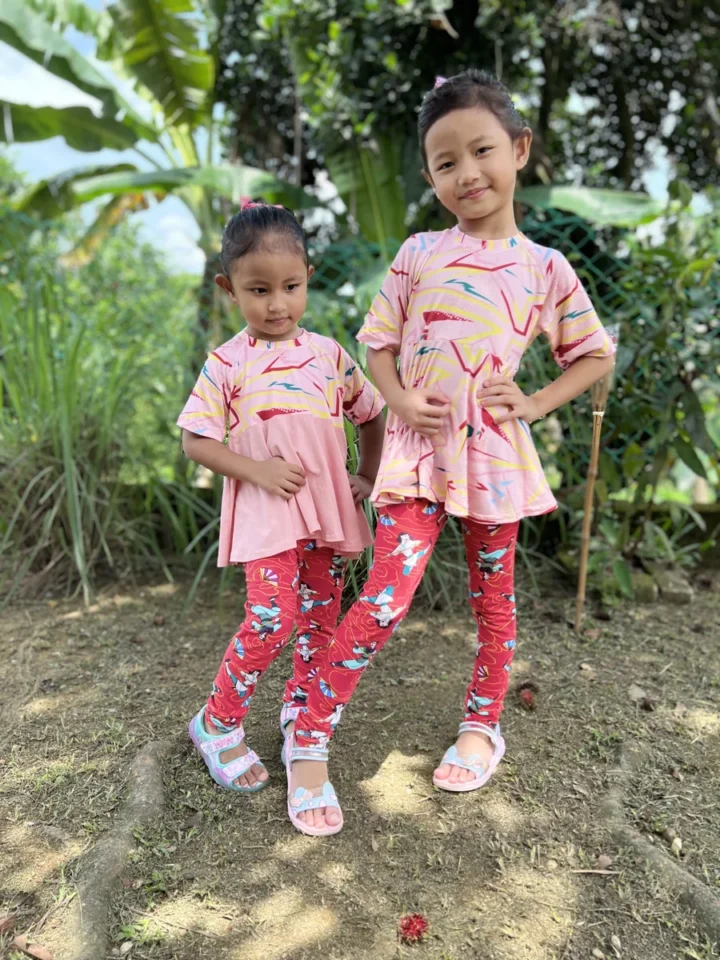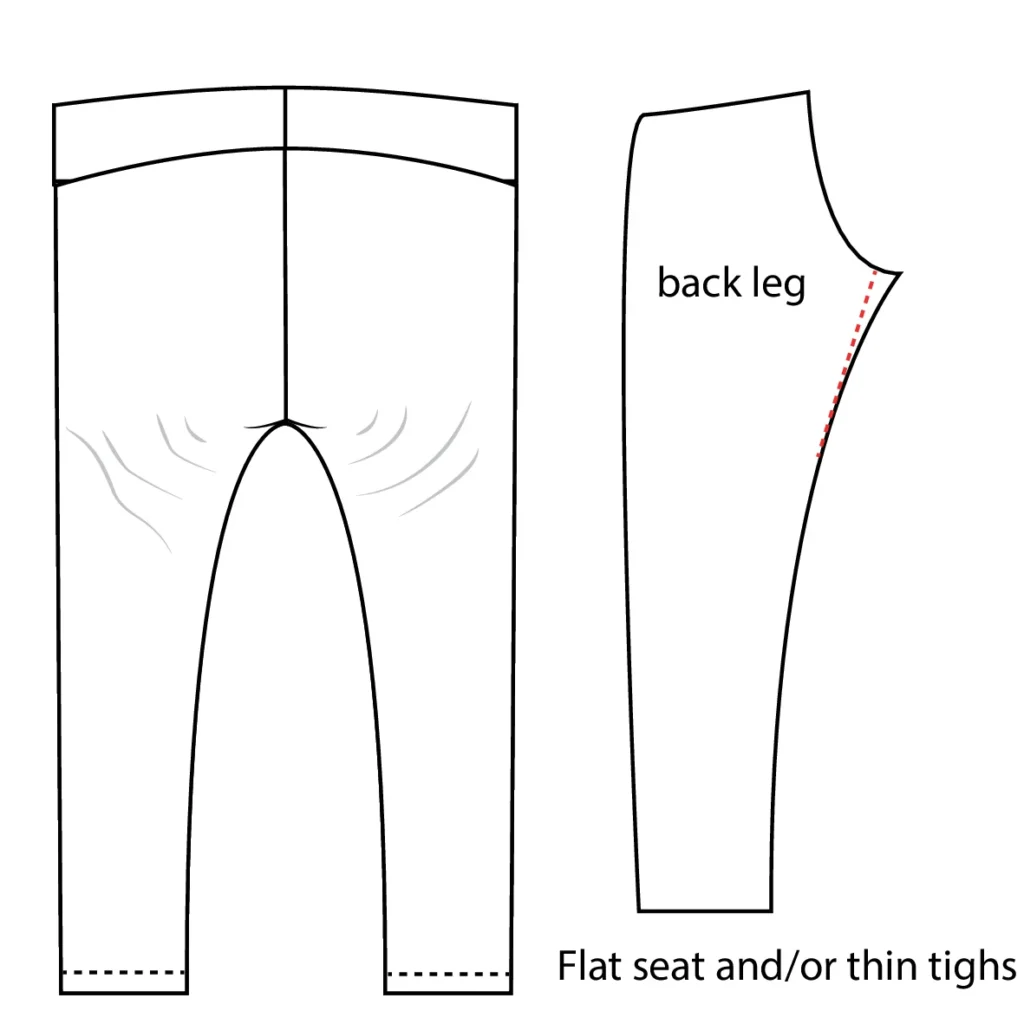
Loose folds beneath the seat can have several causes. Before changing the back crotch, compare the intended fit with the original F4U diagrams: a flatter seat, slimmer upper thighs and a lower seat need different tests.
Why is there extra fabric beneath the seat?
A noticeable pouch or loose folds directly below the bottom can occur when the pattern provides more back crotch length or upper-thigh volume than the wearer needs. This is common with individual body proportions, but remember that some fullness is intentional in relaxed or wide-leg designs.
First check the intended silhouette
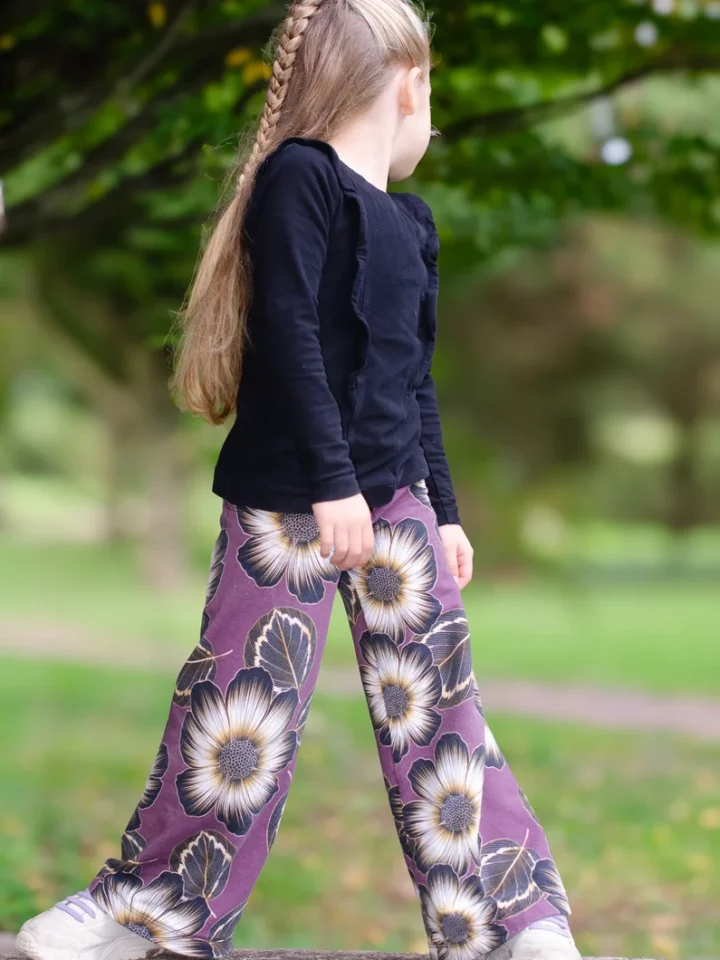
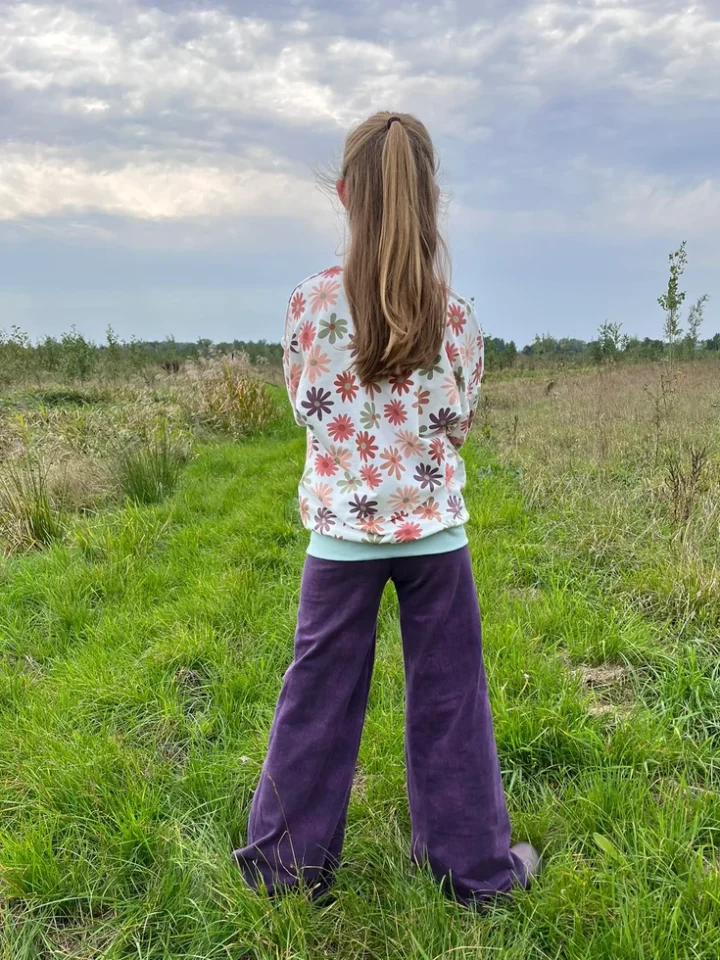
Gaia is a flared legging; Rivara is a wide-leg style. The same amount of fabric can be a fit issue on a close-fitting legging and entirely intentional on a loose pair of pants. Check the product images and finished measurements before trying to make the back look skin-tight.
Flat seat or slimmer upper thighs
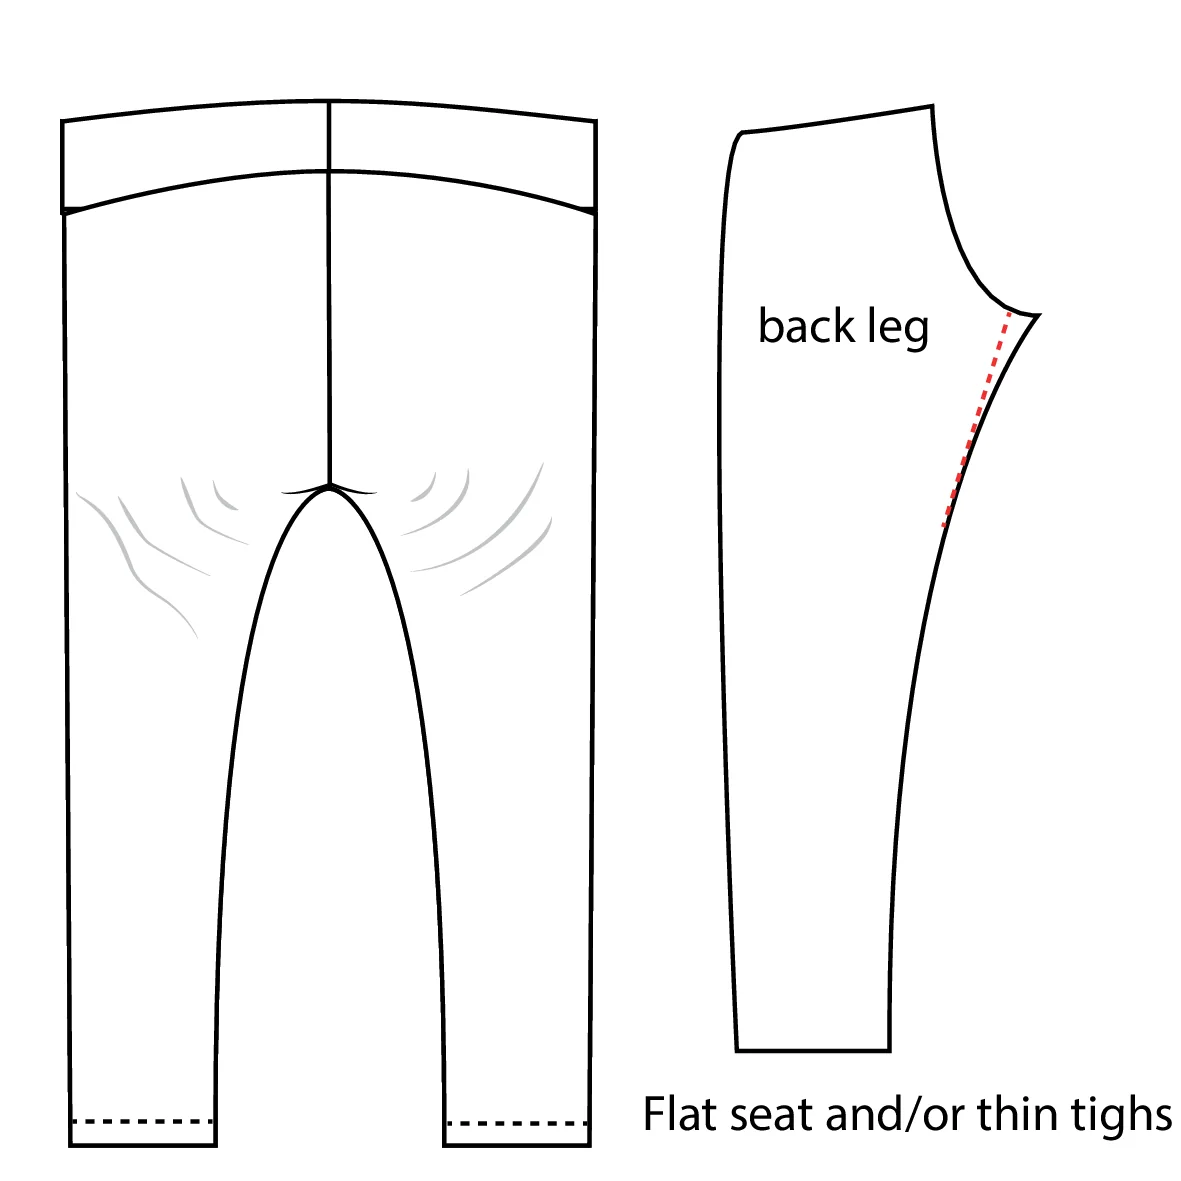
In the F4U fitting diagrams, bagginess with drag lines towards the hips is identified as a possible sign of a flatter seat or slimmer upper thighs. The suggested direction is to remove a small amount of back crotch length. This is a hypothesis to test, not a guarantee based on a single photo.
How to make a controlled adjustment
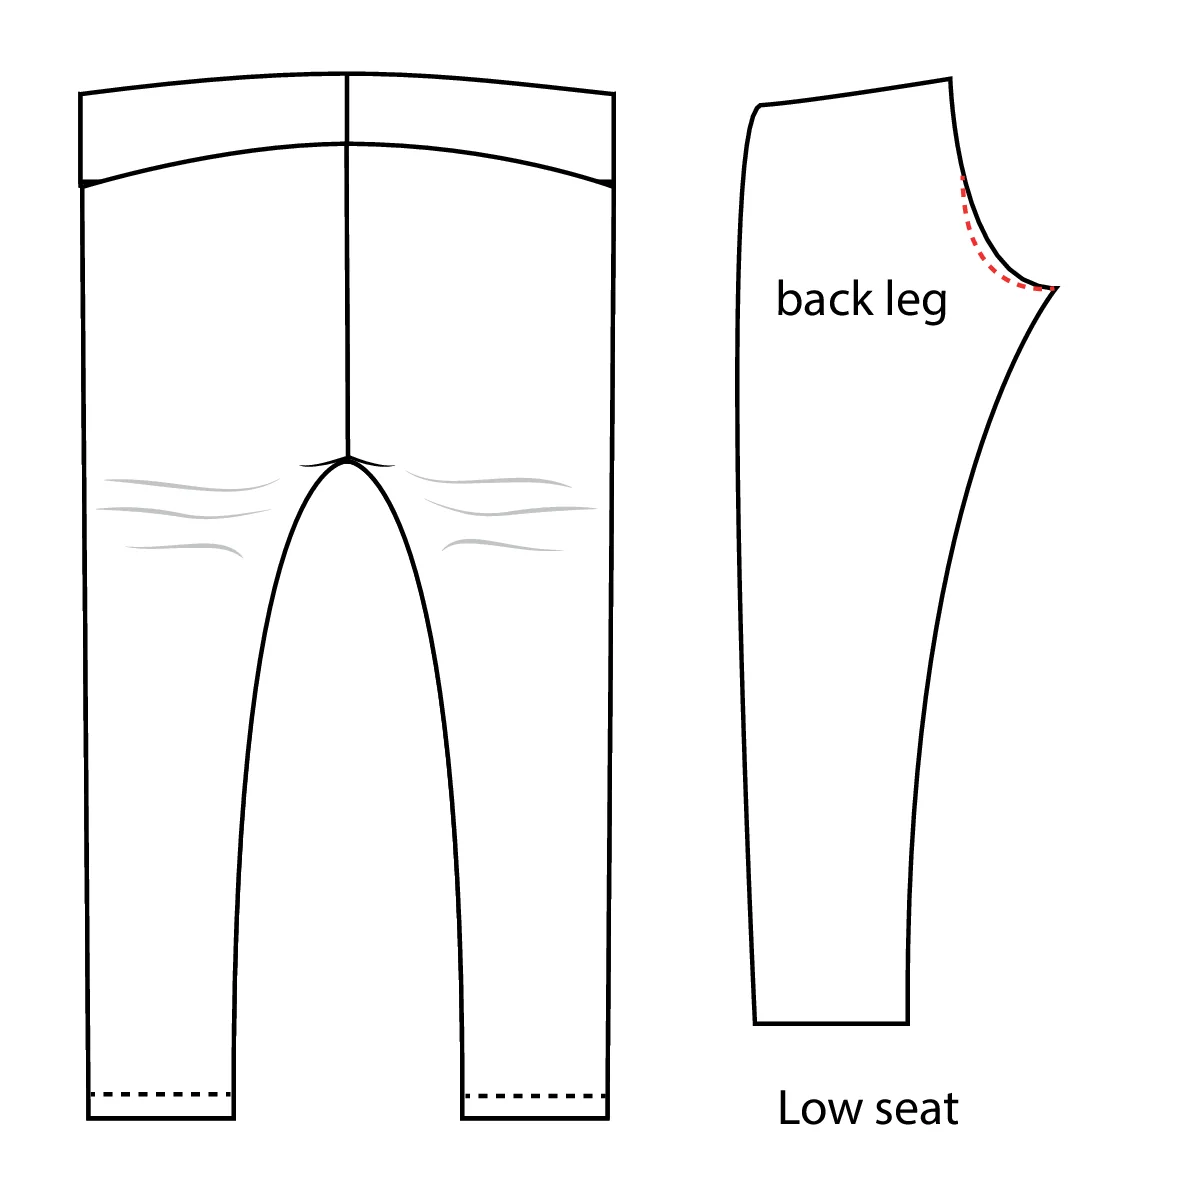
Use a trial garment and keep the waistband at its intended height. Compare the loose folds with the marked back crotch in the illustration, then test a small change to the sewing line. Recheck hip and thigh room before transferring the alteration to a traced pattern. Smooth the transition into the inseam and compare the joining seams.
When horizontal lines mean something else
Horizontal folds below the bottom may also occur if the seat curve sits lower than the drafted shape. The Gaia and Rivara instructions describe this as a low-seat fitting possibility and illustrate a different curve adjustment. Do not treat every horizontal line as excess length.
Test comfort as well as appearance
Ask the wearer to walk and squat, and check the waistband does not pull down. A back crotch made too short may look neater while standing but become uncomfortable when sitting. For children, freedom of movement matters more than removing all folds.
Final check
Once the fit is satisfactory, update both the sewing line and cutting line, preserve seam allowance and recheck seam lengths. Keep the original pattern for future makes in fabrics with different stretch.
Read the original fitting illustrations as possibilities
The supplied Cherielle schematics show flat seat or slim thigh volume and low seat as separate possibilities. Compare the position of the folds, the intended leg shape and the wearer’s movement before changing a seam. These technical sketches illustrate adjustments; they are not printable pattern pieces or a measured before and after fitting result.
Explore more F4U sewing tips
Taking measurements, stretch and recovery and Getting Started can help you prepare. Explore the Gaia Flared Leggings and Rivara Wide Leg Pants for the intended silhouettes.