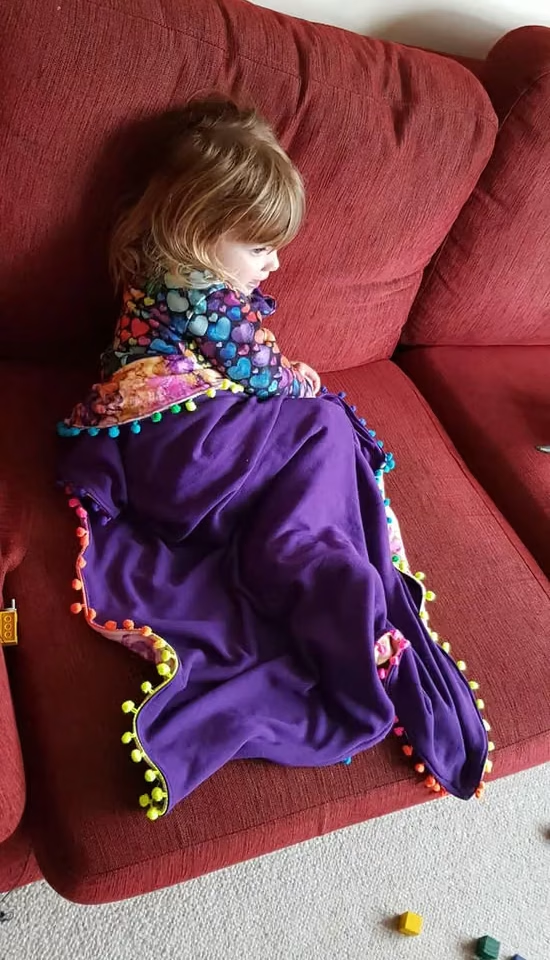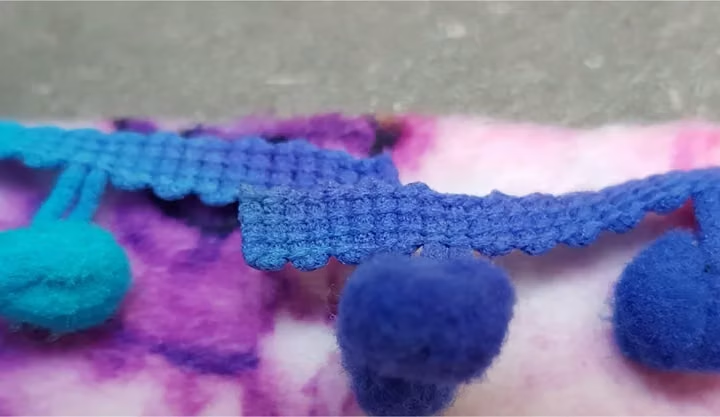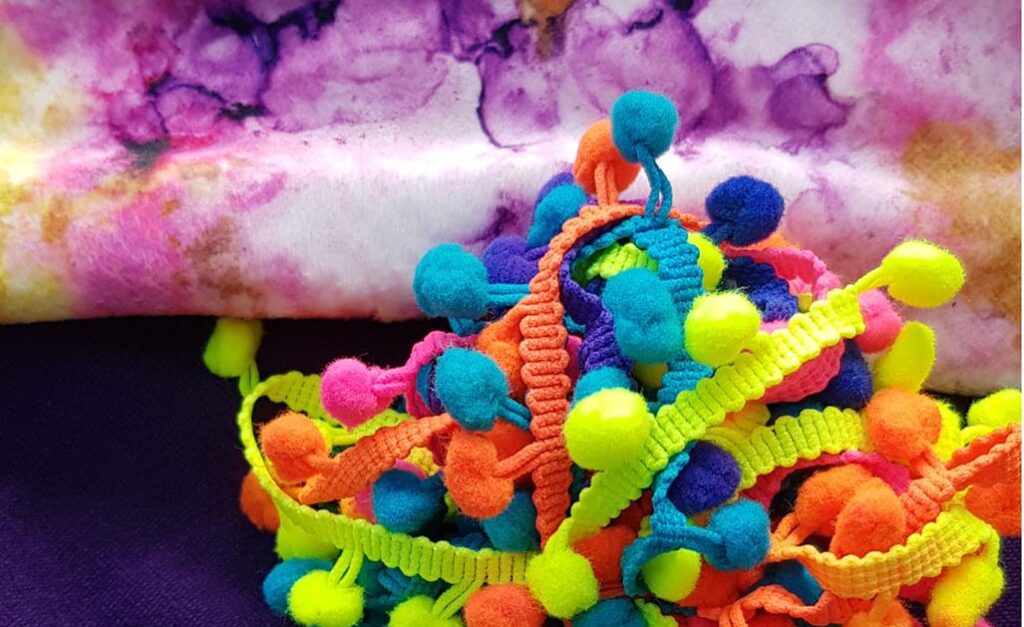
Original tutorial and photographs by Annabel Steele
A decorative finish for your Teddy project
A simple trim can give a handmade blanket a different finish. This tutorial is based on the original F4U contribution by Annabel Steele, who also supplied its photographs. It explains how to sandwich a trim between the outer fabric and lining. Follow your Teddy pattern for the actual pieces, dimensions and seam allowances.

Gather and check your materials
Prepare the outer fabric, lining, coordinating thread, clips or pins and a suitable decorative trim. Annabel’s original list allowed 4 m of trim for the cradle size and 6 m for the crib size. Treat those amounts as references to that original version: measure the perimeter of your actual pieces and allow for the join before buying or cutting.
Optional wash-away sewing tape can help hold a compatible trim. Check its instructions and test it on your fabric. A zipper foot may help you sew beside bulky trim on a regular sewing machine. Use a finish suitable for the intended use; decorative pom-poms or loose trim are not appropriate for every baby project.
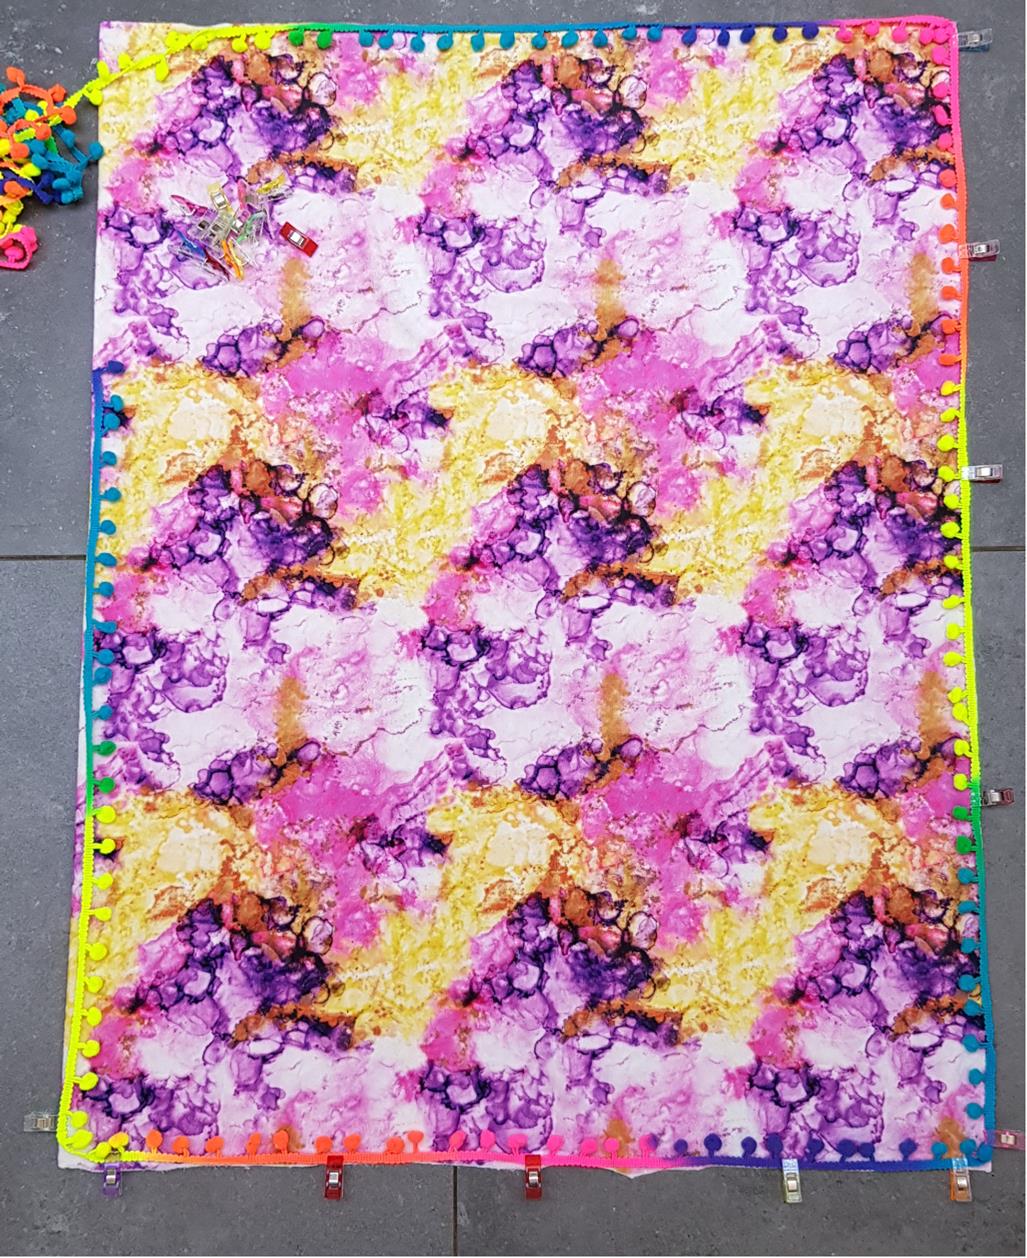
Position the trim on the outer fabric
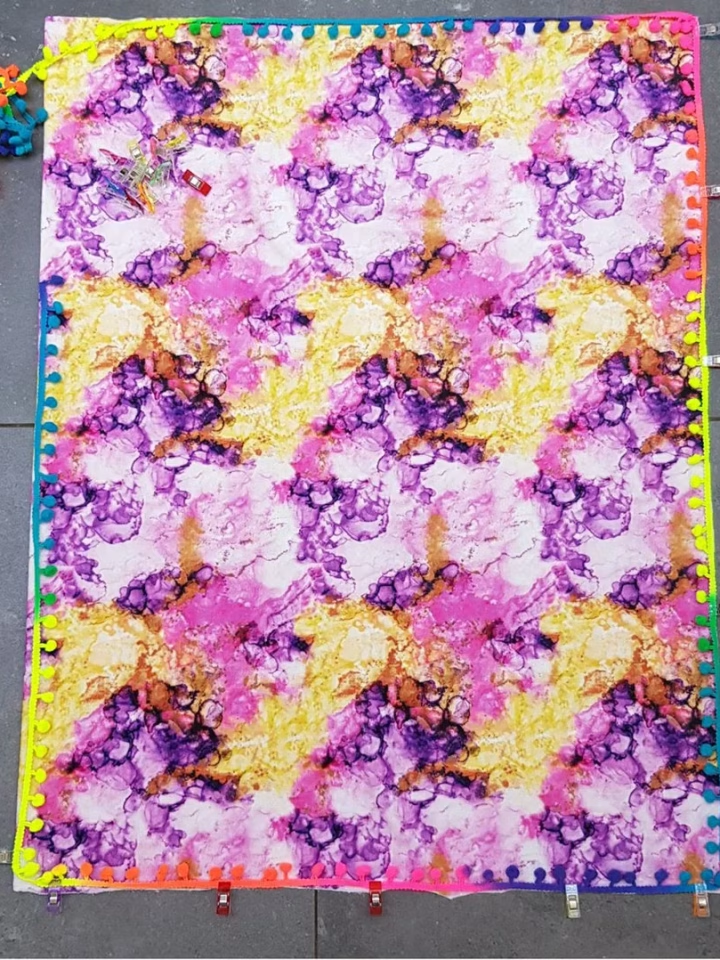
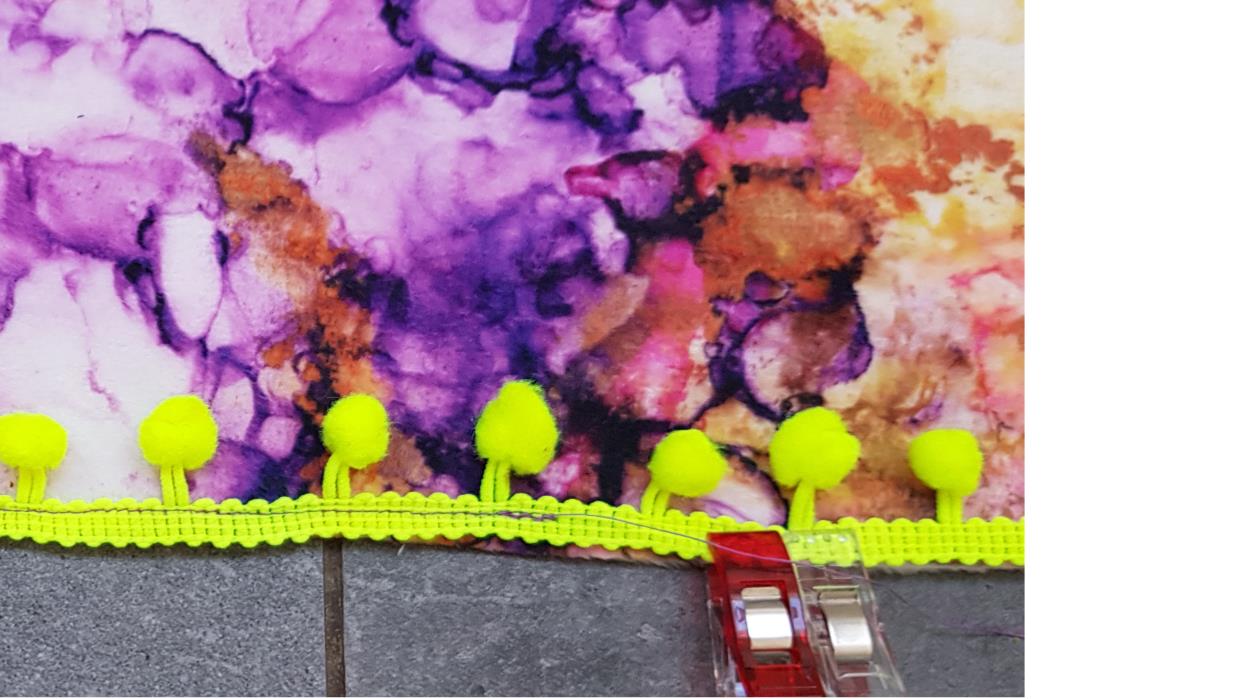
Place the outer fabric right side up. Position the trim’s tape along the raw edge so the decorative part points inwards towards the centre. It will turn outwards later. Keep the attachment tape within the seam allowance specified by your pattern, while placing the stitch line where it will secure the trim.
Start partway along a straight side rather than at a corner. Annabel’s example overlaps the trim ends by about 1 cm, approximately 3/8 in. Check how your particular trim joins so the finished join is neat without excess bulk. Clip around the edge without stretching the fabric.
Prepare the opening and add the lining
On the side opposite the trim join, stitch approximately 25 cm, or 10 in, of trim to the outer fabric only. This is the section where you will leave the turning opening when joining the two fabric layers. It is an opening along an edge, not a cut-out circle.
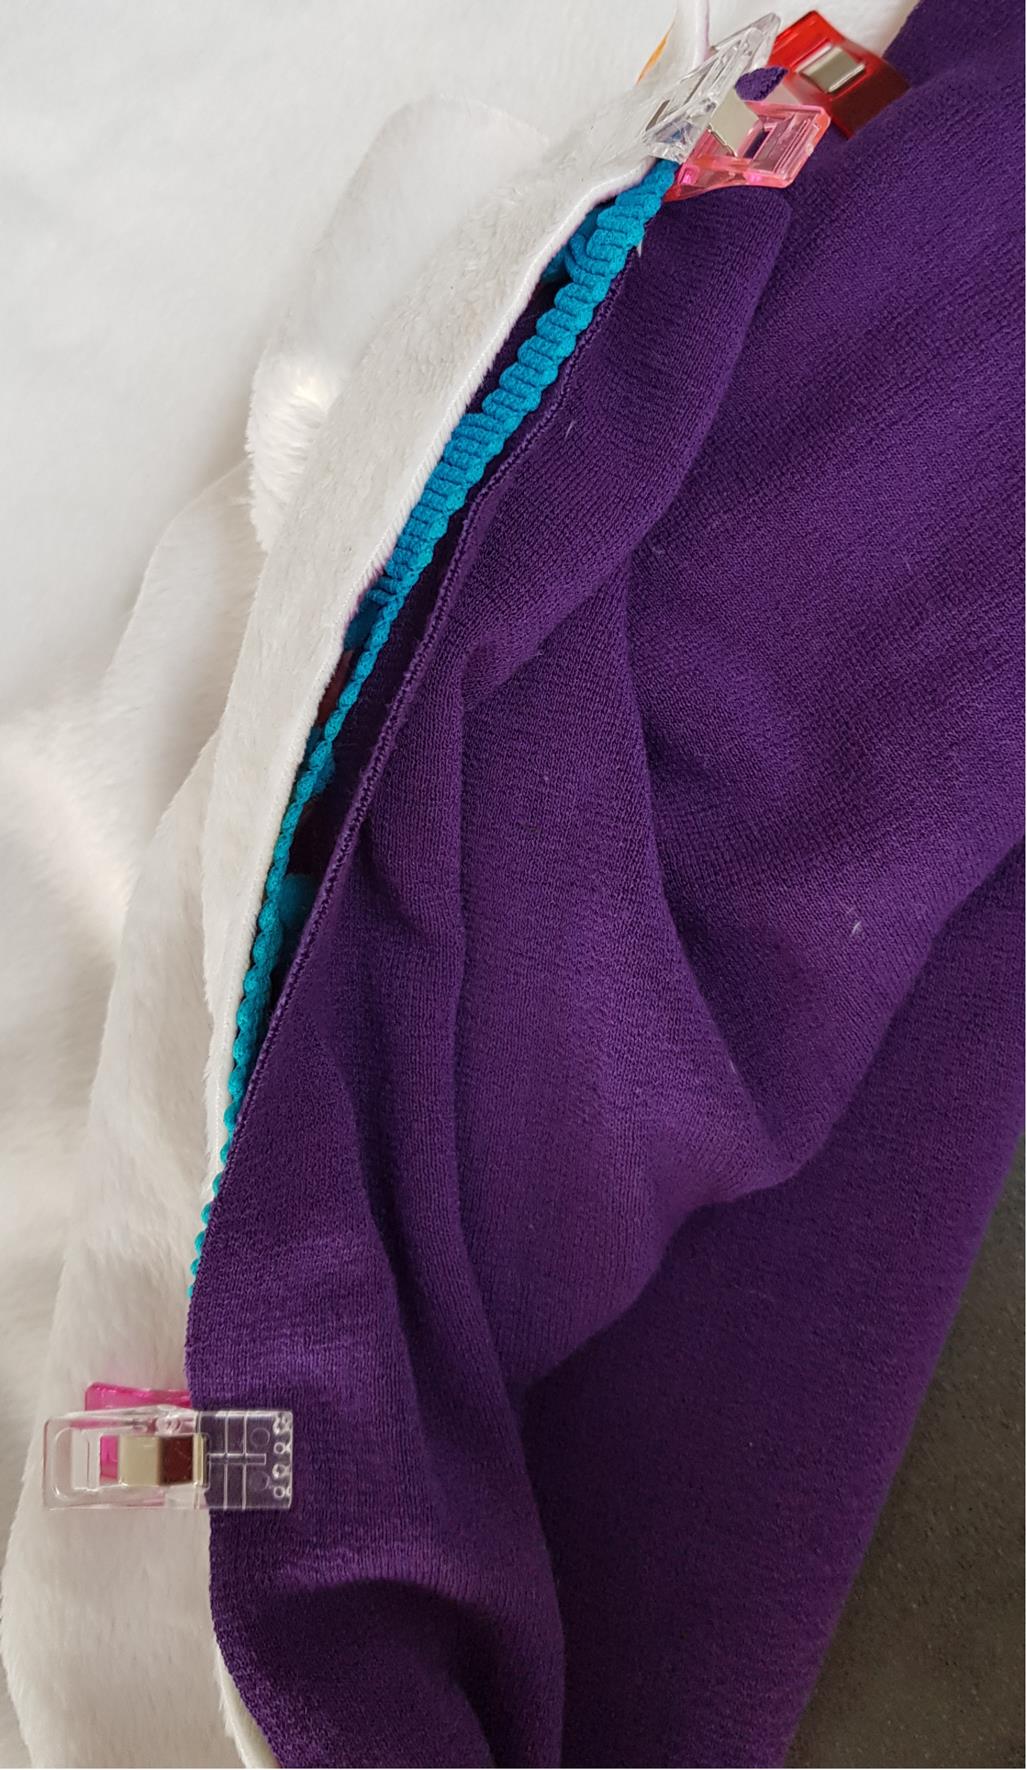
Place the lining right side down over the outer fabric, with the trim between the right sides. Match the raw edges. Mark the beginning and end of the turning opening clearly, and keep bulky trim away from the needle path.

Join and finish
Sew around the project using the pattern’s seam allowance, leaving the marked opening unsewn between the two fabric layers. Secure the ends of the seam. Use a suitable stitch and handling method for the fabric; for stretchy fabric, follow the pattern’s stretch-compatible construction guidance. Remove pins before they reach the machine.
Turn the project gently through the opening, arrange the corners and check that the trim is fully secured. Press as the fabric and trim allow. Close the opening using the method in the pattern. Inspect the join and edges before use. For more construction vocabulary, see our sewing terms, and for material choices see Fabric Types.